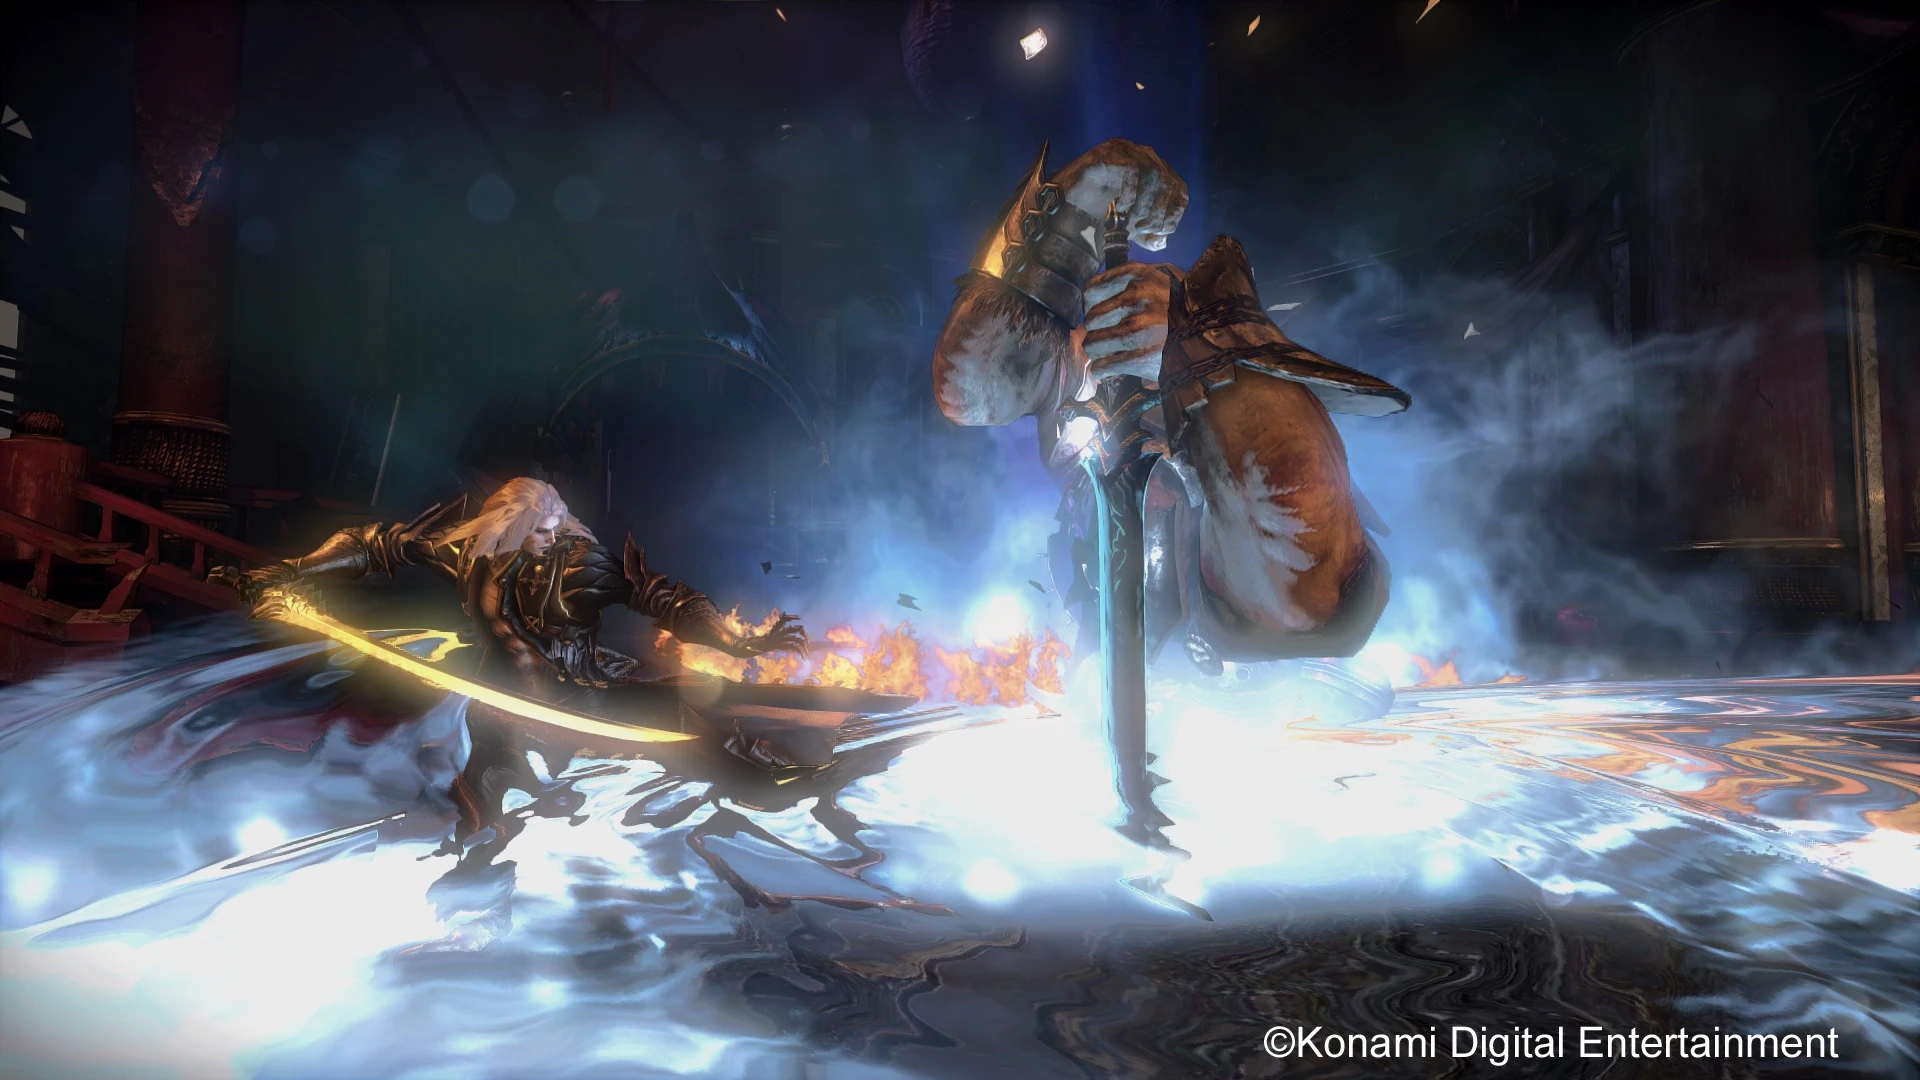
Back to Castlevania[]
After the introduction cutscene, Alucard will start his journey near the Horn of Bromios. Quickly go forward and the game will explain how to use the Bat Cloud. Instead of doing so, keep going right in front of you and you will find a Secret Box. Upgrade your health and get back to use the Bat Cloud.
Follow the path with your new ability. You'll reach a crossroads: go to the left, and climb on the tower. Drop below, just like you did with Dracula in the main game. Some Brotherhood Soldiers and an Heavy Brotherhood Warrior will confront you. Use the mechanism after the fight, and follow the path that opened. Continue and you'll reach the Trevor Room.
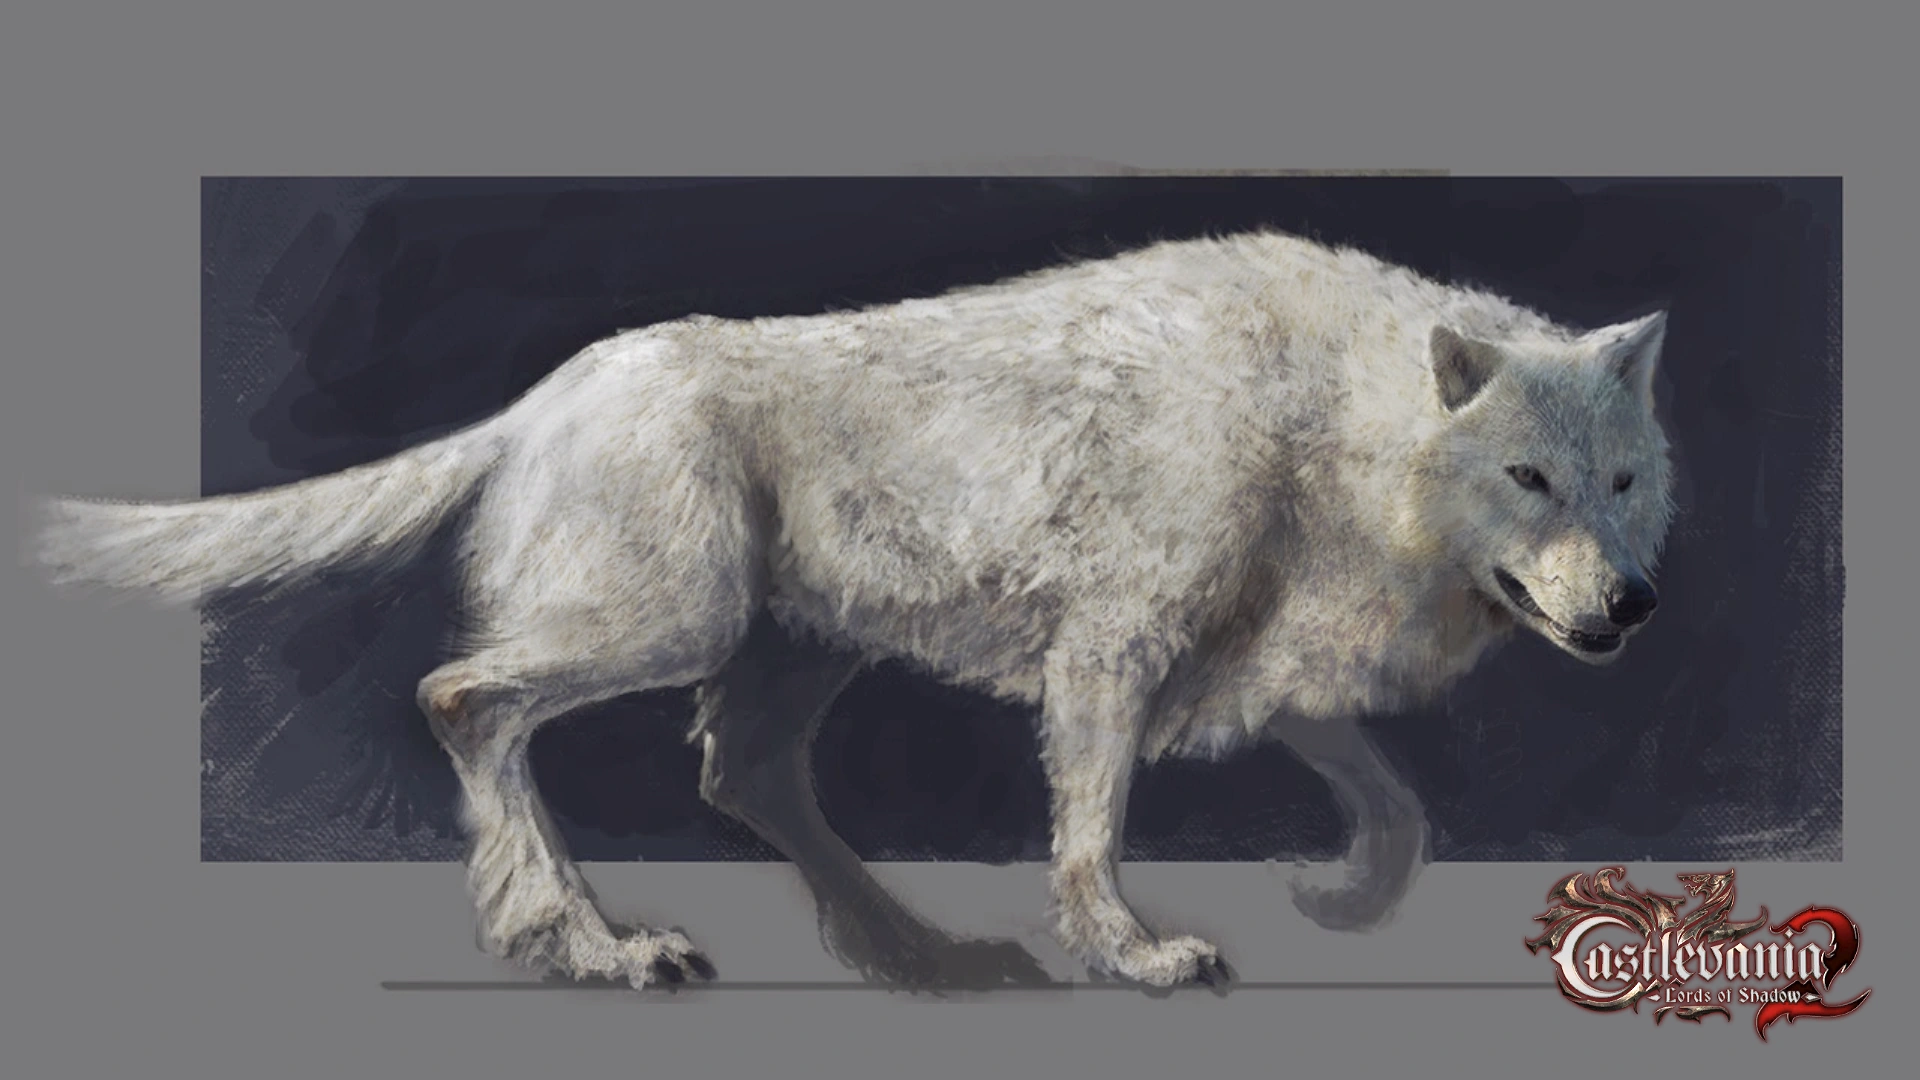
There, some enemies may appear or not. Defeat them if so. Use the new Timeless Vision on the collapsed wall to open a new path to the Guest House. Follow that path (a Secret Box can be found near the bridge, on the left), and use the Spectral Wolf to jump over the destroyed bridge. Use then the Bat Cloud to reach the column on the right (another Secret Box is on the right, look down).
Climb until you reach the top of the big head/mask. If you look up at the bell, you'll spot two Hunchbacks preparing their next move. Leave them and continue to use the Bat Cloud to get to the interior of the Guest House.
The Guest House[]
Inside the House, press the button on the left to trigger a sort of mini-game. Use the Spectral Wolf to jump through the spikes: don't wait to morph back to Alucard or you'll take damage. You'll have to dodge the spikes at least twice to get to the switch at the end of the challenge, press it to complete the challenge. Note: it's not necessary to complete the challenge to continue, but you'll get a bonus in the form of experience points or a relic.
In the next room, destroy all puppets to get relics. Take the shield on the ground near the entrance and put it on the left of the central line. Use the Timeless Vision to create a saw that will destroy the wall. Get in the new hole and use the Bat Cloud on the left to get another Secret box. Get back in the room and break the other wall using the same technique. Another Secret Box awaits in the next room: use the Bat Cloud to obtain it.
Go back down and press the button. A door will open for a short time. Three Dishonored Vampires will appear in the puppet room: defeat them and get back to the button. Quickly use the Bat Cloud to cross the puppet room and keep following the path to get to the door. Another mini-game awaits you: you need to use the Spectral Wolf to avoid the spikes (red) and get to safety (green). Use the wolf to pass through the door after the game ends. Note: Again not necessary to beat the puzzle to complete the DLC, just to get the bonus.
In the next room there are two separate turn keys that control the up and down of an elevator. The turn key to the right controls the elevator going down, and the turn key to the left controls the elevator going up. If for any reason you fall, you need to go back up and use the right turn key to call the elevator down, and go back and use the left turn key to go back up.
In the next room, you'll need to get three Dungeon Keys. Start by going on the left stairs and use the Timeless Vision to repair the section of the stairs. Use the Spectral Wolf to jump to the platform and go in the little entrance. There, kill the Dungeon Jailer and Dungeon Minions to get the first Dungeon Key. Exit and use the turn key to bring the elevator downstairs. Put the shield in the elevator.
Get to the other stairs and press the button in the little corner to open a Wolf entrance. Use the Bat Cloud and the Spectral Wolf to enter the new room. Kill all enemies to get another Key. Exit towards the left to see another turn key. Use the key but don't let it go: go into the Spectral Wolf while holding the key and enter the elevator. Then let the elevator go upstairs: this way, both Alucard and the shield will get up. Exit to the left until you see two platforms. Put the shield on the left platform and use the Spectral Wolf while standing on the other to get to the third Jailer. Once again, kill all enemies to win the last Key.
Before dropping down and using the dungeon keys, go to your right and use the Bat Cloud to get to a nearby hanging spot. Follow the trail up into a dark little corridor. From here, drop down sticking to the right to reach a small ledge with a Blue Secret Box, after this use Bat Cloud on the nearby column to the right. Following the trail to the wall on the right, drop, then use Spectral Wolf to jump and get the red Secret Box. Use the three Keys and the mechanism to open the central door. After a fight with small Dungeon Minions, it's time for a boss fight!
Boss: The Keeper of the Void Sword[]
Not as dangerous as other bosses, the Keeper can still be a threat at higher difficulties.
This Keeper has the same move set than other Dungeon Jailers, but can use a freezing breath to paralyze Alucard. Try to dodge it and go attack the Keeper while he blows his freezing breath. If you are hit by this technique, you'll get another hit from the Keeper, so use the Spectral Wolf ability to warp out of the ice and into safety. Other than that, most of his attacks are easy to avoid. Don't forget that your sword's reach is smaller than Dracula's whip: as a matter of fact, you can be more easily hit by your opponent.
Use the Igneas Magic to break the Keeper's armor. If you have the Focused Assault technique, you can break the armor in one hit, which is quite useful. If not, use your combos to break it, and inflict damage to the unarmored Keeper. You can use the Glaciem magic to regain health if needed. After a moment, the Keeper will push Alucard and get his armor back.
Repeat the process and you'll win quite easily. Once you get the Void Sword back, use your Timeless Vision technique on the Navigator to get to the Forbidden Wing.
The Forbidden Wing[]
Use the Timeless Vision on the Navigator to get to this new area. Once there, use the Bat Cloud to get to the next platform. Don't fall into the blood or you'll take damage. Use the Timeless Vision to recreate the next platform and use the Spectral Wolf to jump over the blood. Use the Wolf to jump on the crates/furniture in the blood, and get to the other side. Be quick or Alucard will fall into the blood pool when the Vision's timer ends.
In the next room, a new enemy, Bloody Lancer, will confront you. Destroy all enemies and their blood to prevent them from recovering. Go on to the left then and trigger the mechanism. Use the Spectral Wolf to go back to the first room, and use the Bat Cloud to reach a higher platform. A Secret Box awaits there. Then use the Bat Cloud again to get the Dungeon Key. Repeat what you did to go back, and use the Key to open the door.
In the next room, the blood will slowly rise: climb on the wall, but be careful, a Harpy will chase you, just like the Paladin did with Dracula on the City of the Damned, Timeless Vision on it, and quickly reach the upper level with the Bat Cloud. Use the vase to increase the blood's level, and jump on the crate once it is at your level (with the Spectral Wolf). Do the same in the next corridor, and you'll reach the last room.
Go to the right before the door, and use the Spectral Wolf to reach the corridor. There, use your Timeless Vision on the broken shield to recreate it. Take it and go back to the room. Go on the left before the door and place the shield on the mechanism to open the door. Quickly use the Bat Cloud to reach the door in time. After a fight against a few Brotherhood soldiers, you'll get back the Chaos Power. In the City of the Damned, talk to Marie to go to the final boss, or to the Navigator downstairs to go back to the castle's areas. When ready, talk to Marie. You'll get back to the present...
Final Boss: Zobek's Lieutenant[]
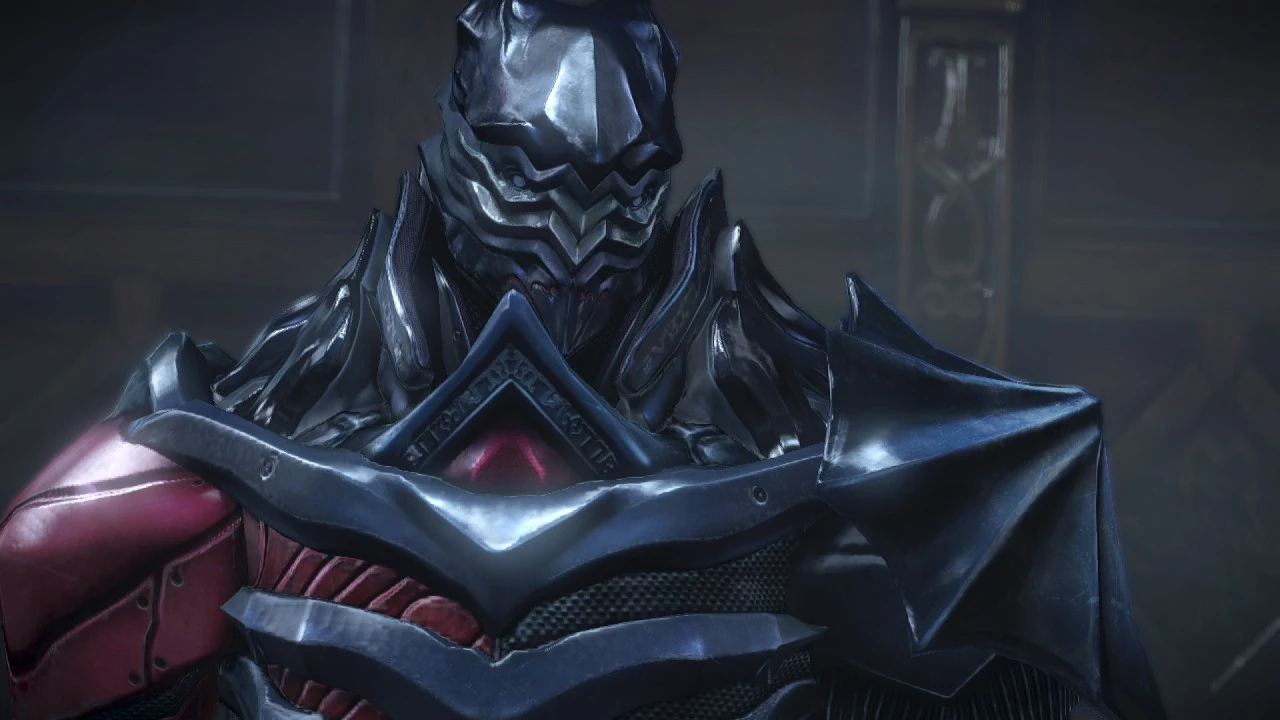
Simply follow the path to the throne room and jump down the tower. Replenish your magic and health, and get ready for a duel to the death with Zobek's Lieutenant!
The Lieutenant can fight you with different techniques:
- a basic blockable combo
- two waves of energy if you stay far from him
- a direct ray of energy if you stay far from him
- an unblockable teleport attack
- he makes a circle appear under Alucard: dodge at the good moment to avoid the energy attack from beneath
Most of his attacks can be simply blocked or dodged. However, you'll need to concentrate because your enemy is very quick. Use basic combos and counterattacks to inflict lots of damage. Don't forget to heal with the Glaciem magic, or some Tears of a Saint.
At some point, the Lieutenant will use one of two "big" techniques:
- if he plants his sword in the ground, use the Bat Form on the platforms to avoid taking damage (you'll need to wait and move from platform to platform as they go down)
- if he multiply himself, use the Wolf Form to dodge the attack
When the Lieutenant has no more energy, he will hide on a chandelier. Quickly use the Bat Form to get on the other chandelier, and use the Wolf Form to jump on your enemy.
Congratulations, you beat the Revelations DLC!
Castlevania: Lords of Shadow 2 walkthrough
| ||
← Previous: Kleidos Challenges
|
This segment: Revelations (DLC)
|
Next: Table of Contents →
|