- This creature is referred to as "Salamander" in Dracula X. For its main page, see Salamander.
- For the Bloodlines item, see Water Dragon (Ultimate Item).
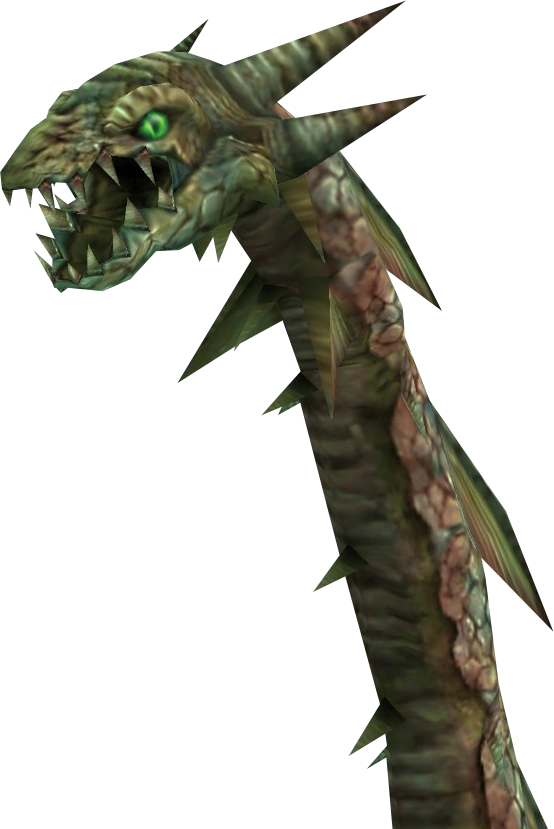
The Water Dragon, also known as Serpent or Hydra, among other names, is a recurring boss in the Castlevania series. It is a gigantic aquatic dragon with a serpentine-like body. They are sometimes encountered in pairs.
Origins[]
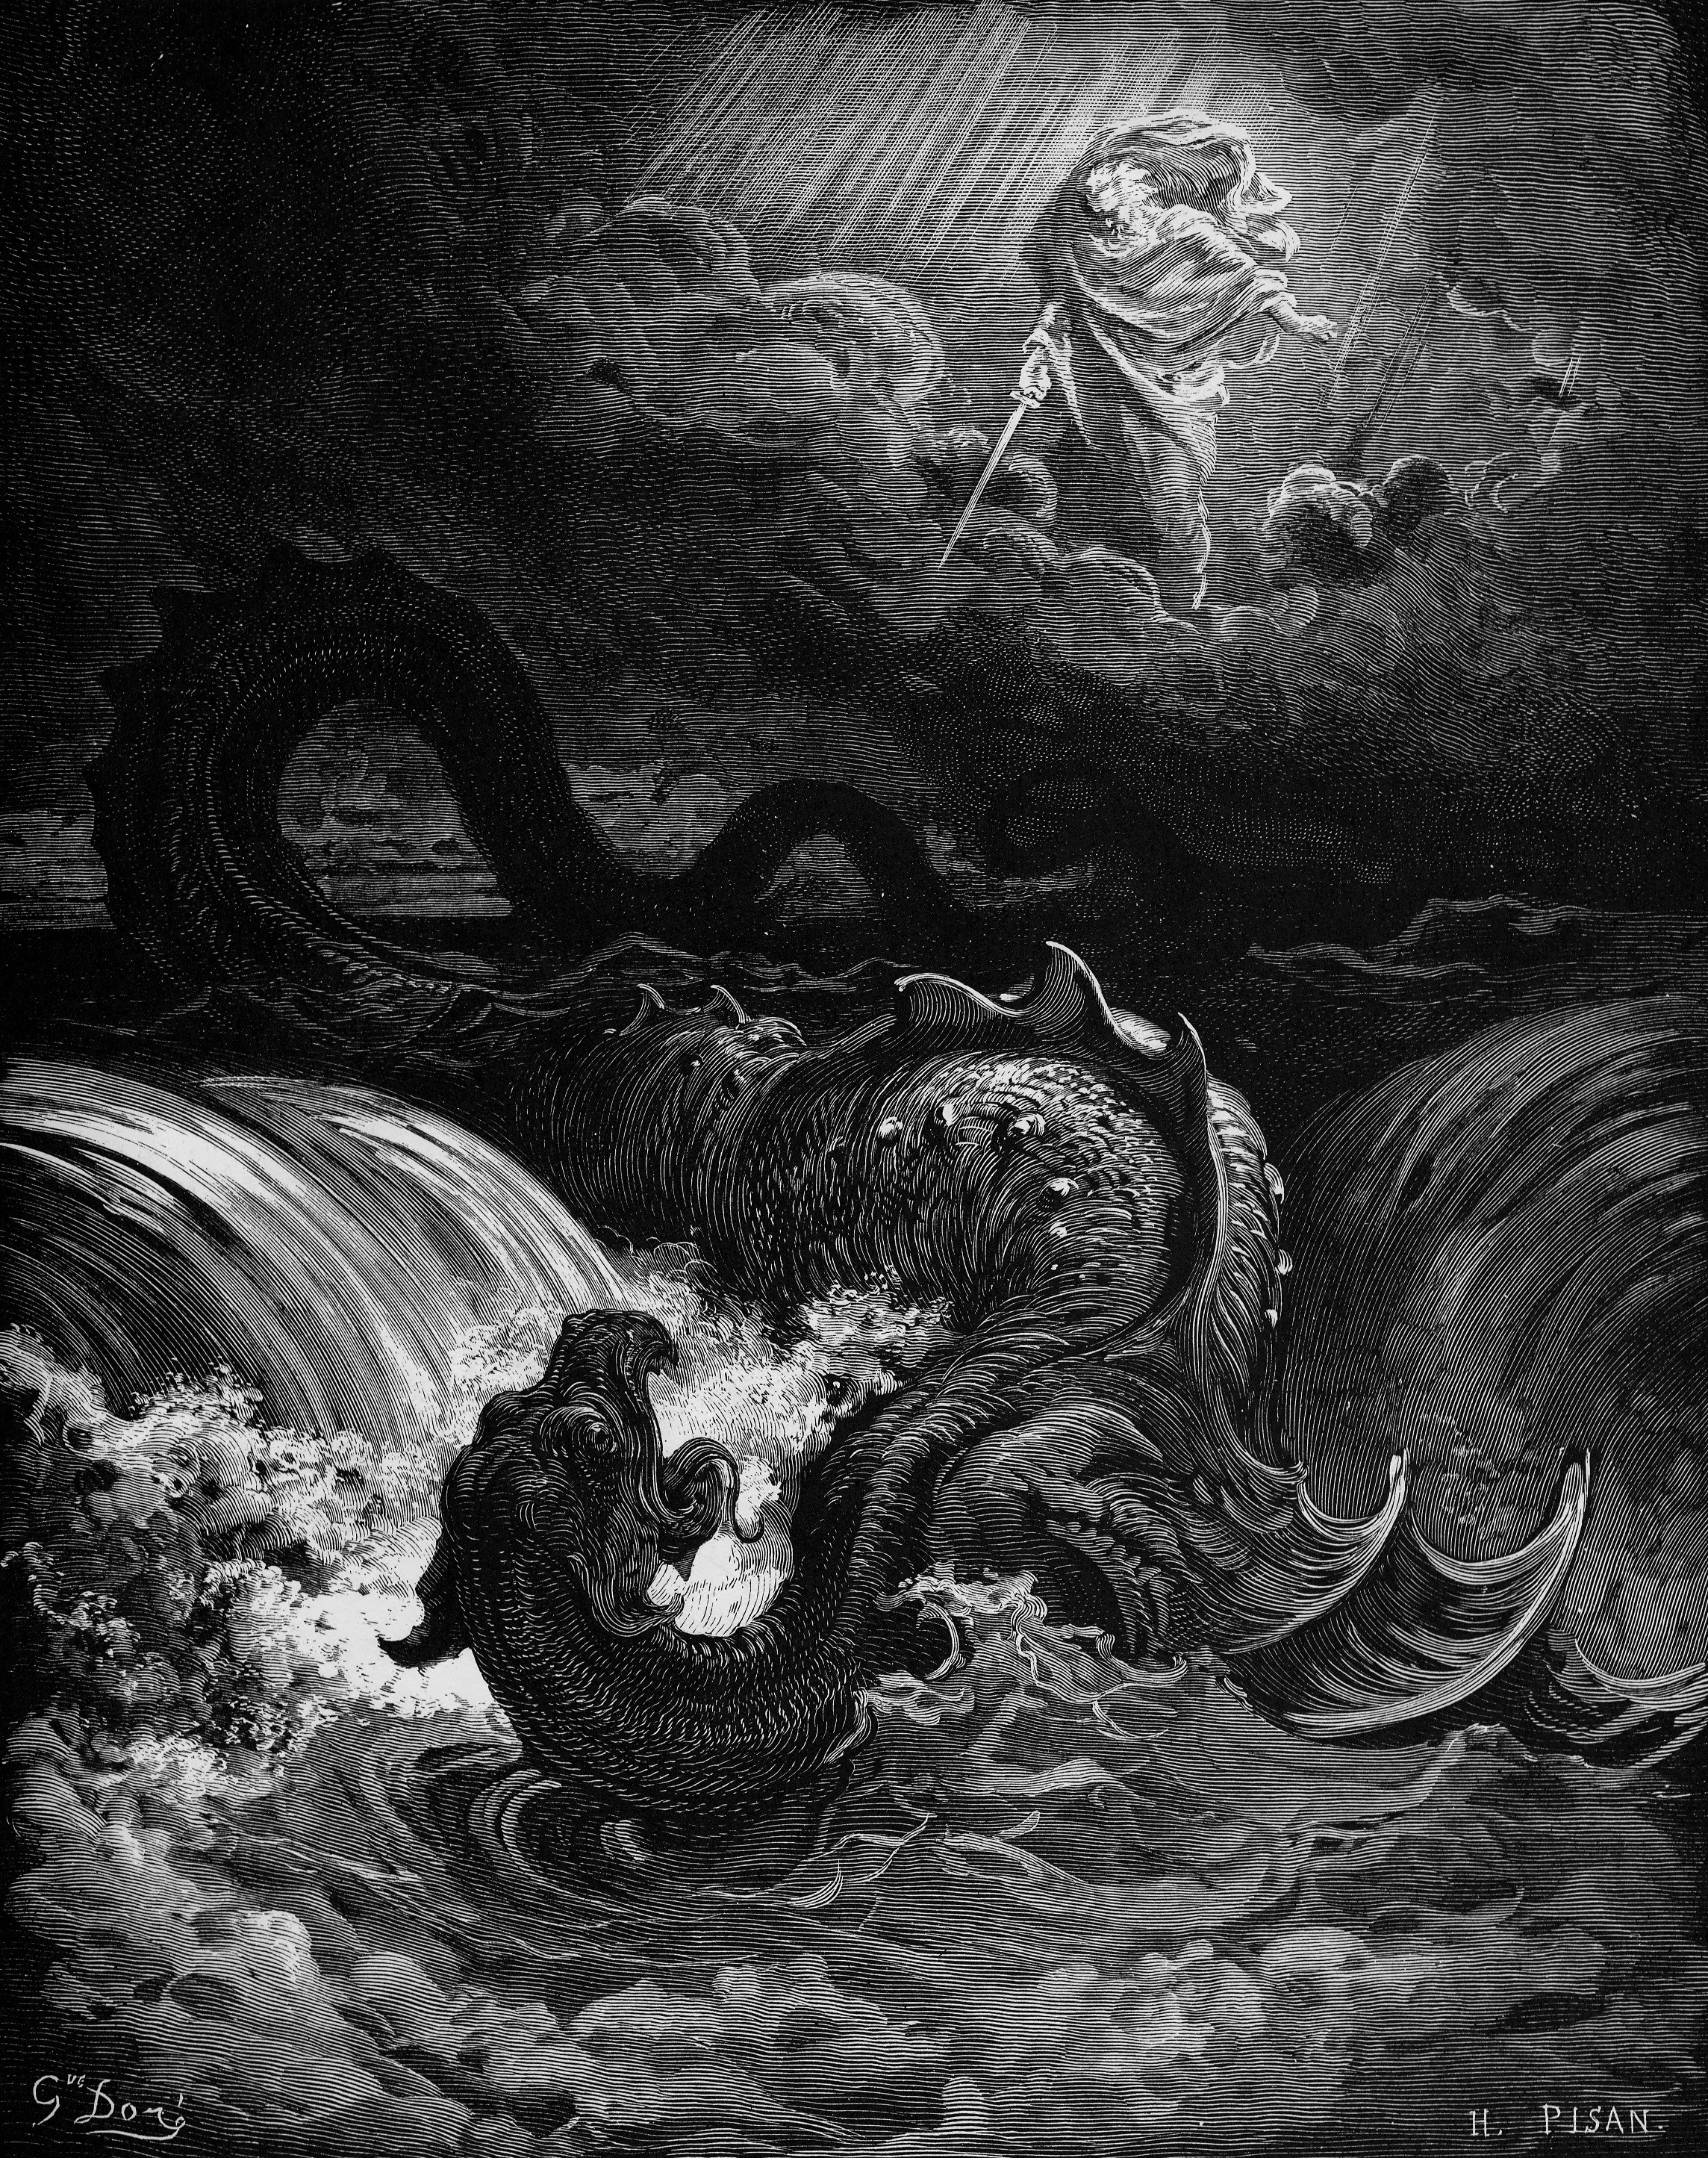

Destruction of Leviathan
(Gustave Doré, 1865)
A sea serpent or sea dragon is a type of dragon sea monster described in various mythologies. In antiquity and in the Bible, dragons were envisioned as huge serpentine monsters. Stories depicting sea-dwelling serpents may include the Babylonian myths of Tiamat, the myths of the Hydra, Scylla, Cetus, and Echidna in Greek mythology, and Christianity's Leviathan.
In Norse mythology, Jörmungandr was a sea serpent so long that it encircled the entire world, Midgard. Some stories report of sailors mistaking its back for a chain of islands. Sea serpents also appear frequently in later Scandinavian folklore, particularly in that of Norway.
Sea serpents were believed to attack vessels, grab and swallow people, and to lift themselves up like a column from the water. According to sailors of ancient times, serpents would destroy ships by wrapping the ship in coils of their body and pulling it underwater.
Sea serpents can be commonly seen in ancient world maps (mainly Medieval), along with varied other species of large sea creatures.
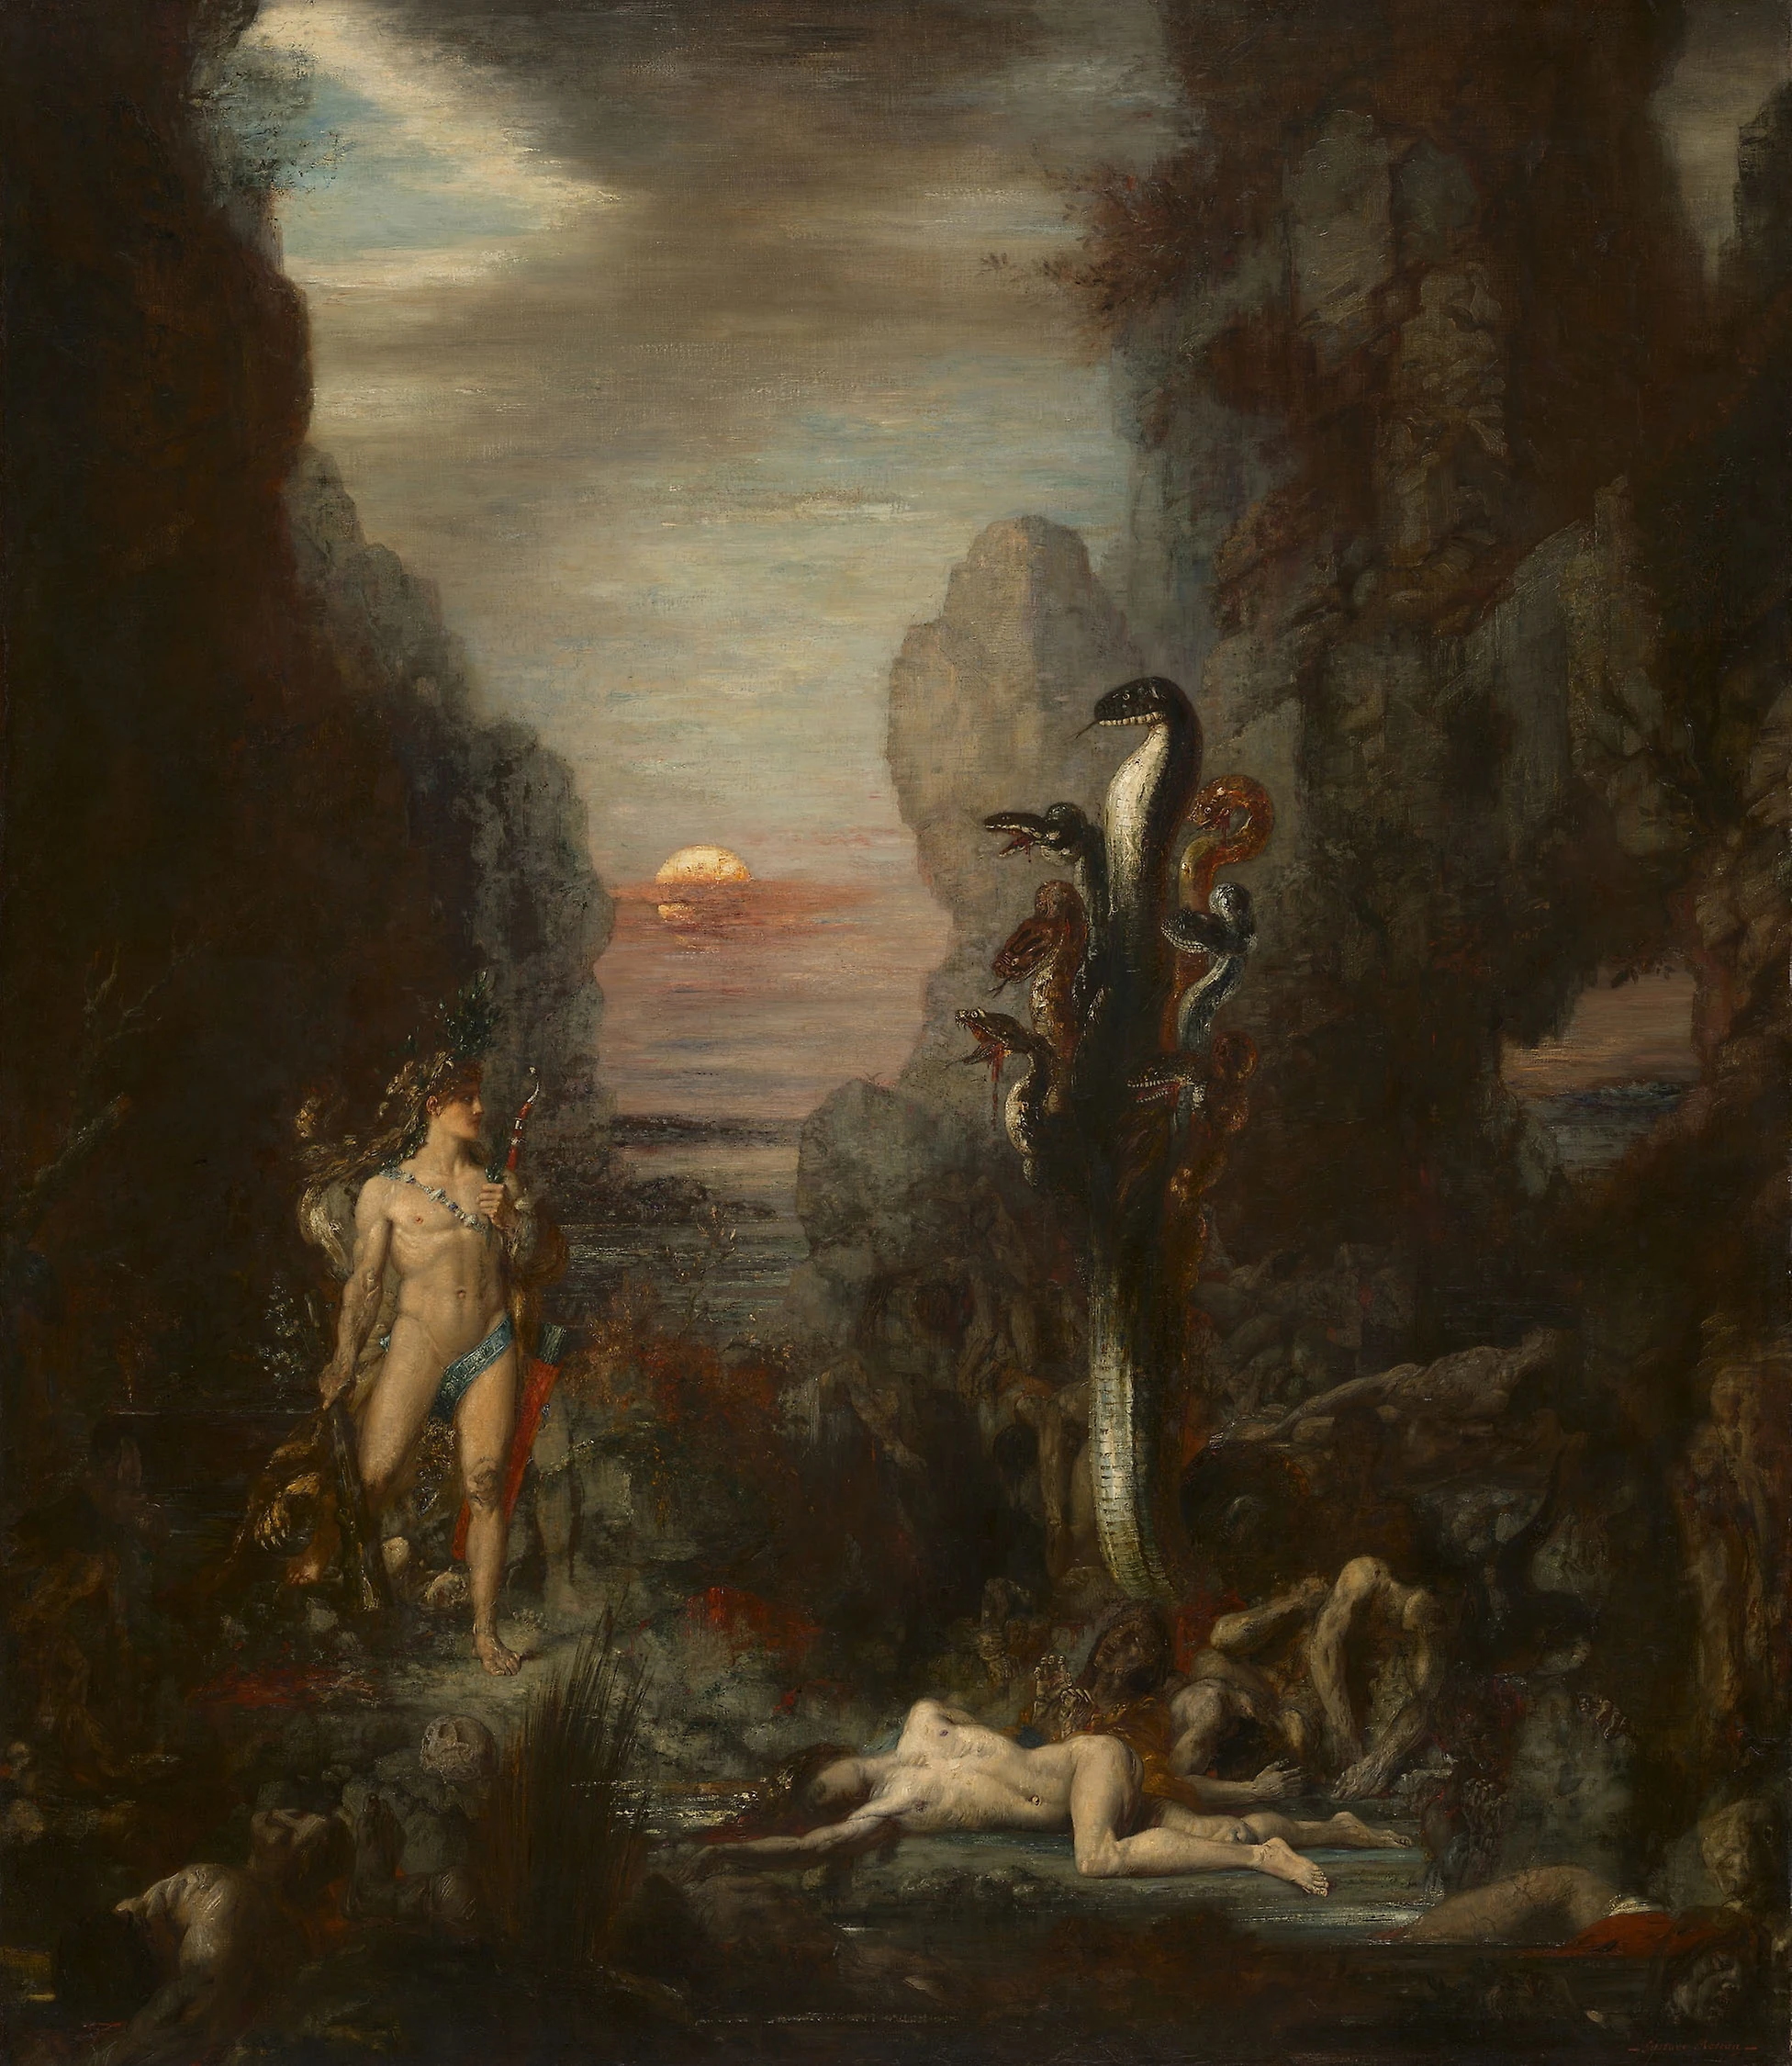

Gustave Moreau's 19th century depiction of the Lernaean Hydra.
The Lernaean Hydra, more often known simply as the Hydra, was a serpentine water monster in Greek and Roman mythology. Its lair was the lake of Lerna in the Argolid. In the canonical Hydra myth, the monster is killed by Heracles (Hercules), using sword and fire, as the second of his Twelve Labors.
According to Hesiod, the Hydra was the offspring of Typhon and Echidna, and was raised specifically by the goddess Hera to kill Heracles. The Hydra had poisonous breath and blood so virulent that even its scent was deadly. It possessed many heads, the exact number of which varies according to the source. Later versions of the Hydra story add a regeneration feature to the monster: for every head chopped off, the Hydra would regrow two heads.
A terror and scourge to the people of Lerna, Heracles would end its reign of terror by goading it into battle by shooting flaming arrows into its lair. Realizing its deadly nature and near immortal might, Heracles would call upon help from his nephew, Iolaus, figuring out to chop off each head and for Iolaus to cauterize the necks with flame before they could grow back. For the final blow, Heracles drew out a sword of gold bestowed upon him from the goddess Athena, and sundered its last remaining, yet immortal, head. Sealing the immortal beast beneath a great rock, Heracles' was victorious in his Second Labor, and the Hydra's blood were his spoils to overcome many more immaculate feats in his quest of the Twelve Labors.
General description[]
Water Dragons are giant sea-dwelling dragon-like beasts. These aquatic monsters made their first appearance in Castlevania III: Dracula's Curse as the bosses of Block 6A, Causeway of Chaos. As with some other enemies in this game, both their design and attack patterns differ between the original Japanese version and the Western localization.
They reappeared later in Super Castlevania IV, where they were called the Orphic Vipers. This variant waves both of its heads continuously and each has a distinctive attack of its own: one breathes a short-ranged flame and the other spews three-directional fireballs. Although referred to as two different monsters in the Western localization of Super Castlevania IV (probably referencing the dragons from Dracula's Curse), in the Japanese version it is called Twin Head Dragon, confirming that it is in fact a single creature with two heads.
A single-headed aquatic Serpent appears as the harder alternative to the boss of the first stage in Castlevania: Rondo of Blood. In the remake, The Dracula X Chronicles, it largely reprises its role from the original, although another variant called the Hydra is present as the boss of Stage 5'.
The Serpent that originally appeared in Rondo of Blood returned in the game's reimagined Super NES version, Castlevania: Dracula X, where it went through a slight redesign, now looking more dragon-like and portraying a more accentuated reddish skin rather than flesh-like, as in the original game. It basically follows the same attack patterns as its predecessor, although with some slight variations. However, its most prominent distinction is that it was renamed Salamander, thus changing its origin to the legendary fire-dwelling reptile rather than a sea creature.
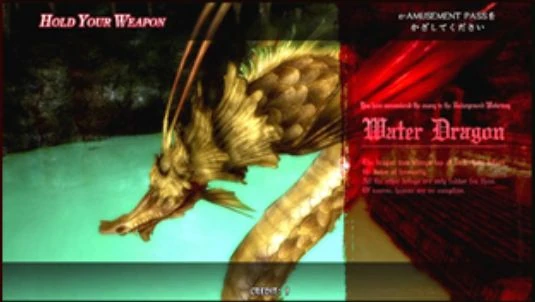
A version of this creature with arms appears as the first boss of Castlevania: Legacy of Darkness, actually being the responsible for sinking the ship Cornell was traveling on. This Water Dragon also makes an appearance in Castlevania: The Arcade.
An icy water dragon called Rahab first appeared in Kid Dracula. It was later mentioned in Castlevania: Symphony of the Night, where the Icebrand sword was referred to as "Rahab's Sword" in Japan. The sword was also called by this name in Castlevania: Aria of Sorrow and Castlevania: Portrait of Ruin. This great aquatic beast made its second boss appearance as a more fish-like creature in Castlevania: Dawn of Sorrow. Some of its attacks would cause a brittle ice bridge over the surface from which one could step on and fight back at the creature.
Appearances[]
Castlevania III: Dracula's Curse[]
First appearance of the Water Dragon in the series, where two of these creatures appear. They act as the end bosses of Block 6A, Causeway of Chaos. The battle takes place on top of three platforms over a body of water, with the middle one being larger. The two dragons will emerge from the water below, each through one of the four open spaces left between the platforms. Each dragon will stick out its long necked head at a varying height and breathe a medium sized flame; then it will submerge in the water again and reemerge through another opening.
As with many enemies in this game, there are some differences between the Japanese and the export versions:
- In the Japanese version, Akumajō Densetsu, the head of the dragons is bulkier, has larger fangs, and the fins around its head are longer. The flame they breathe is red and is slowly released until it reaches its full length, and it can be released at an angle depending on the player's position. The dragons follow a determined pattern, each reemerging through the opening on the left from where it last attacked, and reappearing on the rightmost opening once they reach the left end of the chamber.
- In the export versions, the head of the dragon is thinner, its fangs are smaller, and the fins around its head are shorter. The flame they breathe is yellow colored this time around and is released much faster; however, it can only be released straightforward. One of the most notable differences is that the dragons can emerge through any random opening, and they are much faster than their Japanese version counterparts.
|
Super Castlevania IV[]
The Water Dragon makes its second appearance in Super Castlevania IV. In the English localization, they were named the Orphic Vipers, implying they are two separate giant snake-like creatures. However, its original Japanese name is the Twin Head Dragon, confirming that it is indeed a single bicephalous creature. The separation to two different creatures in the English localization might have been a reference to the Water Dragons from Dracula's Curse, as the monsters in both games have a similar design.
The Twin Head Dragon appears at the end of Stage III, the Ancient Ruins, acting as the end boss of that multi-environmental level. Once Simon Belmont finally arrives to the topmost part of these Greek-like ruins, a couple of waterfalls will suddenly emerge on the left side of the screen and start flooding the place (although not enough to actually become a hazard). Once the water level has reached a certain point, two dragon-like heads will enter the screen from behind the waterfalls, continuously waving their heads up and down in a serpentine-like manner. Each of these heads has a distinctive attack: one breathes a medium-sized purple flame in a downward angle, while the other spews three cyan colored fireballs in a spreading manner.
The dragon heads will remain on the left half of the screen, so, as long as the player doesn't approach them too much, they'll be relatively safe. Because of this, bringing the Boomerang with the Triple Shot upgrade is advisable, as the player can throw these crosses from a safe distance and they'll deal heavy damage to the heads, both on their way out and on return.
While both heads share the same HP bar, each of them has its own health. When slain, each head will instantly turn into a skull and neck bones, and drop dead.
|
Castlevania: Rondo of Blood[]
The water dragon makes one of its most iconic appearances in Rondo of Blood. Renamed simply Serpent in this game, it acts as the first and harder alternative boss of the first stage, the burning town of Aljiba. In order to fight it, once Richter Belmont (or Maria Renard if replaying the level after having unlocked her) is heading out the initial burning houses section of the level, after descending a set of stairs, instead of going through the door on the right, he can destroy a few pieces of wall on the left, fashioning with this impromptu stepping platforms where he can enter a secret chamber. After dropping to a level below, Richter will soon arrive to a watermill-like contraption that carries water from this subterranean area to the town above. Once Richter exits this area, he'll arrive to a long bridge high above the ground, where it becomes evident that the water is being carried from a nearby lake. In the distance, the ominous castle of Count Dracula can be seen sitting majestically atop a hill. This marvelous view doesn't last long, however, as some sort of serpent-like creature suddenly emerges from the water in the distance, and just a moment after this apparition, the creature arrives to the bridge where Richter is standing and starts attacking him.
The Serpent has various attacks at its disposal:
- It jumps from behind the bridge toward the screen in a simulated 3D effect. While Richter can walk under the arc it traces as it does so, the monster's lower body and tail will pass at enough height and deepness that making contact with them will harm him.
- The creature erects its upper body for a moment and spews a barrage of water balls on the bridge which are harmful to the touch. Then the monster will let itself drop straight down back into the water, harming the player if they happen to be underneath it.
- The Serpent slithers along the bridge from one end of the screen to the other tracing a coiling motion around it, once again simulating a 3D effect. If the player makes contact with a part of its body that currently has the same height and deepness as them, they'll receive damage.
The monster can only be harmed if hit on the head, so the player must try to hit it as it performs its own attacks, and also make use of their sub-weapon's Item Crush to deplete big chunks of the boss's HP bar.
Once the Serpent's health bar has been completely depleted, it will apparently drop dead. However, a few seconds later, it will make one last ditch attempt to harm the player by suddenly emerging from the water at great speed, attempting to hit them. The creature will now be nothing more than a skeleton with a few chunks of flesh and will finally perish for good.
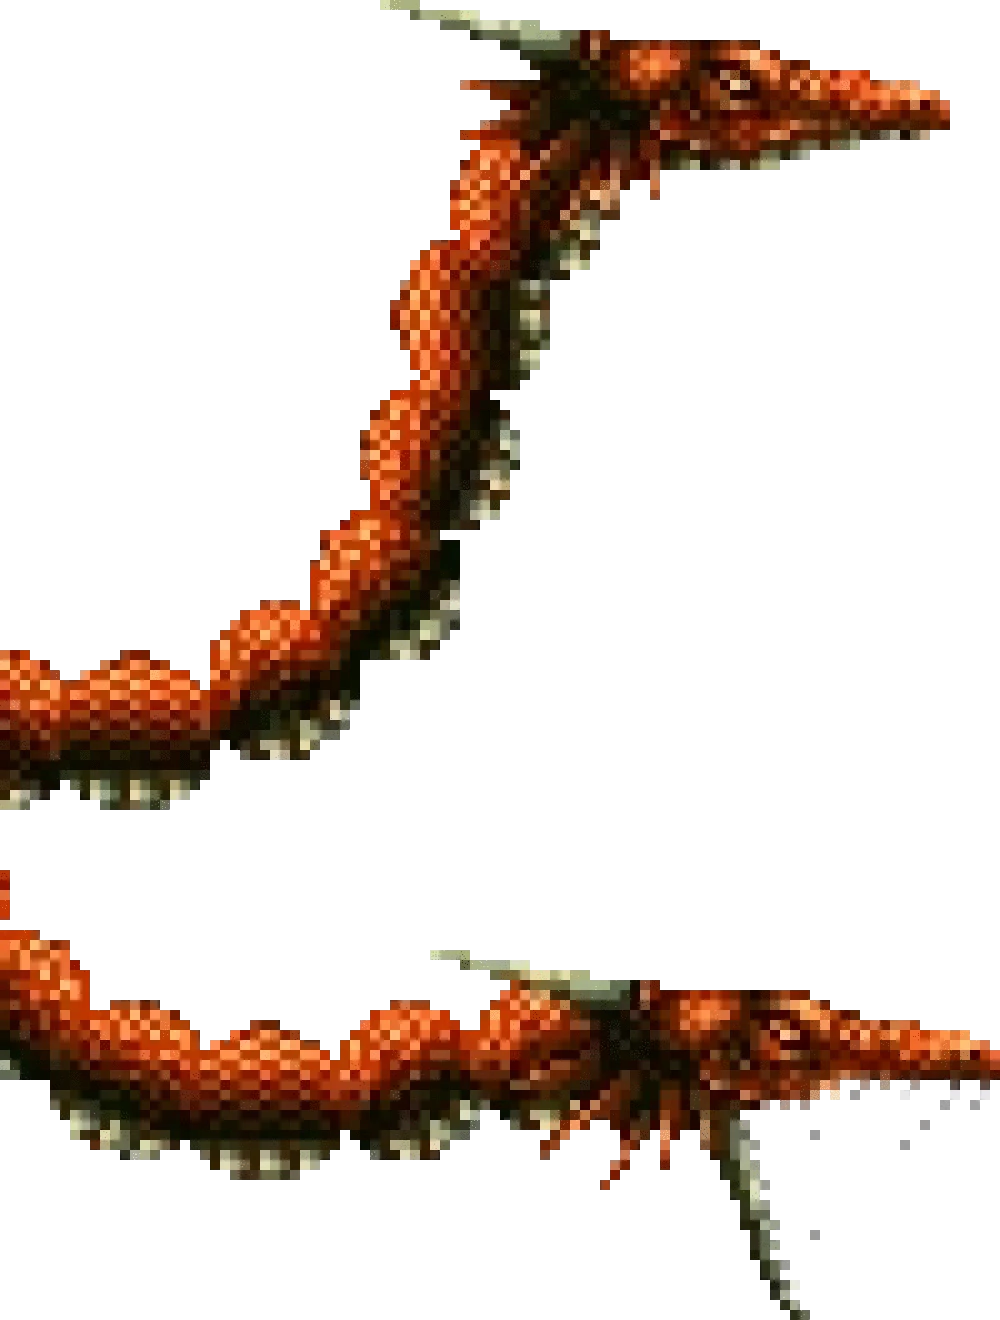
Due to the use of sprites to simulate the Serpent's fluid movement, its many body sections can be seen clearly separated from each other. In the PSP remake, Castlevania: The Dracula X Chronicles, the monster was redesigned into a 3D model and no longer features these body separations. Additionally, this game features another aquatic serpent-like dragon known as the Hydra, which is an original boss only present in this version of the game (see here).
")
")
")
")
")
|
Castlevania: Dracula X[]
- Main article: Salamander
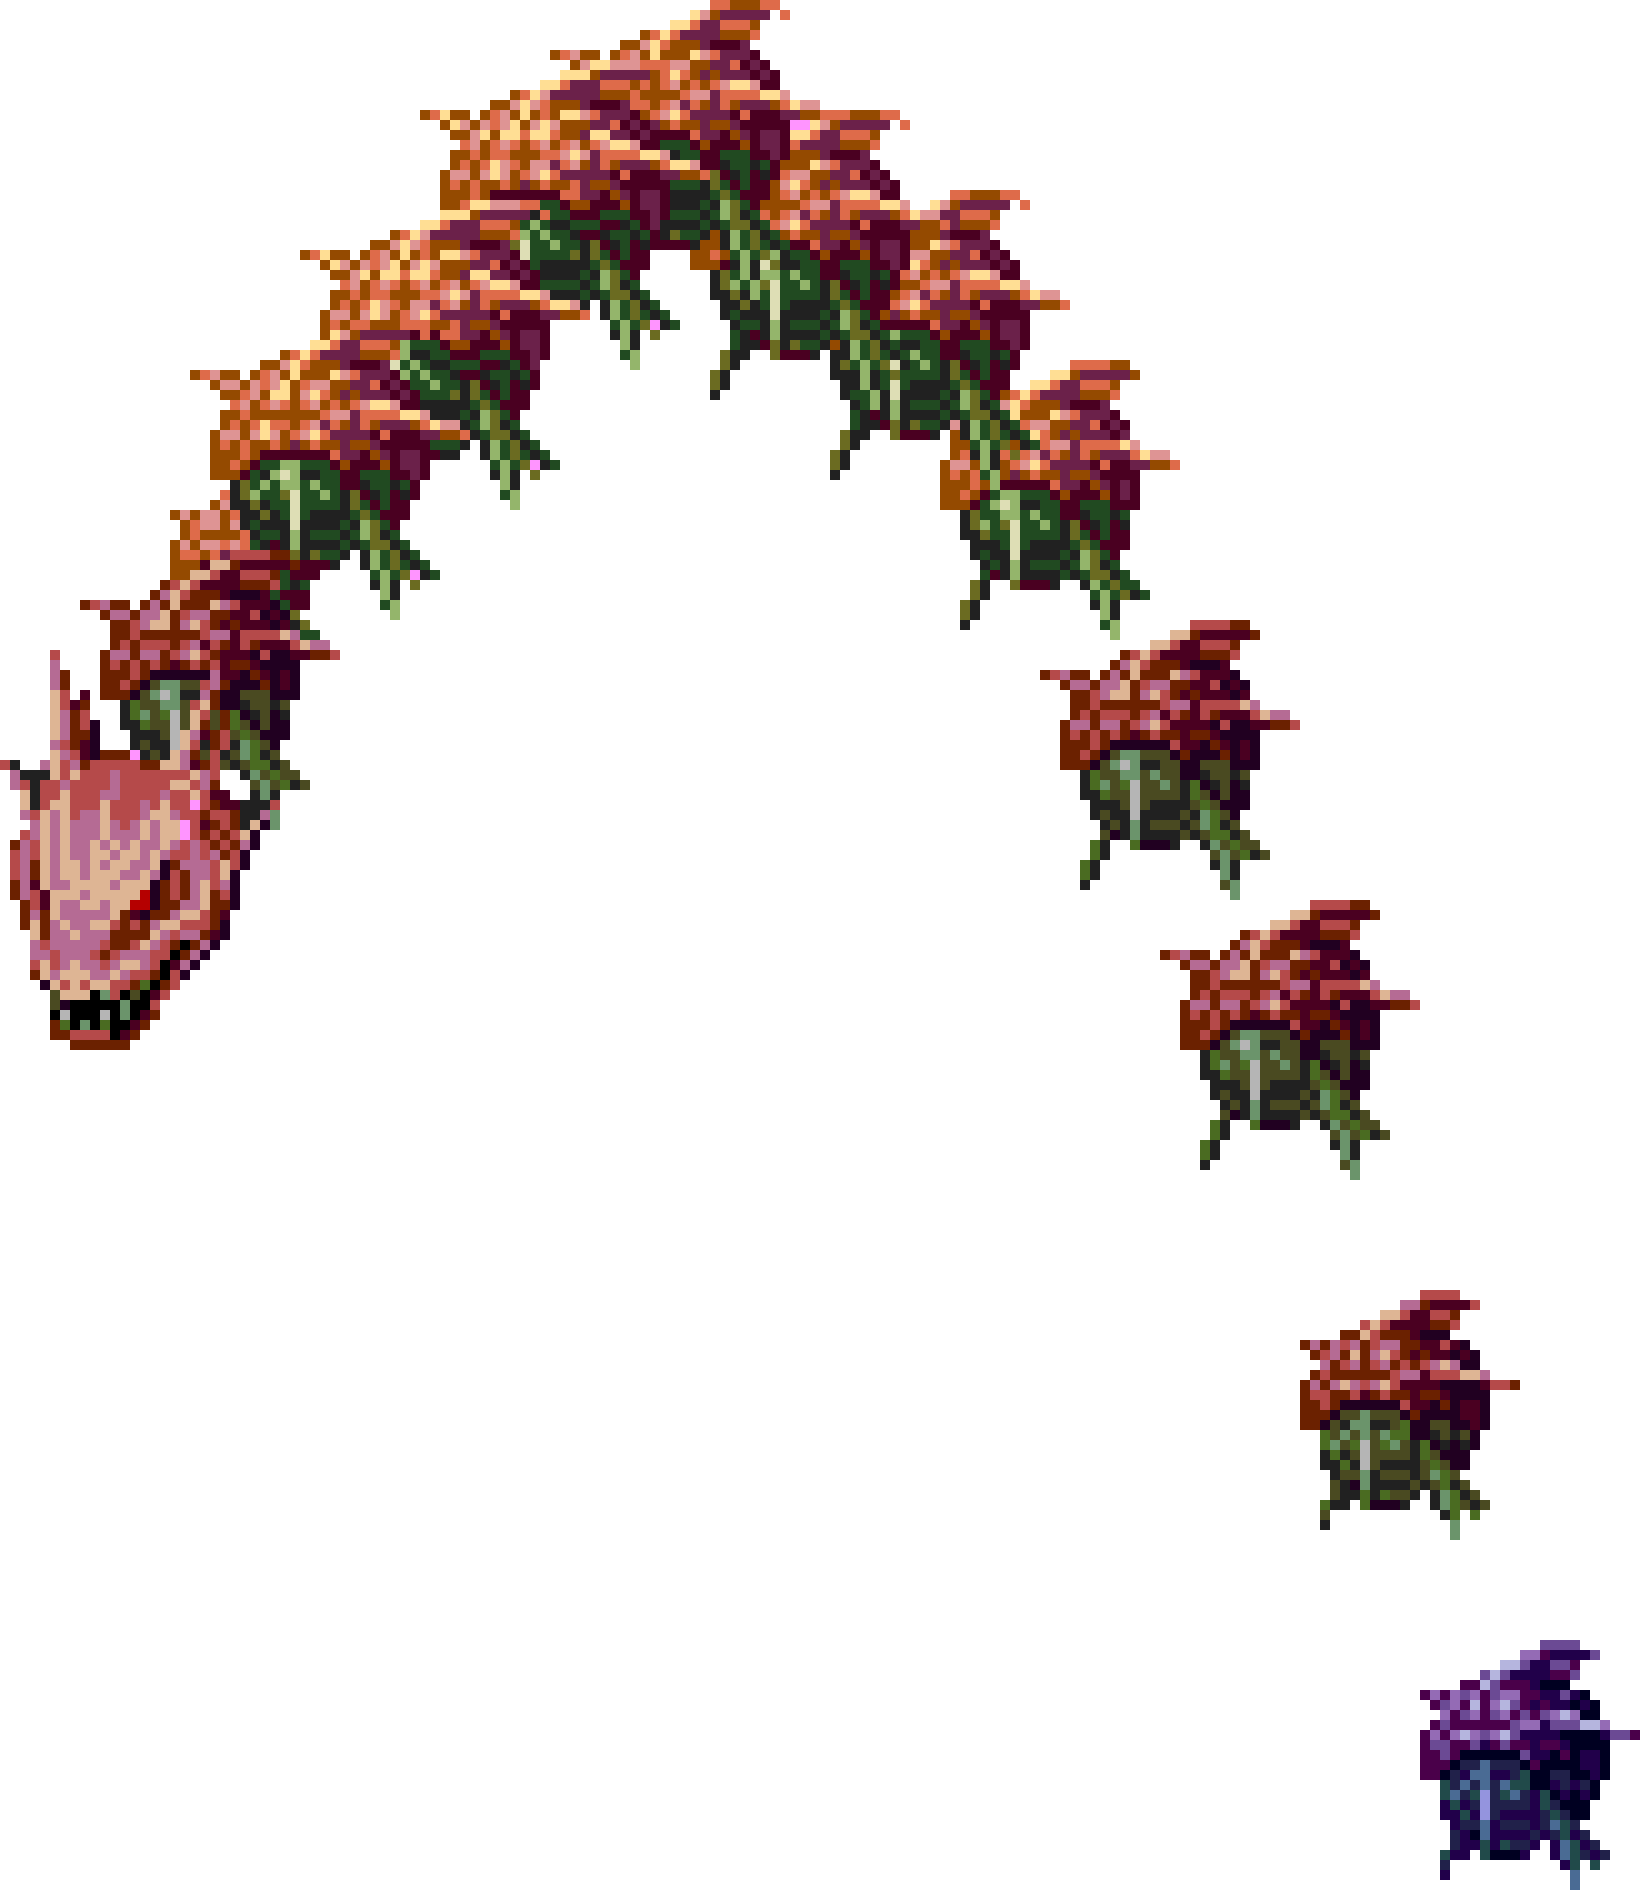
A similar creature to the Serpent from Rondo of Blood appears in this reimagined Super NES version, with the main difference being that this monster is instead a Salamander, thus changing its origin to the legendary fire-dwelling reptile rather than a sea creature. This change isn't only by name, though, because even if it also dwells in bodies of water, it can now spew fireballs instead of balls of water like its predecessor.
The monster is basically the same, although it went through a slight redesign, now looking more dragon-like and featuring a more accentuated reddish skin rather than flesh-like, as in the original game. Additionally, the segments that comprise its body are remarkably more separated between them than those of the Serpent, taking away a bit the illusion of fluid movement.
Other differences include that the creature is no longer found outdoors in a lake, but in the underground cistern of the ruins of an ancient Greek-like civilization. Also, there is no introduction to the creature this time around; when Richter Belmont enters its chamber, the monster will already be performing a jumping attack.
Some other behavioral changes include:
- Its jumping attack covers a longer distance.
- When it slithers around the bridge, the coils it traces with its body are less pronounced, leaving wider spaces between them.
Castlevania: Legacy of Darkness[]
The Sea Monster (named Serpent in Japan) is the first boss of the game (unlike Castlevania 64, where the King Skeleton was the first boss) and only appears during Cornell's adventure.
While exploring the ghost ship sailing the Foggy Lake, Cornell eventually reaches the hull's interior, where he is attacked by a few remaining Lizard Men. Shortly after slaying the creatures, a huge scaly arm unexpectedly breaches inside, leaving a large crack behind, and the lake's water immediately starts rushing inside, rapidly flooding the place and forcing Cornell to find a way to climb to the top to abandon the ship.
Cornell barely manages to escape the sinking ship and attempts to make his way back to mainland by jumping over some floating debris. However, once he finally reaches a broken bridge near the shore, a gigantic aquatic serpent-like creature suddenly emerges from the water –the very same creature responsible for sinking the ship– and attacks him.
The Sea Monster has a few attacks at its disposal:
- Its main form of attack is spewing large balls of water, one after another, which produce huge watery explosions when they hit the ground. Being caught by one of these will send Cornell flying high up in the air, dealing heavy damage.
- It can also perform a sweeping grab attack. If Cornell is caught in its claws, the monster will lift him for a moment and then toss him to the ground with great force.
- It can spew blobs of Slime on the ground. These appear to be semi-sentient, as they can freely move along the floor in Cornell's direction. While the Slime itself won't harm Cornell, if stepped upon, it will restrain him in place, leaving him at the boss's mercy.
The arms of the creature can be individually destroyed. If one of these limbs is successfully severed, the monster will become staggered for a while, allowing Cornell to score many free hits. However, the missing limb will regrow after a moment and then the creature will resume its usual attack patterns.
Apart from its main attacks, the creature's other advantages are its large size and speed, which allow it to remain out of the reach of Cornell's basic attacks for the most part. It can also dive into the water for an undisclosed amount of time and suddenly come out for a surprise attack.
However, being the first boss of the game, the Sea Monster isn't remarkably resilient, and will perish with just a few well placed strikes to the head, its weak spot.
|

Castlevania: Circle of the Moon[]
- Main article: Serpent (card)
The Serpent makes a cameo appearance in this game in the form of a DSS Attribute Card. In this game, the monster represents the Ice element and allows Nathan Graves to perform many ice based attacks.
The Serpent itself can also be summoned to deal a great amount of ice damage to enemies.
Castlevania: The Dracula X Chronicles[]
The Serpent reprises its role in this remake of Castlevania: Rondo of Blood, only going through some slight changes, although mostly just aesthetical. The monster is now a 3D model and not sprite based anymore, giving with this more fluidity to its movements.
Apart from the standard Serpent boss, The Dracula X Chronicles also features an exclusive and original boss that also qualifies as a water serpent/dragon: the Hydra. The Hydra is a gigantic, four headed serpent. It is so big that it actually occupies the height of two screens. It has two purple heads and two red heads; the purple heads are the only ones that are mortal, while the red heads can only be disabled for a while after attacking them enough. Each head has six eyes, three on each side and arranged in a straight line. At its chest, is its exposed beating heart. Like Death, the Hydra is a powerful boss, and one of attrition; while Death has three forms and different patterns to face for each of them, the Hydra is a beast of onslaught and chaos whose patterns must be managed in the heat of battle.
After Richter or Maria enters the Hydra's lair, the entrance gate will suddenly drop behind them, trapping them inside with the monster. One of the purple heads will silently slither behind them and attempt to eat them whole by surprise, but thanks to their quick reflexes, they'll manage to avoid the attack and then the boss battle will properly commence.
The first serpent head only has two attacks:
- It retracts for a brief moment and then performs a quick lunging bite.
- It retracts and pulls its head backward with its mouth open; then it spews a large and fast traveling noxious water ball which is harmful to the touch.
Only the head itself is vulnerable. After sustaining enough damage, the head will die and turn to stone, leaving it and its serpentine neck as impromptu platforms the hero can step upon to climb to the room above and continue the fight against the rest of this monster.
During the second phase of the boss fight, the hero will have to contend against the three remaining heads. The other mortal purple head will position itself on the left side of the screen, one of the red immortal heads will stay above it, and the other red immortal head will stay on the right side. The rest of the monster's body, from where the four heads come out, can be seen in the background, which also features a semi-exposed heart on its chest. This is the main weak spot of the creature, which must be destroyed in order to properly defeat the boss (that is, it's possible –although difficult– to destroy the heart and defeat the boss without actually having to defeat the other purple head).
The purple head will periodically spew one to three consecutive balls of electricity that will travel all along the floor from the left to the right. The layout of this second room features a few column-like protrusions along the floor, adding further hindrances to the player's maneuverability for avoiding the traveling electric balls.
The red head on the right will periodically spew four flames that will scatter throughout the room and will remain where they landed for a short period of time, hindering the player's available space. The first time, this head can be temporarily disabled by striking it only two times; however, once it reenters the battle, it will take eight more hits to subdue it again.
The other red head, the one on the left, is the most interesting, as it can perform two peculiar attacks:
- It will briefly rise and peek from the right side of the screen, and then perform a large swoop across the room from right to left.
- It rises out of the screen, then starts peeking from above up to three times in random locations; then it will come smashing down from each one of these telegraphed spots following the same pattern.
As mentioned, only the purple head is vulnerable, but the two red heads can be temporarily disabled if they sustain enough damage, signaled by them curling inward, at which point they cannot harm the hero, even through physical contact. Once the purple head dies, it will also turn to stone, providing the hero with yet another impromptu stepping platform which will allow them to easily attack the red head above it. Furthermore, the now petrified neck of the purple head will provide the hero with a platform where they can more easily attack the exposed heart and fell the beast more quickly.
Once defeated, the entire creature –including its two immortal heads– will turn to stone and perish.
|

Castlevania: The Arcade[]
|
Gallery[]
")
")
")
")
")
")
")
.gif "Lod-serpent(AL).gif (166 KB)")
")
")
")
")
")
")
")
")
")
See also[]
- Dragon
- Hydra (whip)
- Rahab
- Salamander
- Serpent (DSS card)
- Serpent Scale (relic)
- Summon Serpent (spell)
| Super Castlevania IV |
|---|
| Characters |
| Simon Belmont • Dracula |
| Bosses |
| Rowdain • Medusa • Orphic Vipers • Puweyxil • Koranot • The Dancing Spectres • Sir Grakul • The Monster Zapf Bat • Akmodan II • Slogra • Gaibon • Death |
| Areas |
| The Drawbridge, The Fortress, The Stables • The Forest, The Poison Lake, The River The Caverns, The Waterfalls, The Moat • The Outer Keep • The Castle Court • The Halls • The Unliving Quarters The Dungeons • The Treasury • The Clock Tower • The Castle Keep |
| Music |
| Theme of Simon Belmont • Akumajō Dracula Best 2 |
| Guides |
| All About Akumajō Dracula • Famitsū Akumajō Dracula Guide • Nintendo Power Super Castlevania IV Guide |
| Archives |
| Bestiary • Inventory |
| Castlevania: Dracula X |
|---|
| Characters |
| Richter Belmont • Annet • Maria • Dracula |
| Bosses |
| Keruberosu • Myotia • Dyurahan • Minotaurusu • Ghost • Lypuston • Salamander • Carmilla • Death |
| Areas |
| Common areas |
| Burning Town • Gate and Entrance to Evil Castle • Great Hall • Clock Tower • Count Dracula |
| Main path |
| Dungeon • Courtyard |
| Alternate path |
| Caves • Stage 5' |
| Music |
| Divine Bloodlines • Dracula Music Collection |
| Archives |
| Bestiary • Inventory |
| Castlevania: Legacy of Darkness | |
|---|---|
| Characters | |
| Protagonist
Supporting cast Ada • Mary Oldrey • Edward • Diana • Bess • Florence • Anthony • Clark Antagonists Actrise • Gilles de Rais • Death • Ortega • Renon • J. A. Oldrey • Dracula | |
| Bosses | |
|
Sea Monster • Giant Skeleton • Dragon • Harpy • Queen Algenie • Medusa • Crystal Laser of Doom • Giant Werewolf | |
| Areas | |
| Foggy Lake • Forest of Silence • Castle Wall • Villa • Outer Wall • Art Tower • Tower of Ruins • Duel Tower • Tower of Execution • Tower of Sorcery • Room of Clocks • Clock Tower • Castle Keep | |
| Guides | |
| Archives | |
| Castlevania: The Arcade |
|---|
| Characters |
| Protagonists |
| Vampire Hunter - Lady Gunner - Little Witch |
| Antagonists |
| Dracula |
| Bosses |
| Death - White Dragon - Dullahan - Minotaur - Water Dragon - Were Wolf - Harpy |
| Stages |
| Ruins - Palace - Underground Waterway - Ramparts - Clock Tower |
| Music |
| Akumajō Dracula Best Music Collections BOX |
| Archives |
| Bestiary |
| This page uses content from the English Wikipedia. The original content was at Sea serpent. The list of authors can be seen in the page history. As with the Castlevania Wiki, the content of Wikipedia is available under the Creative Commons License. |