- For enemies resembling Dracula, see Dracula-like enemies.
Throughout the entire Castlevania series, Dracula has taken various forms and confronted the protagonists with different strategies. While his main appearance remains similar in the games, they may present variations on his battle skills and forms.
The first appearance of Count Dracula. His attack pattern in this game would determine how he attacks in many of the future installments. In later games, a variation of this form is usually the first form fought, sometimes in an attempt to deceive players into thinking they are fighting the real Count, while in fact they are only fighting a doppelganger or a minor boss.
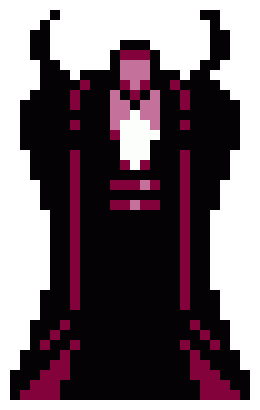
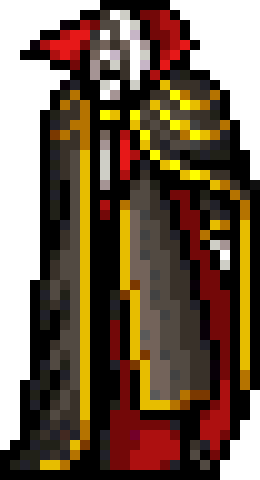
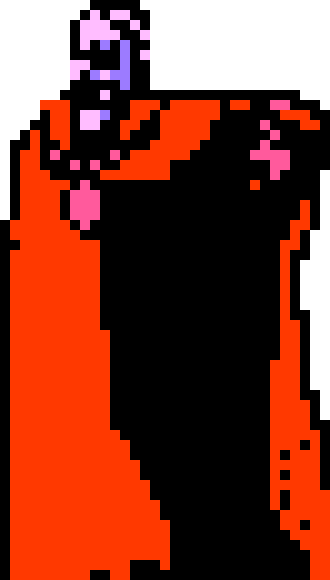
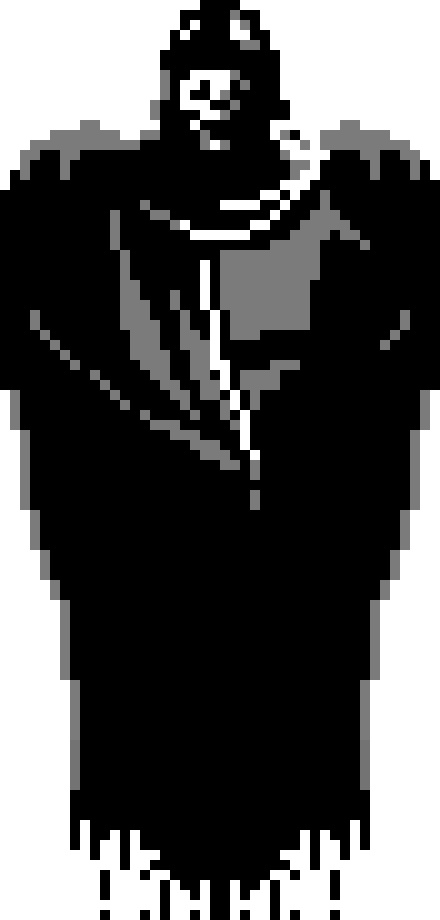
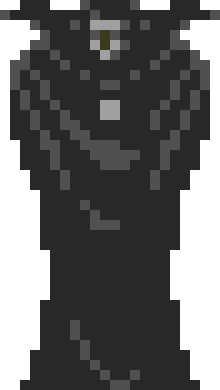
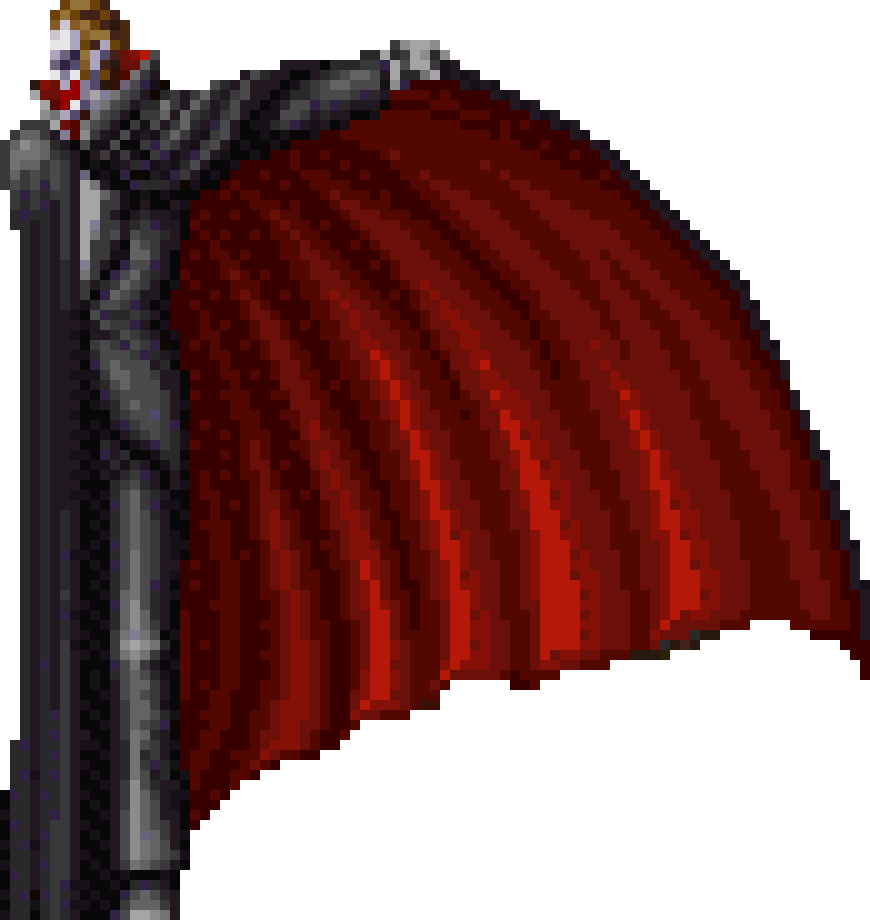
After an arduous journey, Simon Belmont finally arrives to Dracula's chamber at the very top of Castlevania, only to find a solitary and empty coffin inside. Dracula's dreadful head suddenly spawns from its interior and slowly starts floating upward, followed by the rest of his body which then materializes underneath, making him whole. He will then open his cape and unleash three fireballs, only to disappear and reappear again in another part of the room in an attempt to inflict contact damage.
His head is the only vulnerable spot in this form, so it is advisable to bring the Cross upgraded with the Triple Shot and throw many of them constantly at the Count's head.

(NES/C64/AMI/PC)
|
| Description
|
| The last and biggest boss. He's in the high place of the last stage. He's an extremely dangerous enemy who breathes fire as he "warps" around the room.
|
|
|
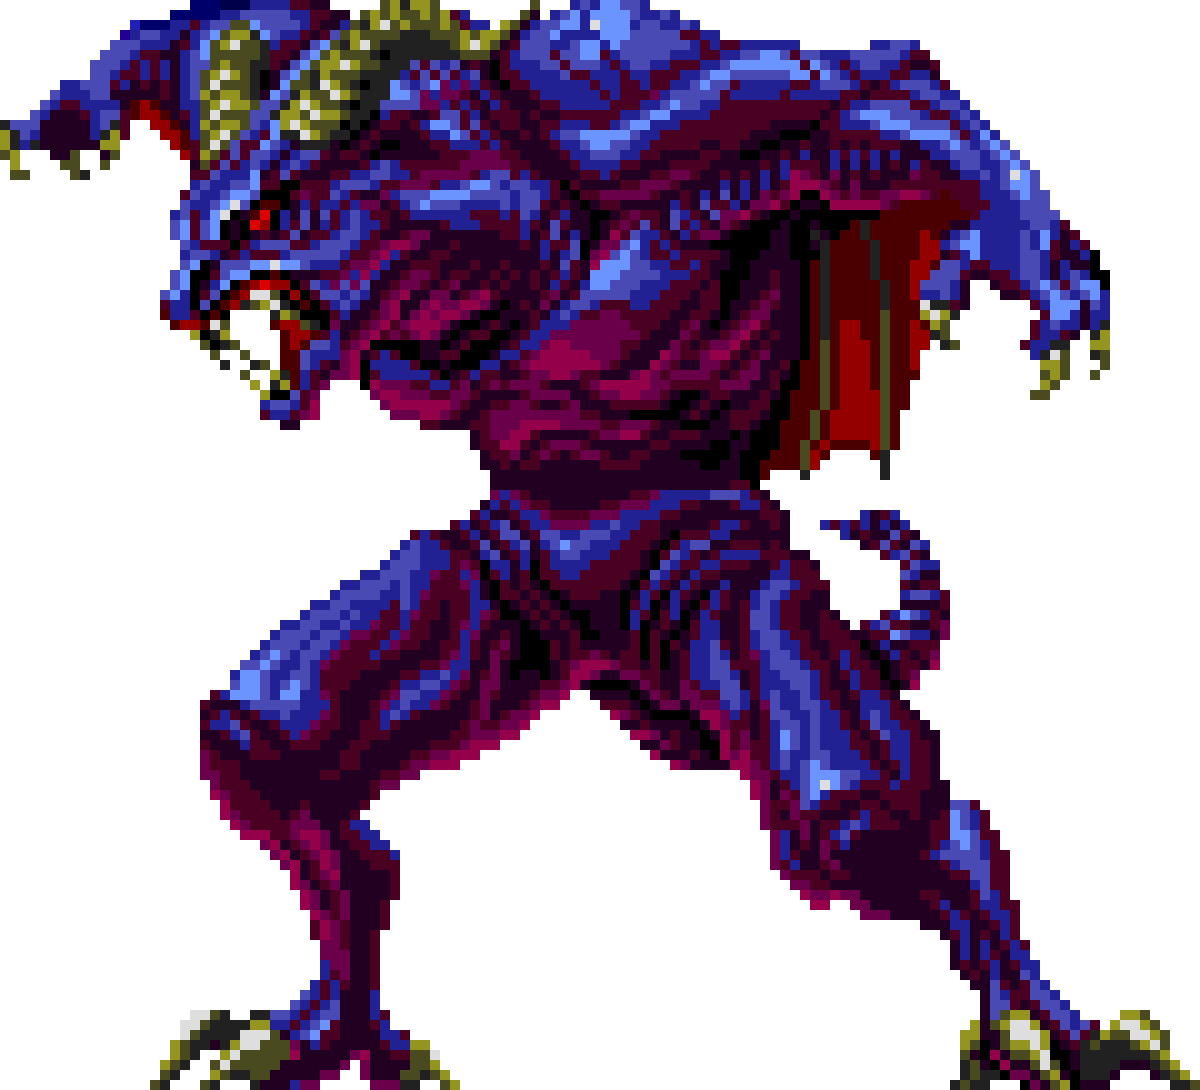
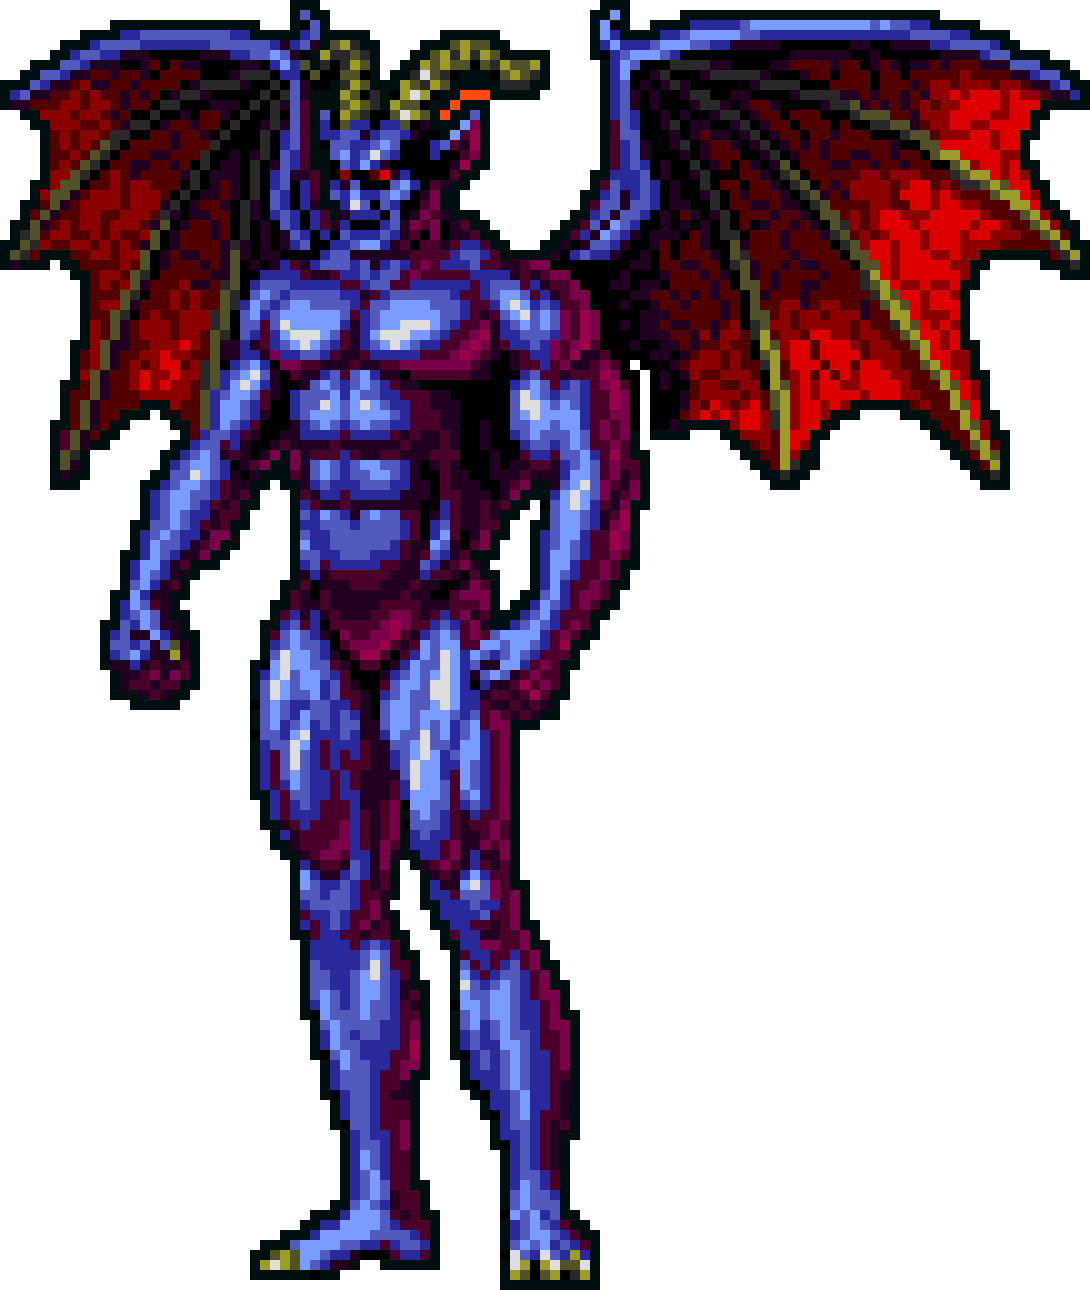
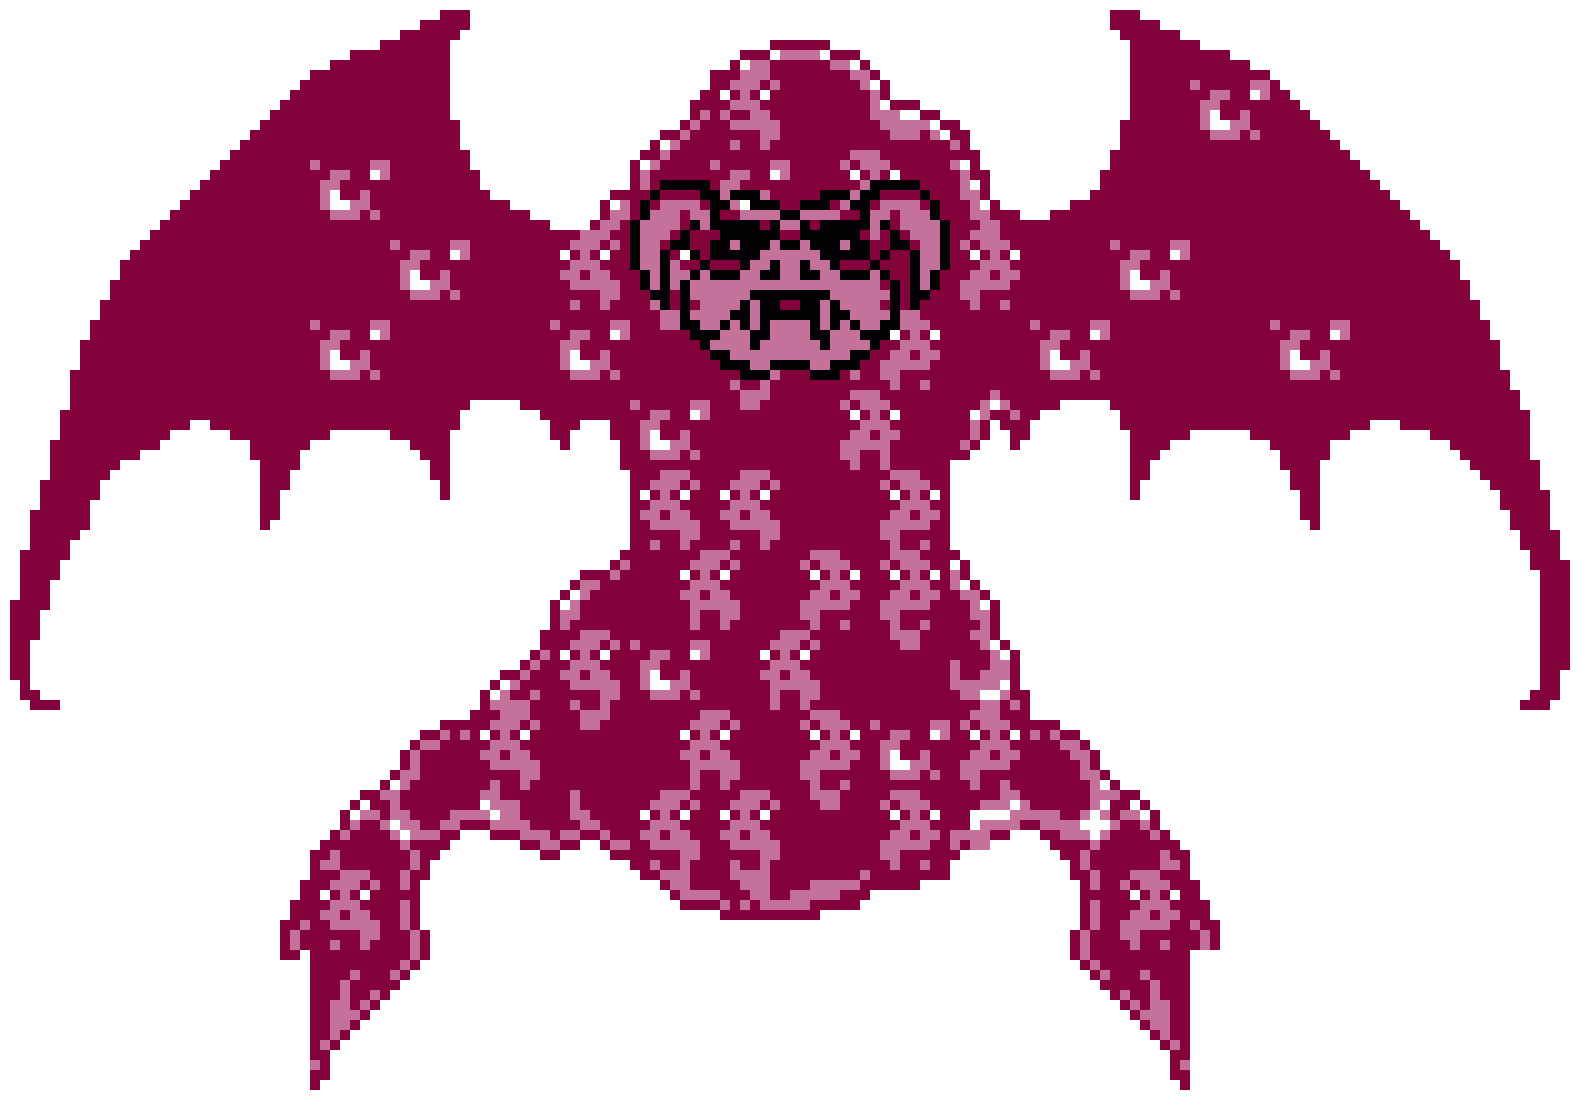
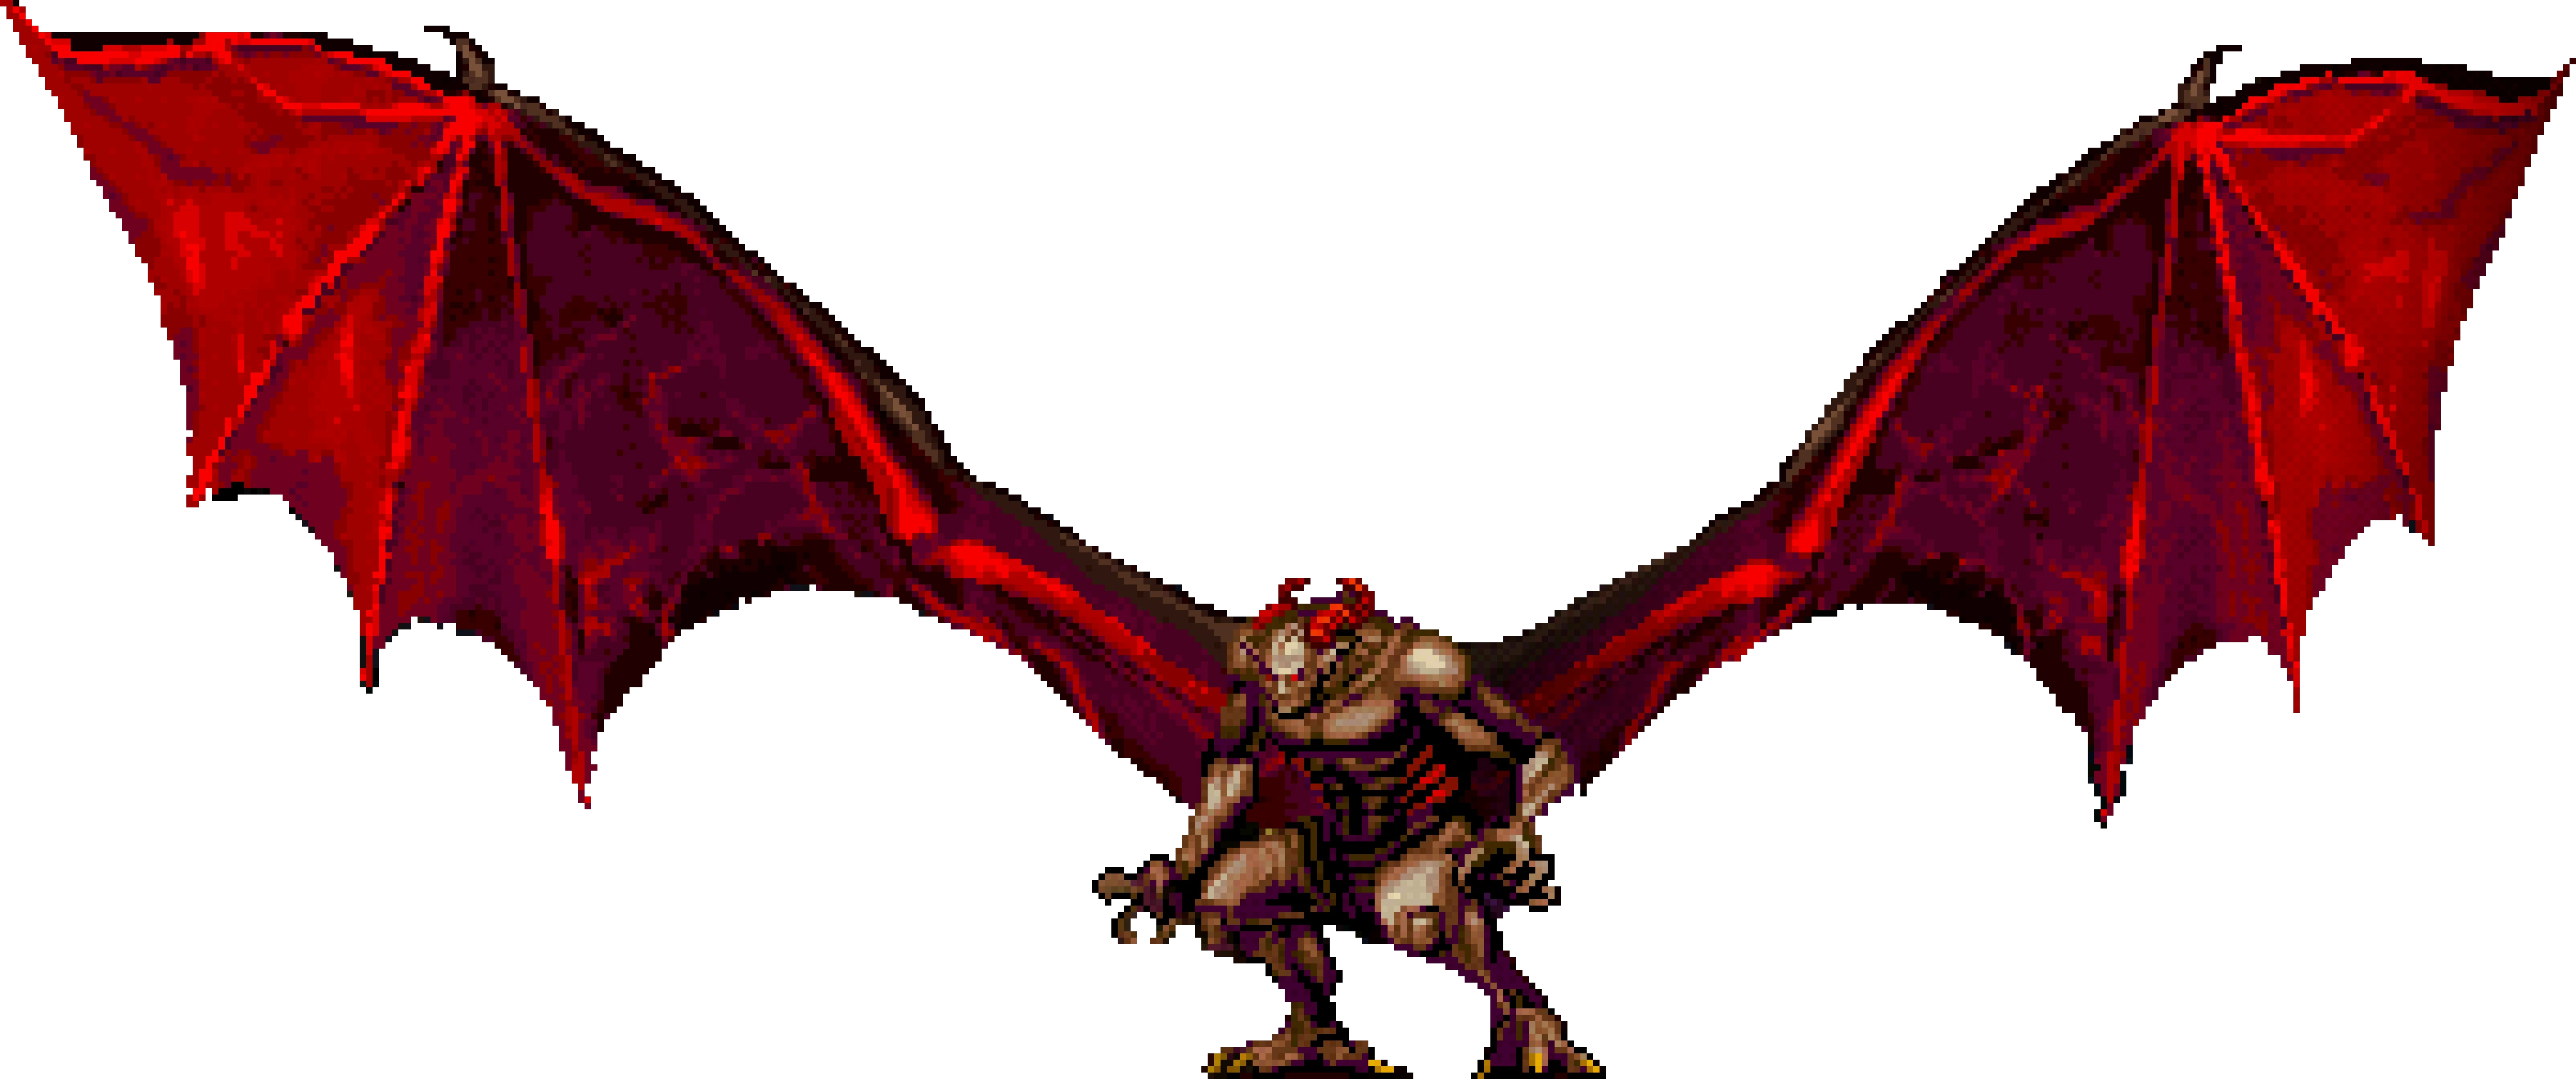
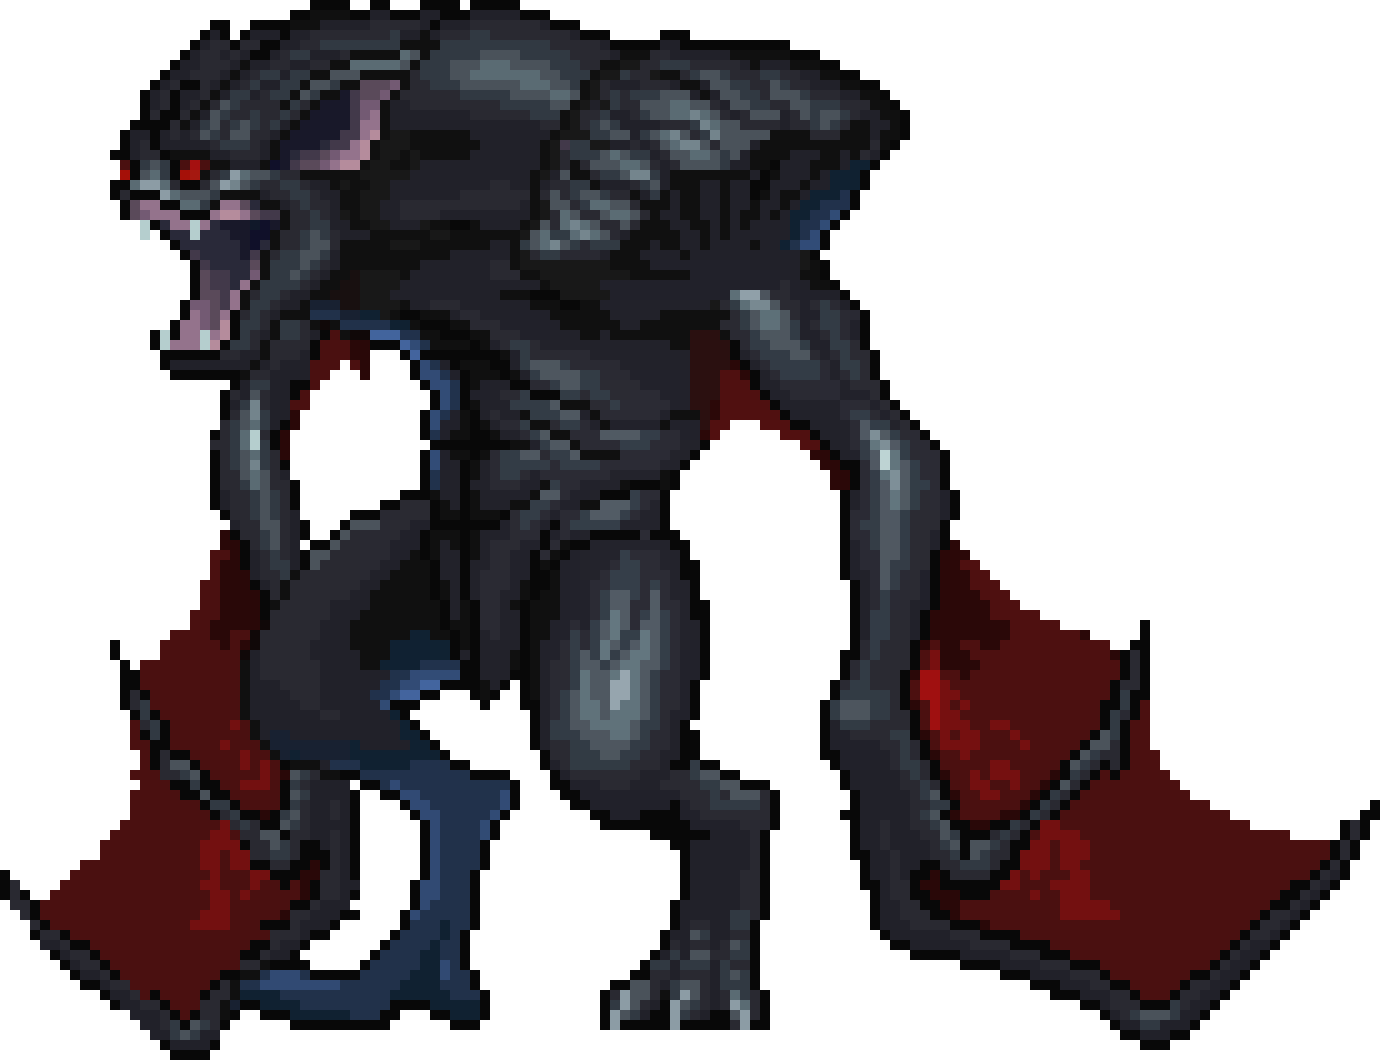
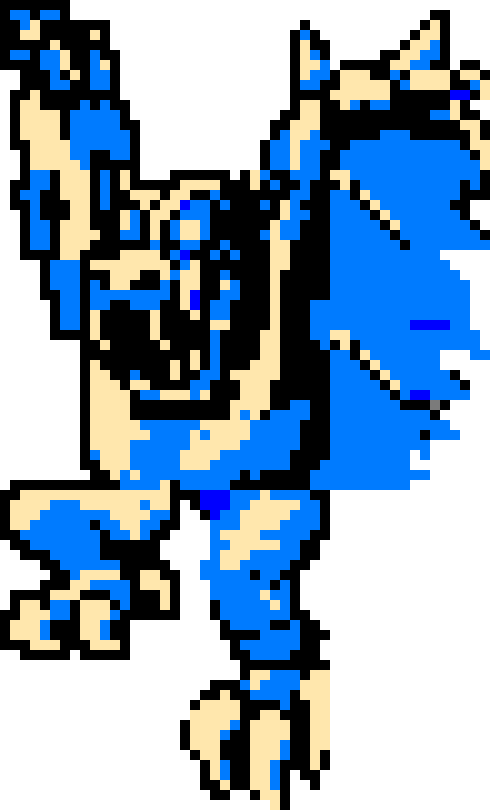
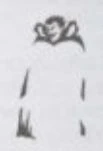
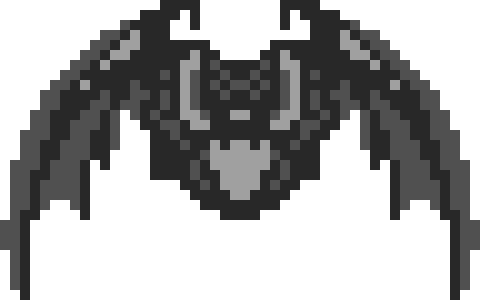
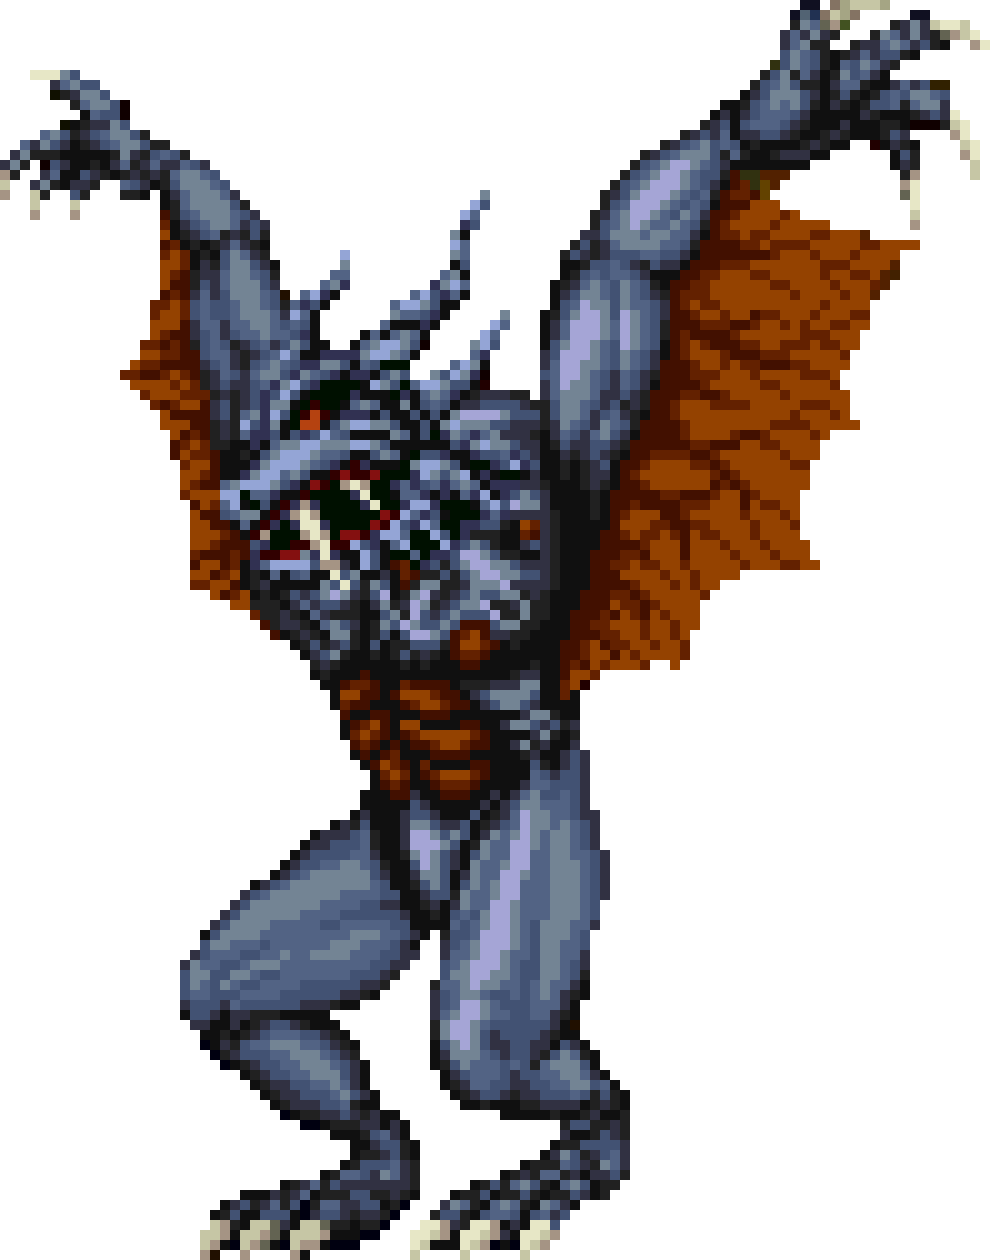
After depleting all of his health for the first time, his head will fly out and the headless body will transform into a giant blue, bat-like demon which would also determine later appearances in many of the sequels. Spirit of Dracula attacks by leaping around the room, occasionally pausing to spew groups of three fireballs. It is very difficult to safely travel underneath him when he jumps, as these vary in height, although he usually performs a couple of middle height jumps followed by a higher jump when Simon gets cornered. The player should take this opportunity to make it to the other side.
The Whip and Cross can only deal damage to his head, but his whole body is vulnerable to Holy Water. If the player was able to bring Holy Water with the Triple Shot power-up to this stage of the fight, the battle can be ended in a matter of seconds, as each vial will inflict heavy damage and also stun the monster in place. He also has more health than any other boss in the game, as it takes two hits to deplete a bar from his health, making him have 32 HP, so it is recommended to bring the Holy Water with the Triple Shot.
(NES/C64/AMI/PC)
|
| Description
|
| The second form of The Count.
|
|
|
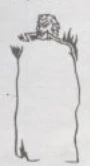
Although he looks more like a skeleton in this game, Count Dracula's attack pattern is the same as in Castlevania, as he teleports around the room and shoots fireballs in groups of three. Again, only his head is vulnerable.
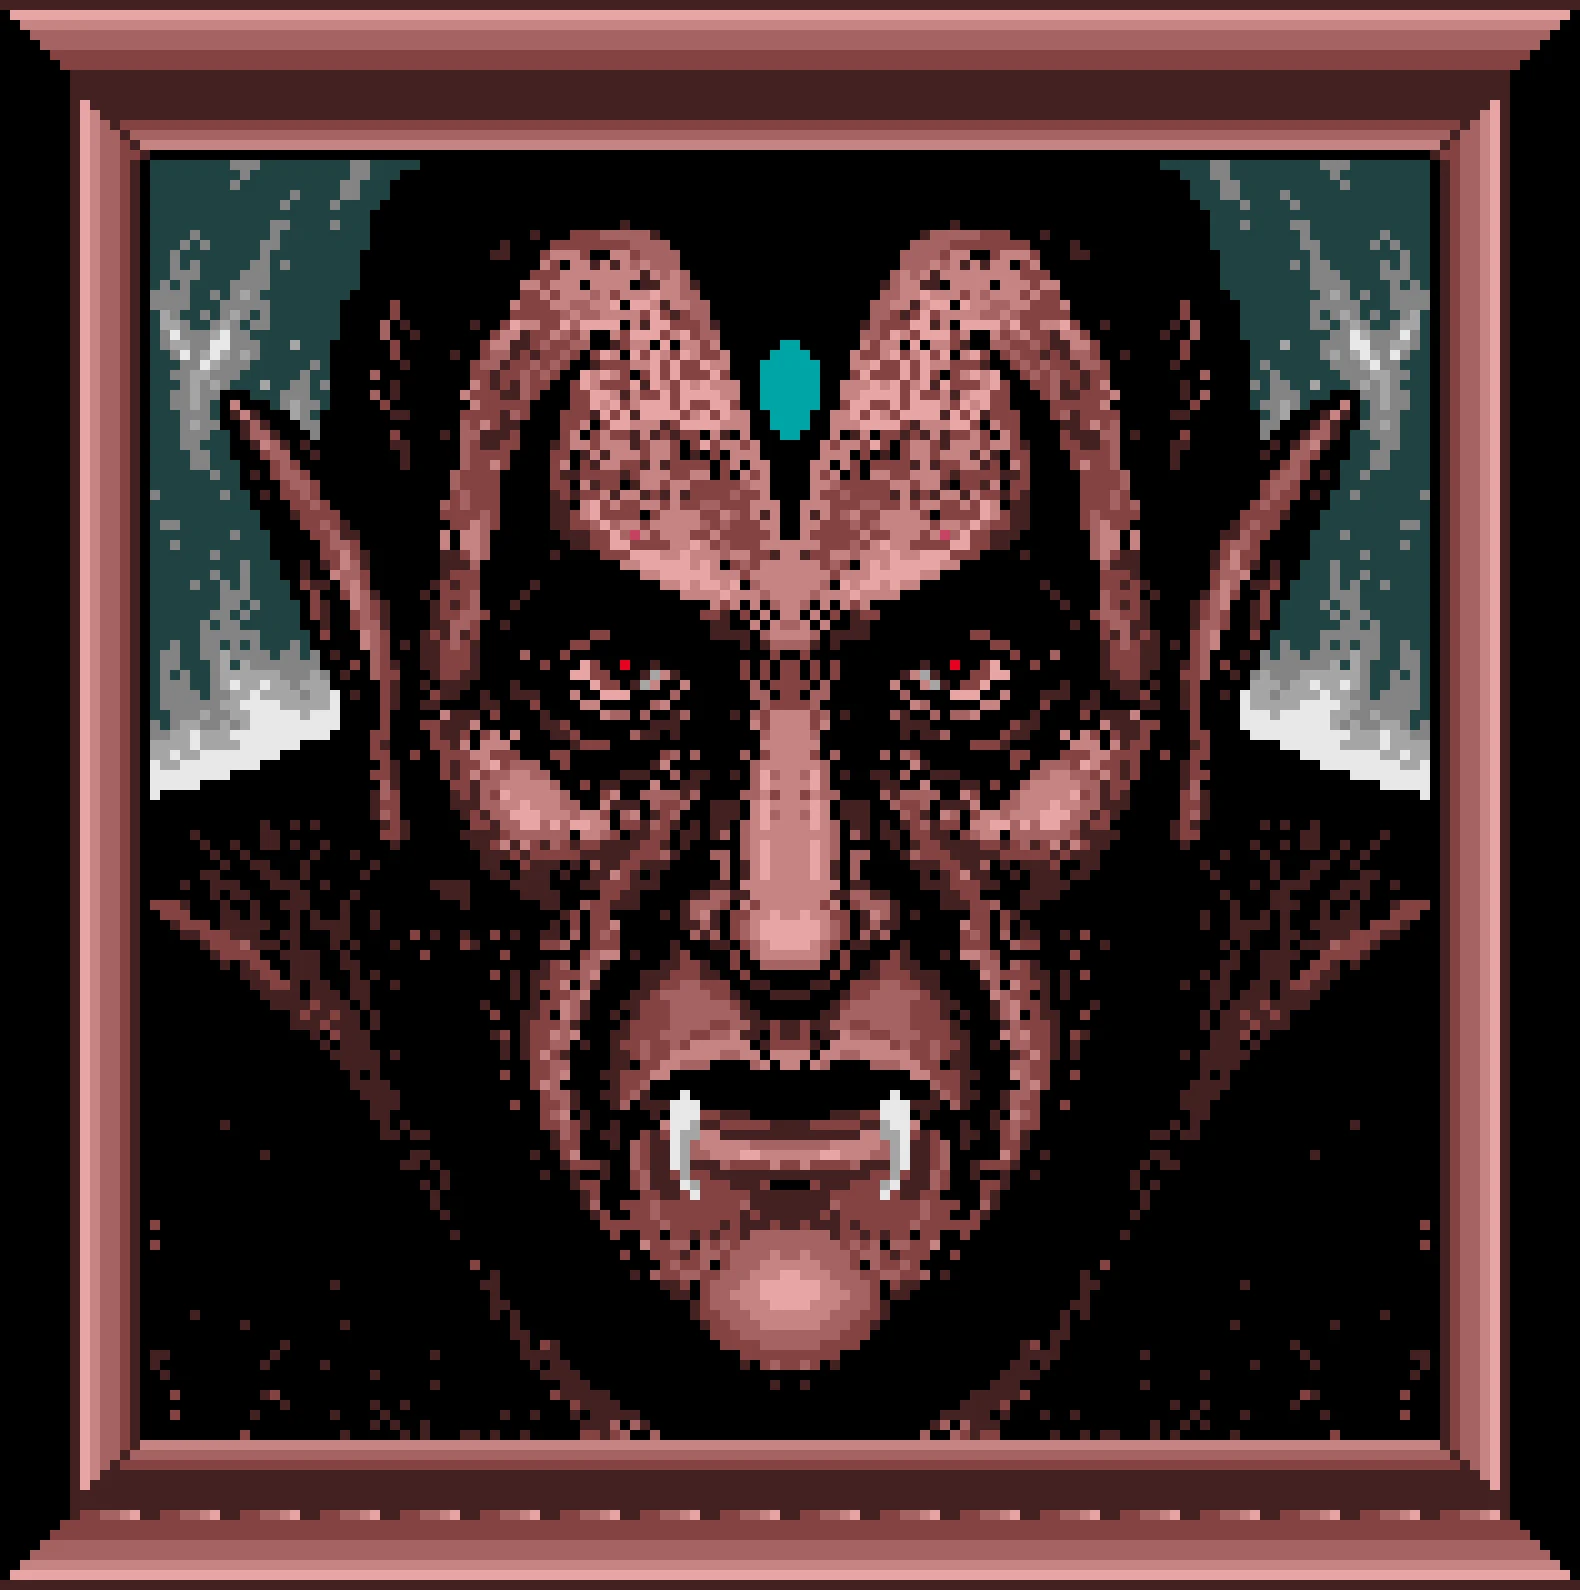
Upon beating the first form, like in Castlevania, his head will be knocked off. His body will then explode into red clouds before the painting in the background suddenly moves. When Count Dracula possesses the painting in the background, he will spit bats in wave patterns, occasionally pausing to allow Simon to strike the jewel in his forehead.
|
|
| Name
|
JPN
|
HP
|
EXP
|
| Count Dracula (Second Form)
|
ドラキュラ (第二形態) (Dracula (Second Form))
|
6
|
30,000
|
|
|
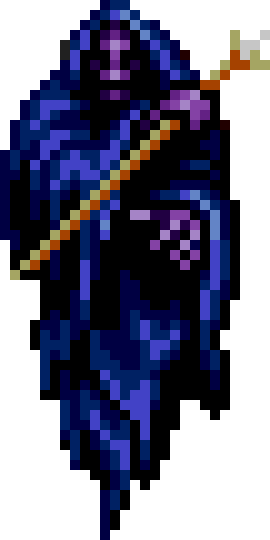
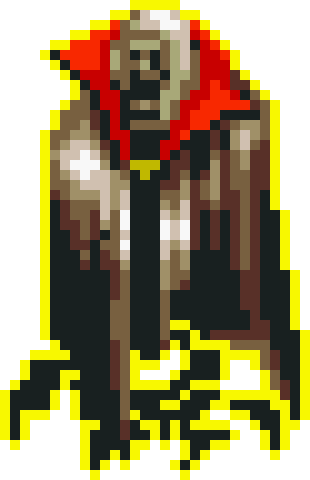
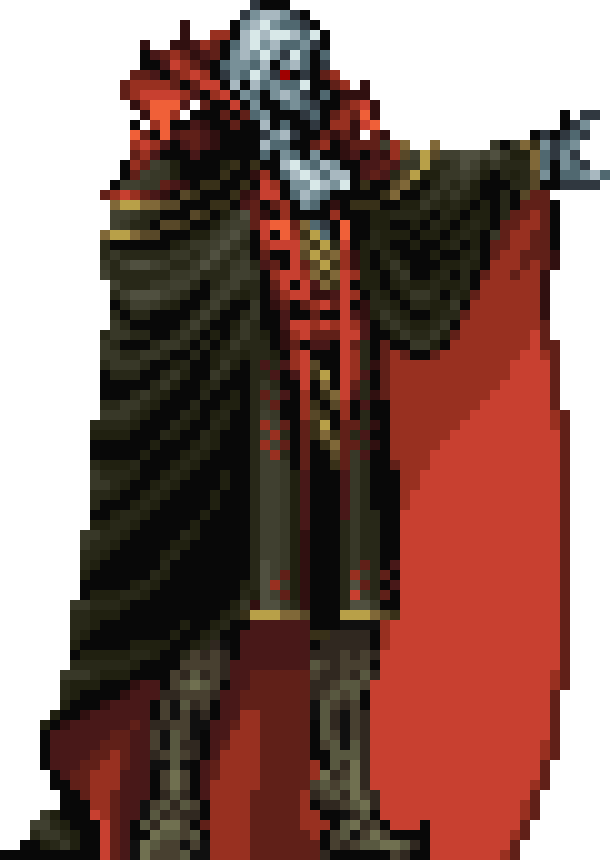
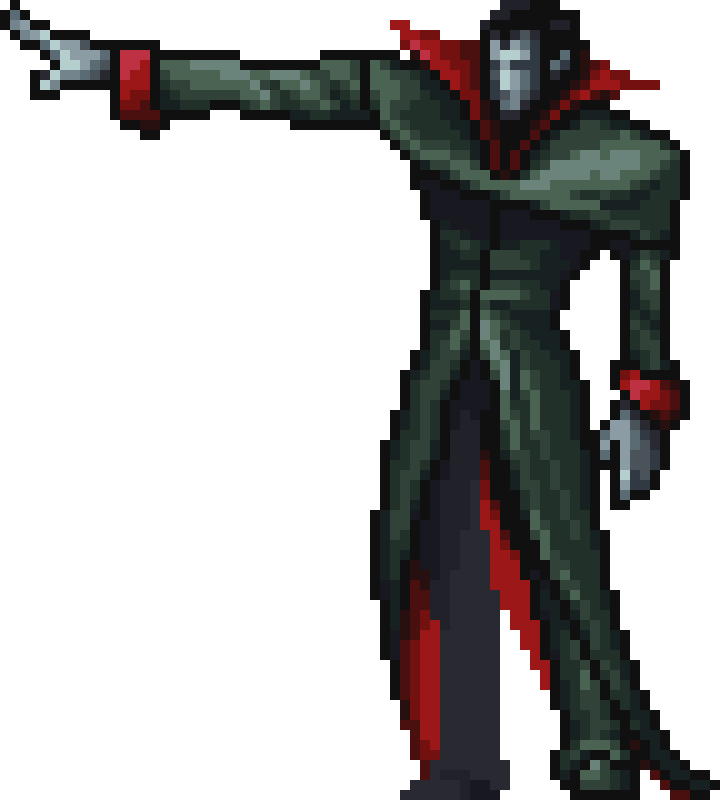
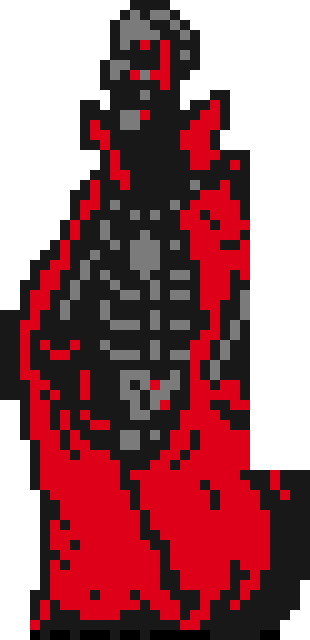
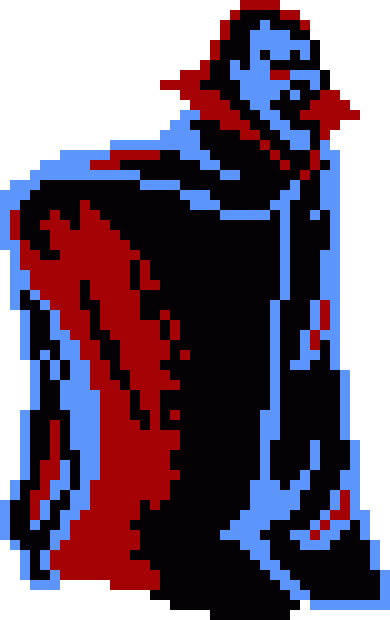
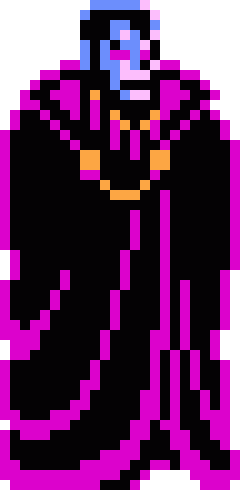
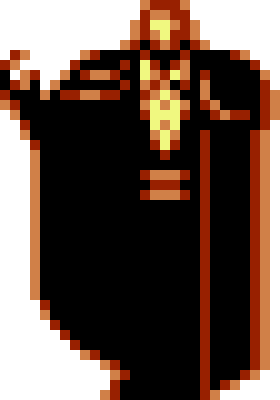
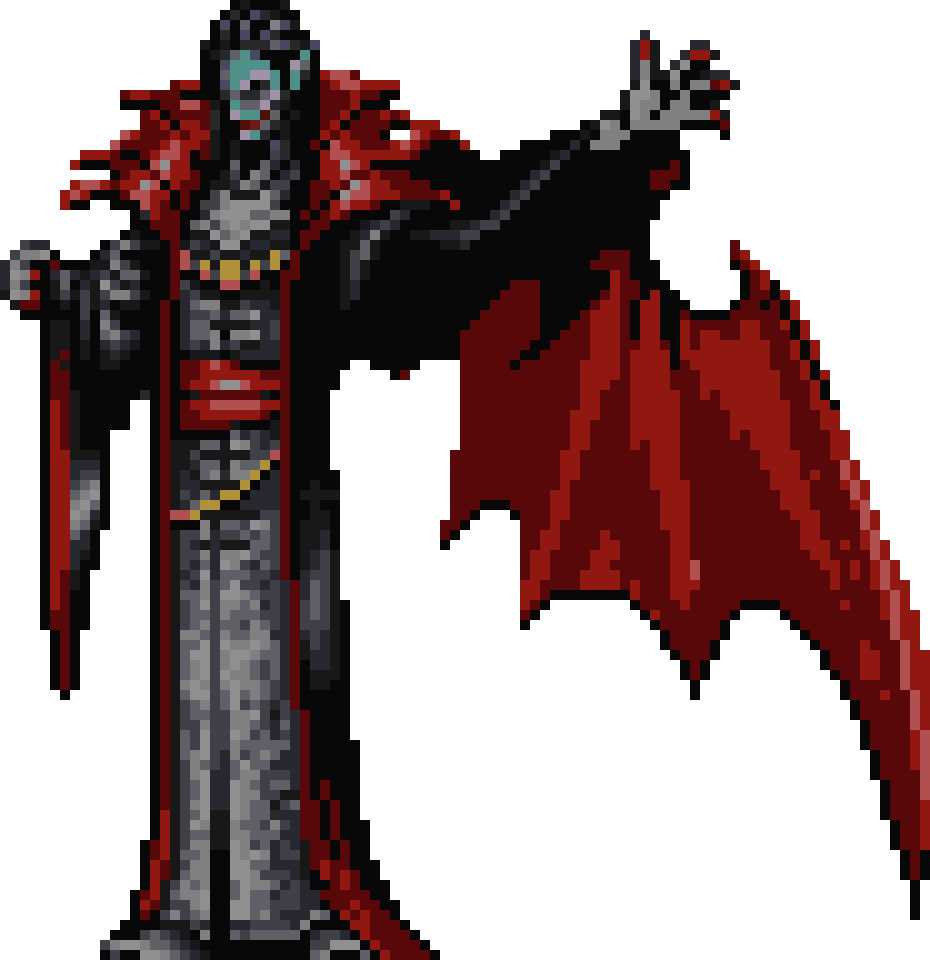
After burning Dracula's relics in the lowest depths of his castle, an ominous –yet unpleasantly familiar– dark figure suddenly materializes in front of Simon Belmont. Dracula's Ghost appears as a huge cloaked figure with his face resembling that of a cadaver. This is the only time Dracula appears in only one form in the whole series, without performing different forms of attack or changing combat stances.
Dracula teleports around the room in a clockwise direction and at very high speed, giving the illusion of having mirror images of himself around the room. He attacks by hurling spinning pairs of fangs at Simon (a relic he never knew about and which was kept in the chamber where Dracula was resurrected), as well as by attempting to inflict contact damage.
Nevertheless, this version of Dracula could possibly be considered the easiest to defeat in the whole series, as he can be stunned by many weapons and items in the player's inventory. As soon as the pyre where his body parts are being cremated extinguishes, the player can start throwing Gold Knives above the altar where Dracula is going to appear. Tossing Sacred Flames is also a good alternative or the player can just use a Laurel and start whipping away. With any of these strategies, Dracula can be killed in just a few seconds, even before he can fully materialize into the room.
- Note: Theoretically, the player could also drop a clove of Garlic and wait until Dracula's Ghost dies, but once Simon enters the final chamber at the basement of Dracula's castle, all his Garlic supplies will mysteriously disappear from his inventory.
|
|
| Name
|
JPN
|
HP
|
Drop
|
| Dracula
|
ドラキュラ
|
256
|
-
|
|
|
|
|
| Location
|
| Stage 4. The Castlevania
|
|
|
In Haunted Castle, Dracula changes his pattern by hovering in the air and throwing daggers. He also moves by transforming into a company of bats before dashing around the room, this move would also be implemented in many of his later incarnations, and would also determine the way later versions of the Giant Bat would travel around a room. Players who reach this far in Haunted Castle will be relieved to know that this time Dracula can be hit anywhere on his body and not just his head.
|
|
| Name
|
JPN
|
HP
|
EXP
|
ATK
|
| Dracula
|
ドラキュラ
|
12
|
-
|
10
|
|
|
In the second phase of his boss fight, Dracula transforms into a giant head, reenters from the right side of the screen and starts spewing swarms of bats at the player, so it is important to defeat him quickly before damage builds up.
|
|
| Name
|
JPN
|
HP
|
EXP
|
ATK
|
| Dracula (Second Form)
|
ドラキュラ (第二形態)
|
11
|
20
|
-
|
|
|
Dracula will teleport to any one of the four platforms in the room, firing 4-way spreading fireball patterns at either 45° or 90° angles.
|
|
| Name
|
JPN
|
HP
|
EXP
|
ATK
|
| Dracula
|
ドラキュラ
|
10
|
-
|
-
|
|
| Description
|
| Finally you have reached the Prince of Darkness.
|
|
When he transforms into Dracula Bat, he will fly back and forth over the top of the screen and fire small groupings of bats downward at the player. Christopher can only hit him while jumping.
|
|
| Name
|
JPN
|
HP
|
EXP
|
ATK
|
| Dracula (Bat Form)
|
ドラキュラ (第二形態)
|
20
|
-
|
-
|
|
| Description
|
| Your moment of attack is when he is in the form of a bat.
From the middle lower platform, wait until the bat moves to the left, then attack.
|
|
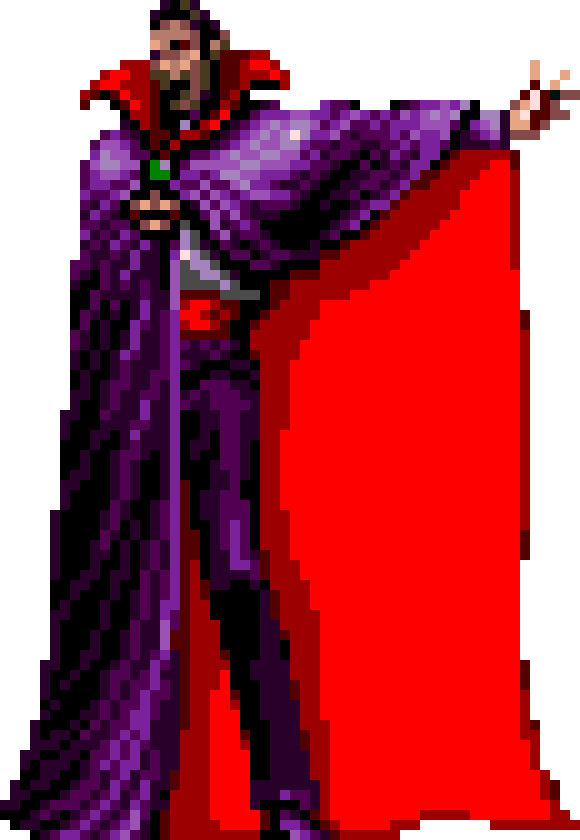
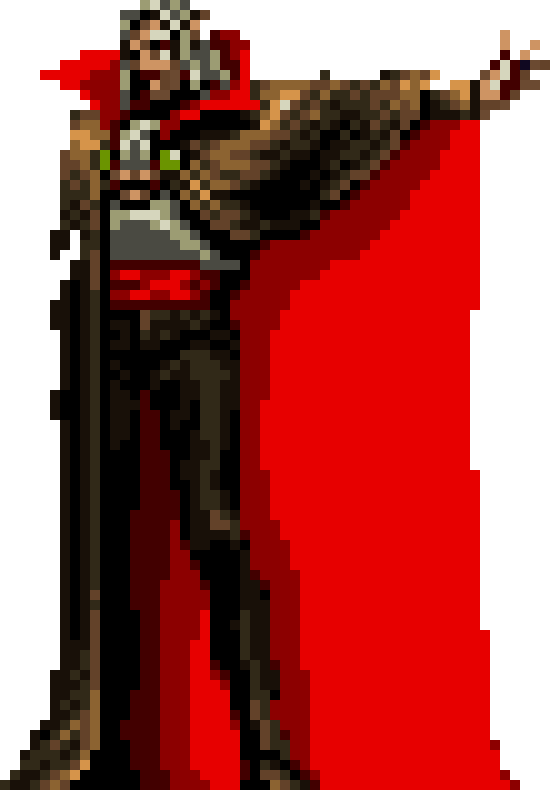
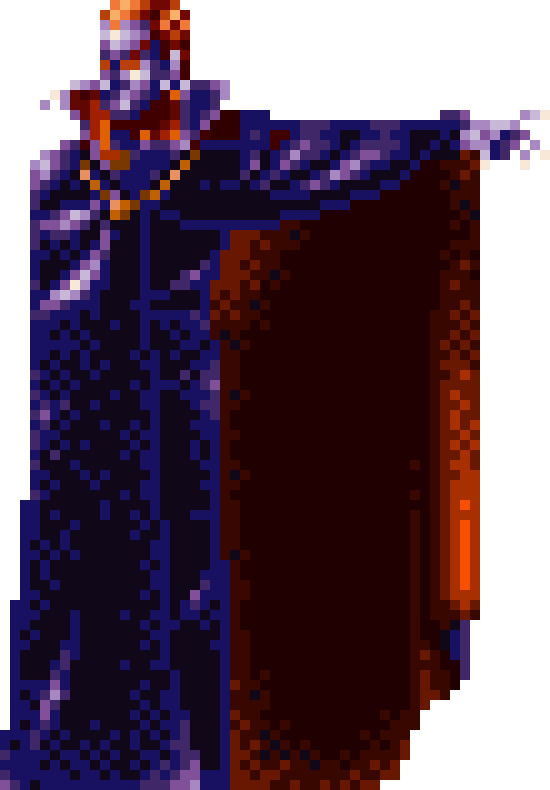
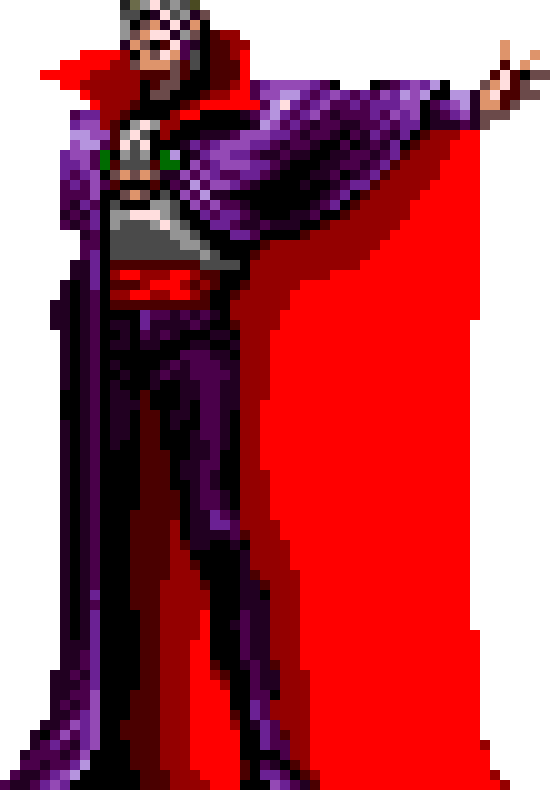
After a long and perilous journey, Trevor Belmont finally reaches the throne room of Castlevania. Inside, he encounters the vampire himself, Count Dracula, sitting on his throne and waiting for him. Dracula wields a scepter this time around, with which he can cast stronger flame attacks than any of his previous incarnations (at least, according to the release dates of the games, as the events in Dracula's Curse take place in 1476).
He will stand up from his throne, raise his scepter and call two pillars of flames to trap Trevor between them; then he'll cast a third and huge pillar inside that constricted space, leaving Trevor with no room for evasion. Dracula will then teleport around the room and repeat the attack. Like in previous incarnations, his head is his only vulnerable spot.
Trevor can evade Dracula's attacks if he moves around the room, trying to make the first two flame pillars to be cast far away from each other and leaving enough space to move away from where the third one will emerge (or simply by avoiding getting caught between the first two pillars from the start).
An alternate strategy would be to start the battle with Sypha, get near Dracula as soon as she enters the room, and continuously cast Holy Lightning near him in order to make at least two balls of lightning hit the Count. All of this while rapidly striking at him with her magic staff, which arcs with enough height to hit the Count's head without having to jump.
|
|
| Name
|
JPN
|
Alt. Name
|
| Dracula
|
|
Fake Dracula
|
|
|
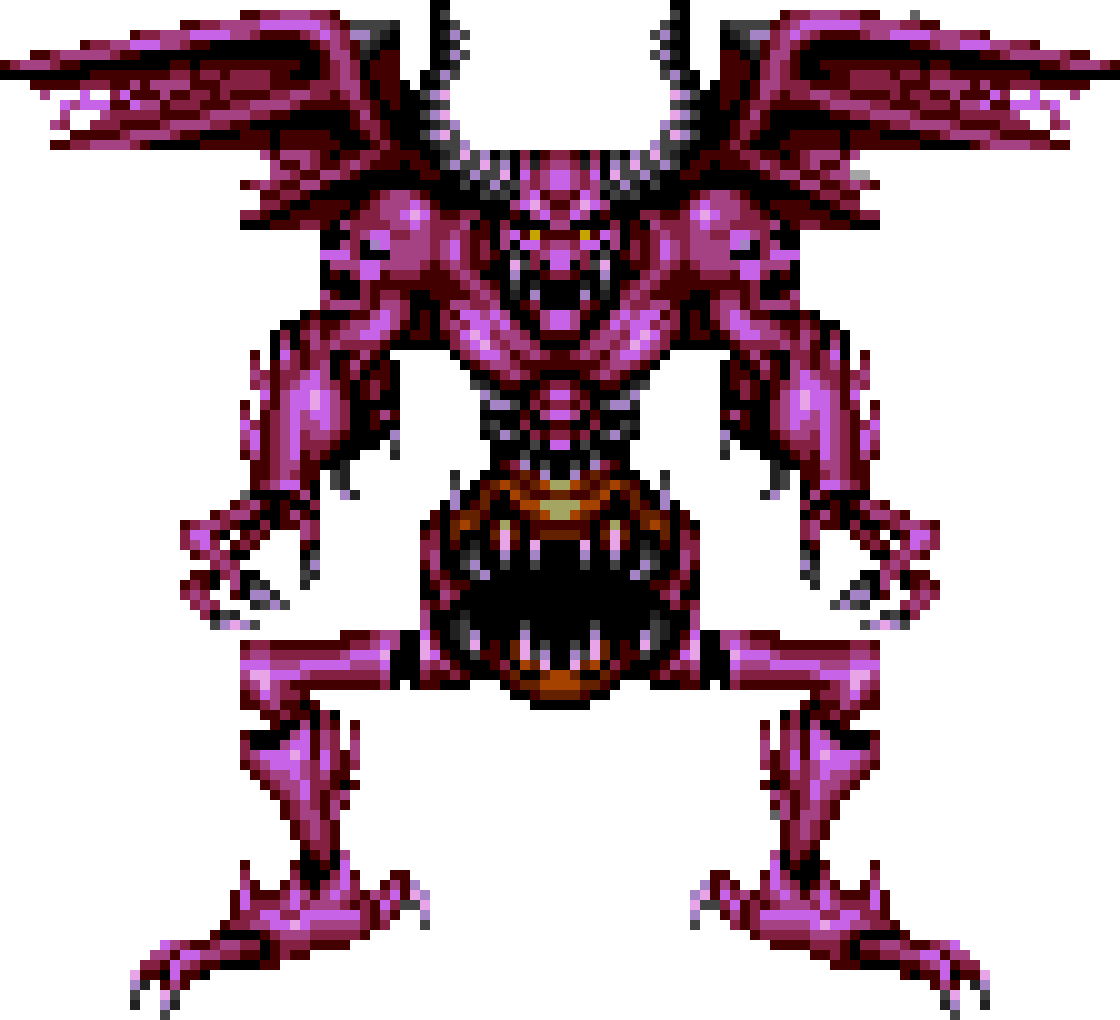
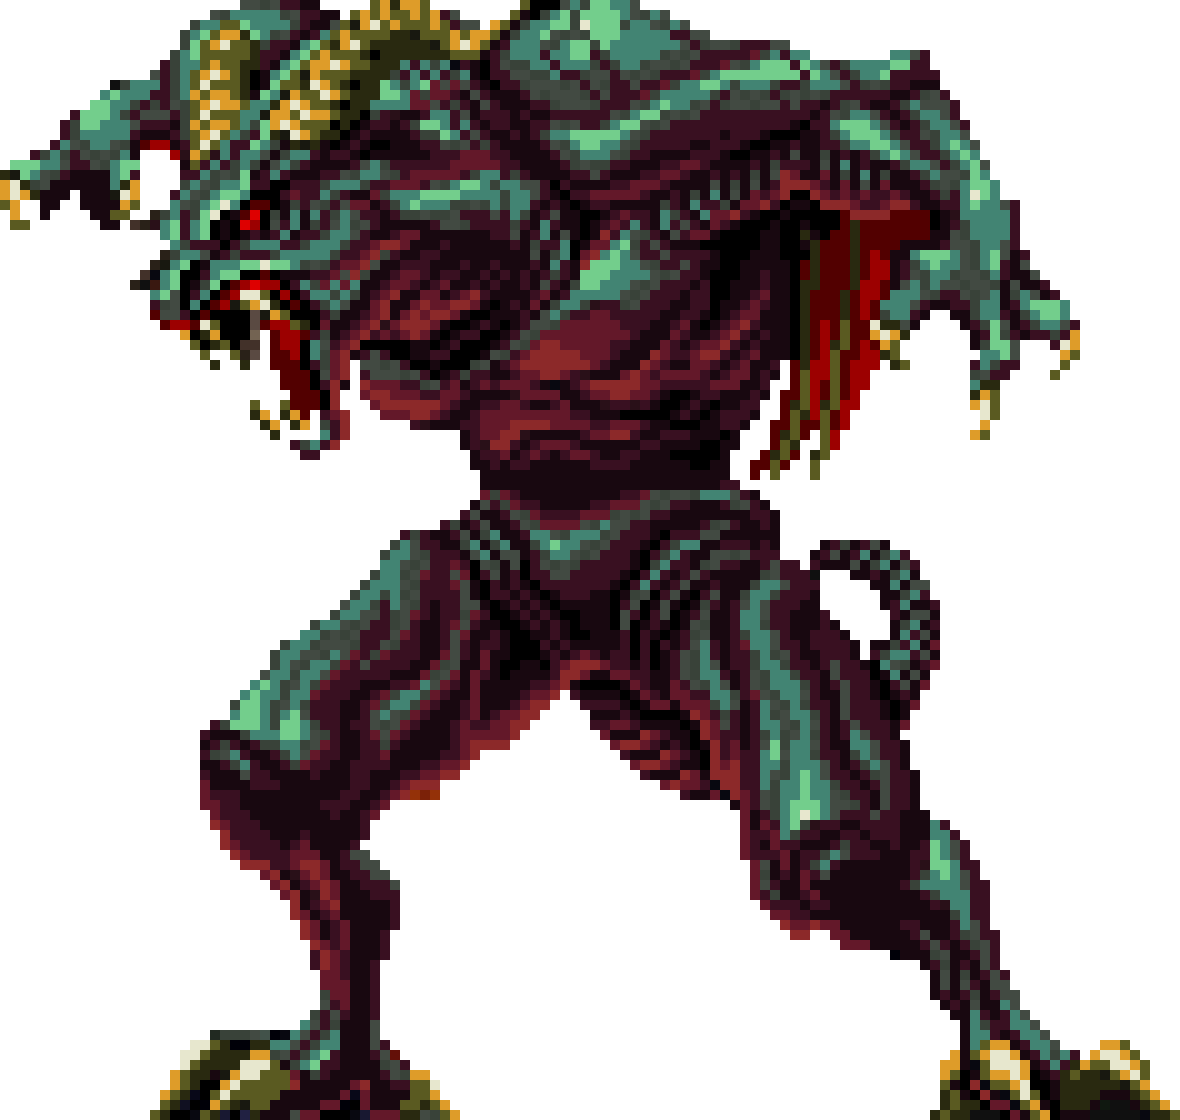
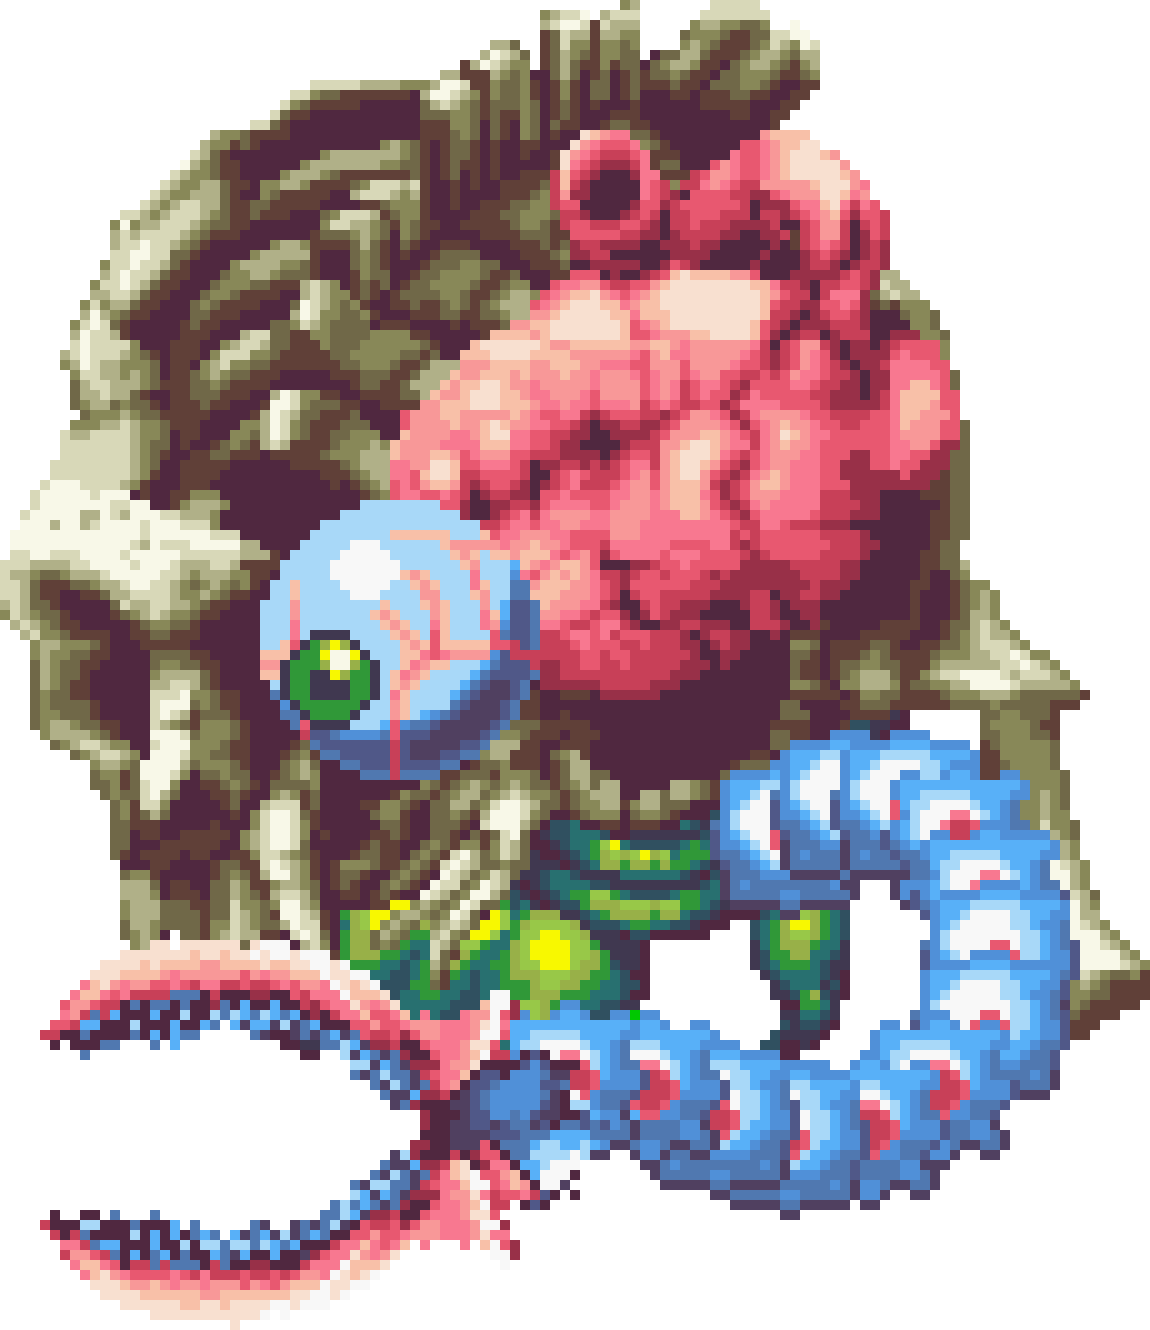
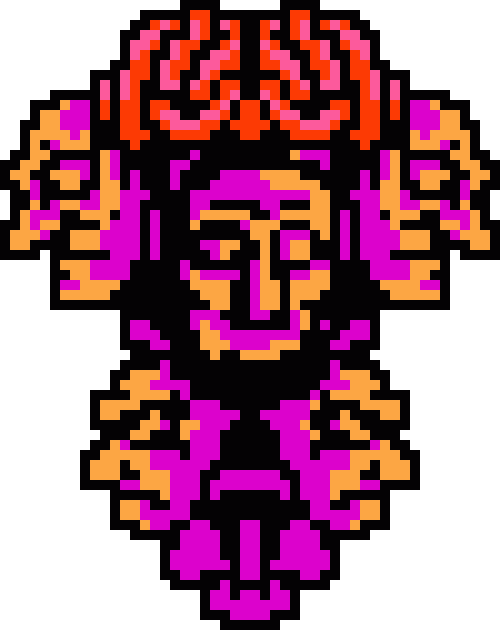
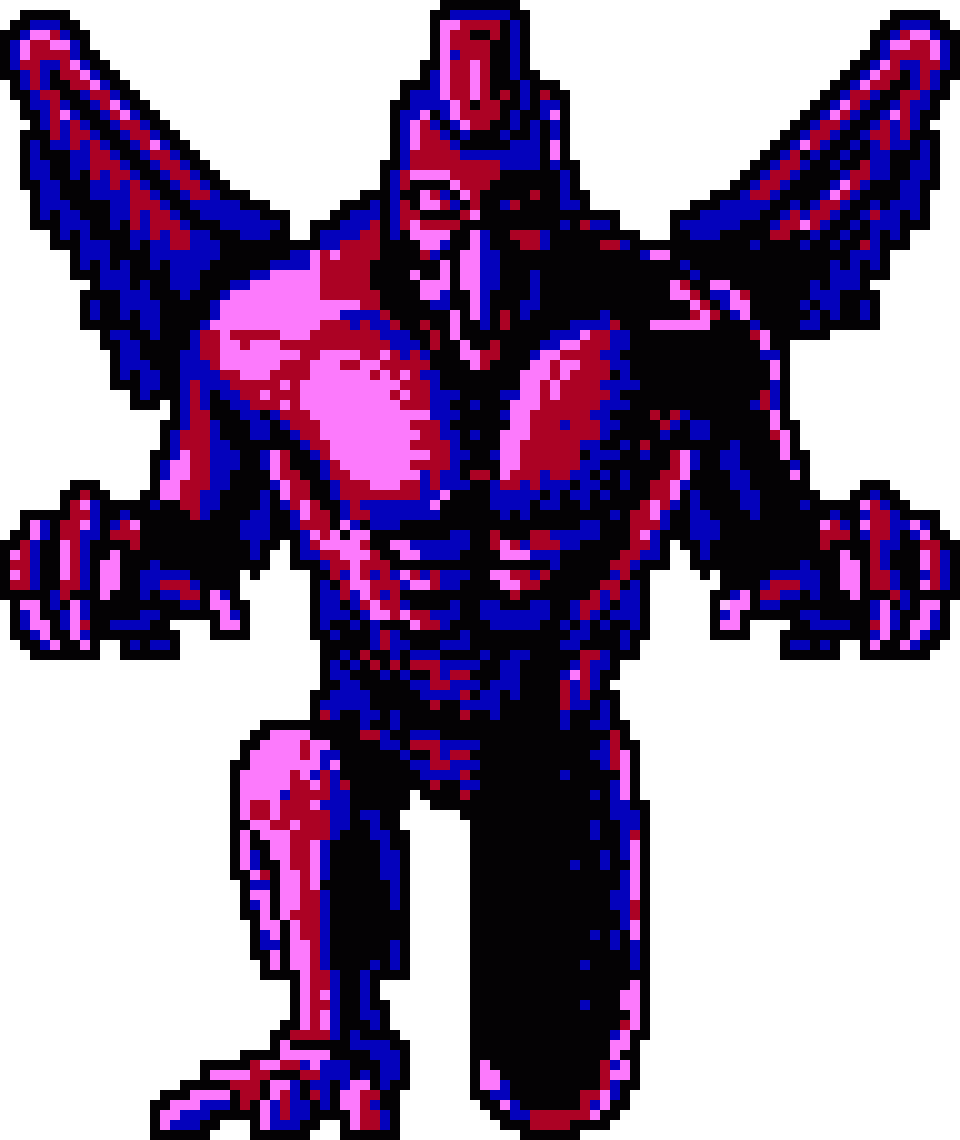
After severing Dracula’s head in his first form, it will float in the air and transform into a grotesque amalgamation of five demonic faces which share an exposed brain at the top. Each one of these heads will continuously vomit huge blobs of blood in an attempt to harm Trevor. The heads themselves are independent from each other, meaning that they can be destroyed separately; their skins will melt away as they scream in agony and leave only their skulls once they die. The Axe, Cross, Holy Flame and Holy Lightning are especially effective in this fight. The hero doesn't need to defeat all the heads, though; once this monstrosity has sustained enough damage as a whole, it will break apart even if it still has some heads alive.
|
|
| Name
|
JPN
|
Alt. Name
|
| Dracula (2nd Form)
|
|
Fake Dracula (2nd Form)
|
|
|
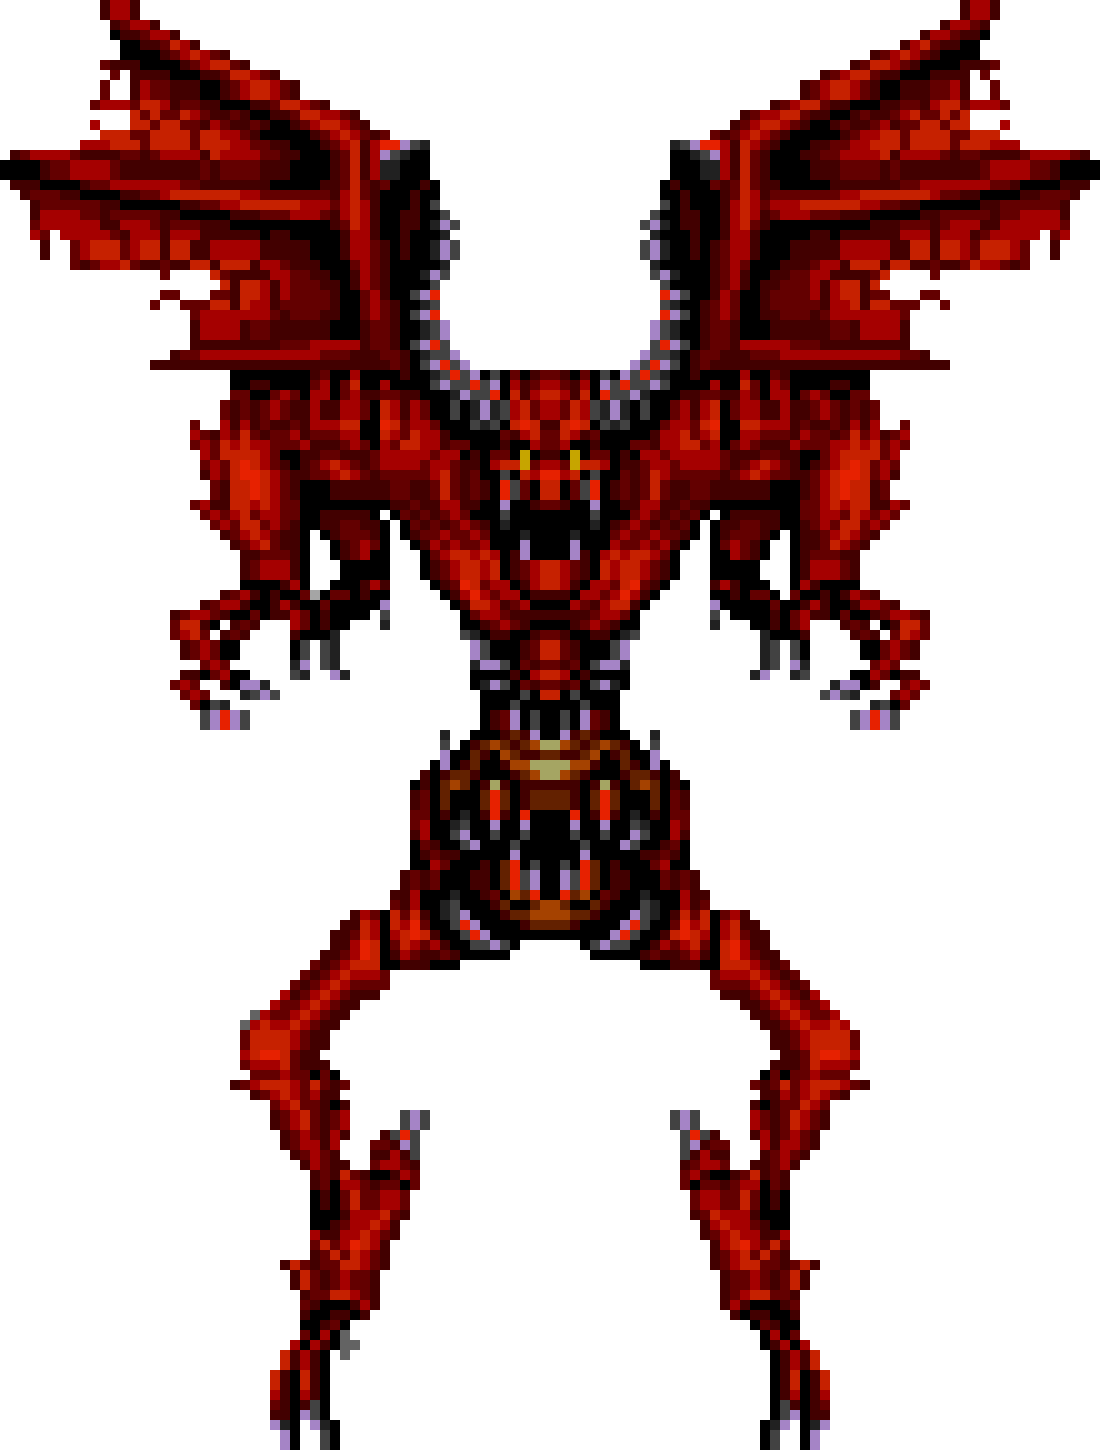
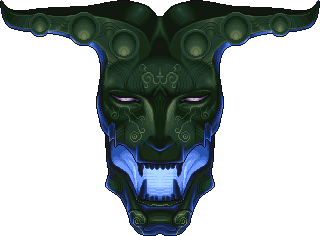
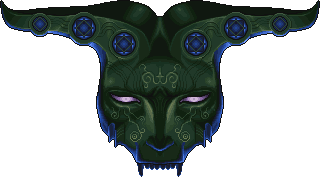
The Evil God that gave Dracula power will finally emerge in the form of a giant humanoid bird-like idol that has suddenly come to life. He will fire dark energy lasers from his hands and eyes, while sections of the floor break from the ground, rise up and float around the chamber to serve as mobile platforms. His head is his only vulnerable spot in this form. As with his previous form, the Axe, Cross, Holy Flame and Holy Lightning sub-weapons are very effective. One must be careful, though, as jumping while riding a moving platform can lead the player to fall into one of the opened gaps on the floor and send them to their untimely demise.
|
|
| Name
|
JPN
|
Alt. Name
|
| Dracula (Final Form)
|
|
Dracula
|
|
|
Dracula will teleport anywhere on screen, not limiting himself to the floor, and fire rotating circles of Lightning Balls. Only his head is vulnerable.
As soon as Simon Belmont enters Dracula's chamber in Super Castlevania IV, an earthquake will take place, while bolts of lightning reach every corner of the room. Count Dracula finally makes his apparition. Dracula first attacks by teleporting around the room and opening his cape to shoot an energy ball. This energy ball will split into larger clusters when they come near Simon or when they are hit.
After ¼ of his health bar has been depleted, he will send out an erratic-moving energy ball which, if hit, will first produce a circular spray of smaller energy balls, and then will turn into a small pork chop.
Dracula will then summon two fireballs in the air, and a flame column will emerge below each one of these, similar to how he attacked in Dracula's Curse. The fireballs will grow in size and develop a ghostly face. At this point, they will home into Simon, trying to make contact with him. Hitting these elemental heads will make them drop to the ground and burst in a little column of flames.
When 3/4 of the Count's health bar has been depleted, he will send out another erratic-moving energy ball. Again, hitting this energy ball will make it burst into a circular spray of smaller energy balls, and then turn into another Small Pork Chop.
The chamber will suddenly turn red. Many bolts of lightning will reach every corner of the room. The Theme of Simon Belmont will play, and Dracula's final form will appear. Dracula's human-like face will be replaced by a more vampire-esque one. He will teleport quickly around the room and summon four columns of lightning on the screen. However, unlike in other games, his health won't be replenished when he changes forms, so it will take just a few more hits to defeat him. Again, only his head is vulnerable. Due to him teleporting quickly around the room, leaving only a few moments to strike at him, the best strategy is to bring the Cross sub-weapon with the Triple Shot power-up. Start throwing many Crosses around the chamber at Dracula's head height. They will hit him repeatedly while going on their way forward and backward.
The night ends during the battle and the rays of the morning sun will break through one of the chamber's windows, consuming Dracula in a burst of flames.
|
|
| Name
|
JPN
|
HP
|
EXP
|
ATK
|
| Dracula
|
ドラキュラ
|
42
|
-
|
2-5
|
|
|
In the original Sharp X68000 version of Chronicles, Dracula will teleport around the room, firing clusters of three fireballs that, unlike in previous games, are specifically directed to Simon's position on-screen. Once Simon has brought Dracula down to half health, not only does the count's head begin to take on a more demonic appearance, but he will also begin to shoot five-fireball patterns. In the updated PlayStation version of Chronicles, Dracula fights in exactly the same way as he did in the Sharp X68000 version; only his in-game sprite has been modified to concur with Japanese illustrator Ayami Kojima's new design.
(original/arranged)
|
|
|
Dracula's second form is mostly the same as in the original Castlevania, except with a few differences. He will leap at Simon and fire waves of fireballs, but will also claw-swipe at him, as well as leaping high up and out of the screen to release energy rays downward, which cause ground waves when they hit the floor. Holy water is very effective against him.
|
|
| Name
|
JPN
|
HP
|
EXP
|
| Dracula (Second Form)
|
|
126
|
50,005
|
|
|
Dracula will again teleport around the room and fire waves of three fireballs. He has also incorporated a new attack, in which he sends out two slower-moving meteors at different heights. His head is his only vulnerable point again.
Attacks/Abilities:
Only attacks to the head can damage Dracula.
(RoB/DXC)
|
|
|
Dracula's second form behaves almost exactly as he did in the original Castlevania. However, he jumps higher, and upon landing will breathe massive waves of large fireballs from his mouth. He can also stop to shoot a wide wave of electric energy. Once again, only his head is vulnerable.
Attacks/Abilities:
Dracula transformed into a Second Form.
Only attacks to the head can damage Dracula.
(RoB/DXC)
|
| Name
|
Alt. Name
|
HP
|
EXP
|
| Dracula (Second Form)
|
|
92
|
|
|
|
In this game, Dracula will teleport around the room and shoot fireballs, first in a spreading pattern of three, two homing fireballs, and then a fireball in a rotating formation. His head is again his only weak point.
After the first battle, he will transform in a ghoul-like second form. In this form, he will shoot two energy balls that go down to the floor and then home toward the player. He can also make four copies of himself which create large energy pillars from the ground, except for the real one. It's implied that this may have actually been Drolta Tzuentes.
|
|
| Name
|
Alt. Name
|
| Dracula (Second Form)
|
-
|
|
|
After the battle with the second form, Dracula returns in a new demon-like third form. He flies around the room, distorting himself to become larger and hit the player, all the while firing fangs which erupt into pillars of flame all over the arena. After taking damage, he turns red and begins firing large waves of flame (both of these attacks come from his mouth like midsection), the more damage he takes, the larger he gets. Finally, he will turn white and hop around the room, spewing large amounts of bones at the player when hit. Each time he is hit, he loses parts of his skin until he is reduced to a skeleton upon the final blow.
|
|
| Name
|
Alt. Name
|
| Dracula (Third Form)
|
-
|
|
|
Dracula's first form behaves exactly as he did in Rondo of Blood, firing waves of three way fireballs and two slower moving meteors at different heights. However, he is fought on several narrow platforms at different heights, thus greatly limiting Richter's movement.
Dracula's second form behaves similarly to Rondo of Blood's. Due to the throne room's configuration in this game, he flies from platform to platform instead of jumping. He still uses the same fireball waves and electric blast, though.
| Requirement
|
Defeat Dracula's first form
|
|
In the introduction, Dracula's first form fights almost identically as he did in Rondo of Blood, although his second form is slightly different. He attacks by breathing fireballs in the patterns from Rondo of Blood and the original Castlevania. Dracula also has a different attack where he jumps up while energy rays rain from his wings. Once Dracula is defeated, his second form is engulfed in miniature explosions as he expresses disbelief at his defeat and screams, and then the screen freezes and turns into a sepia-tone photograph-like image that promptly burns away.
Richter is invincible in the introduction stage, although Alucard's starting statistics and equipment are determined by how well Richter performs in the fight. For example, defeating Dracula while successfully avoiding damage will boost Alucard's HP, while if Richter takes enough damage to rely on Maria's aid, Alucard will begin with a Potion at hand (read more information about these criteria here).
|
|
| No.
|
Name
|
JPN
|
Level
|
HP
|
| 1
|
Dracula
|
ドラキュラ
|
-
|
600 / 1,200 (second form)
|
| Strong
|
Immune
|
Weak
|
Absorb
|
EXP
|
| -
|
-
|
-
|
-
|
0
|
|
| Description
|
"Destroyed by Richter in 1792 (5 years ago)."
|
|
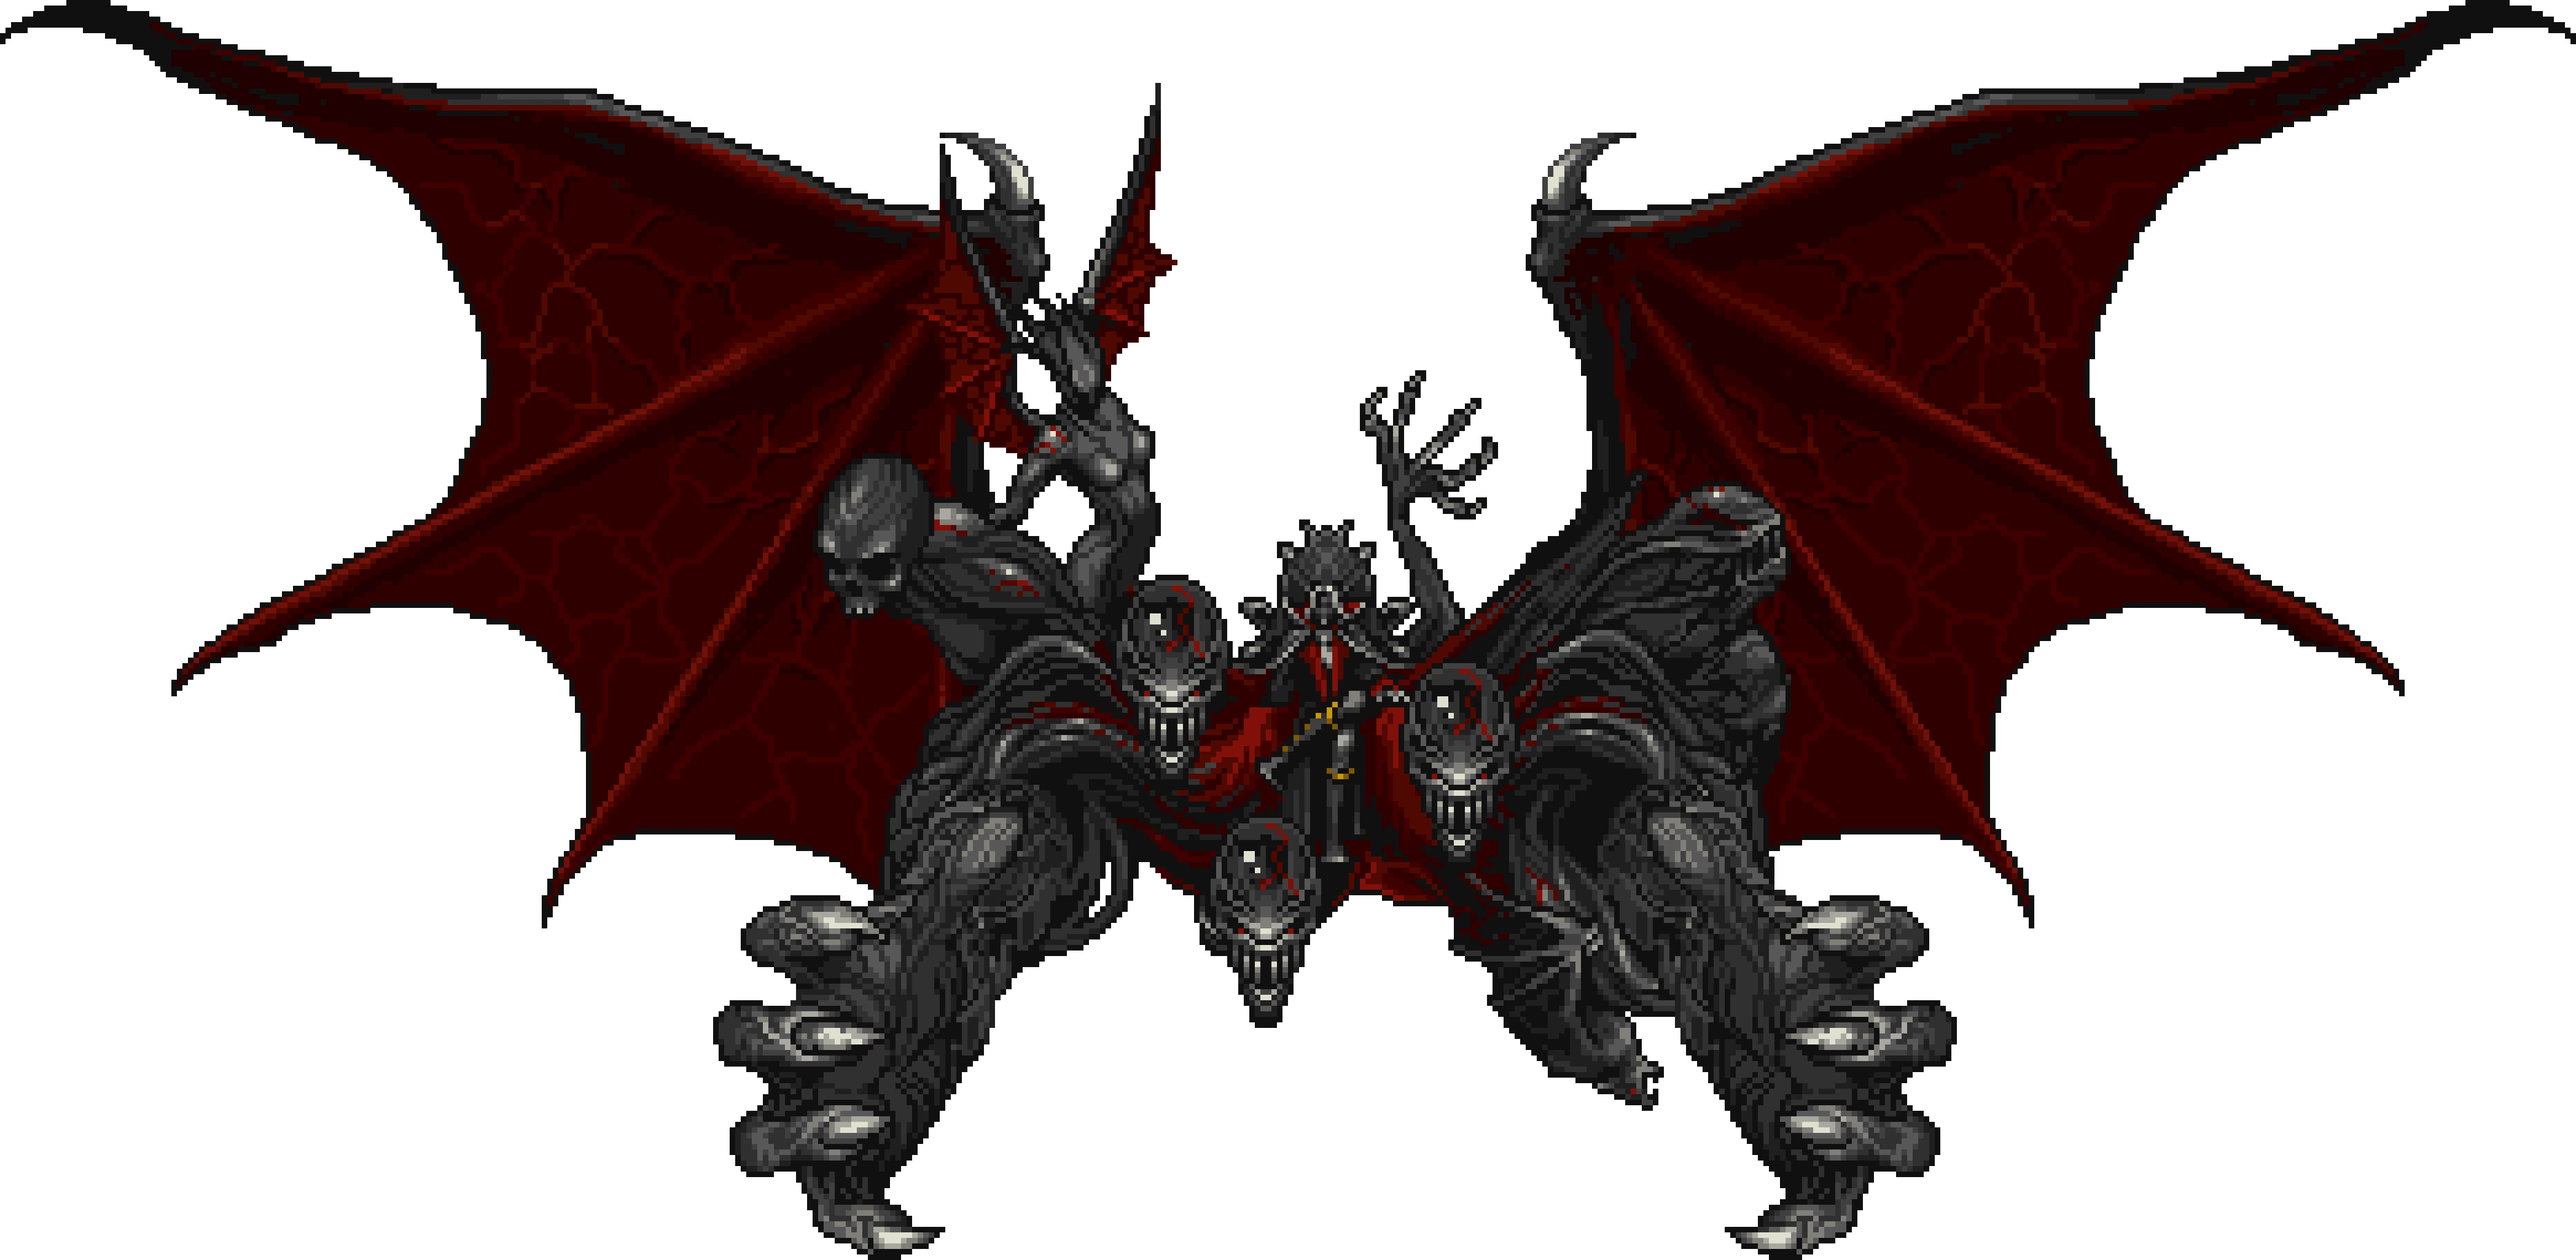
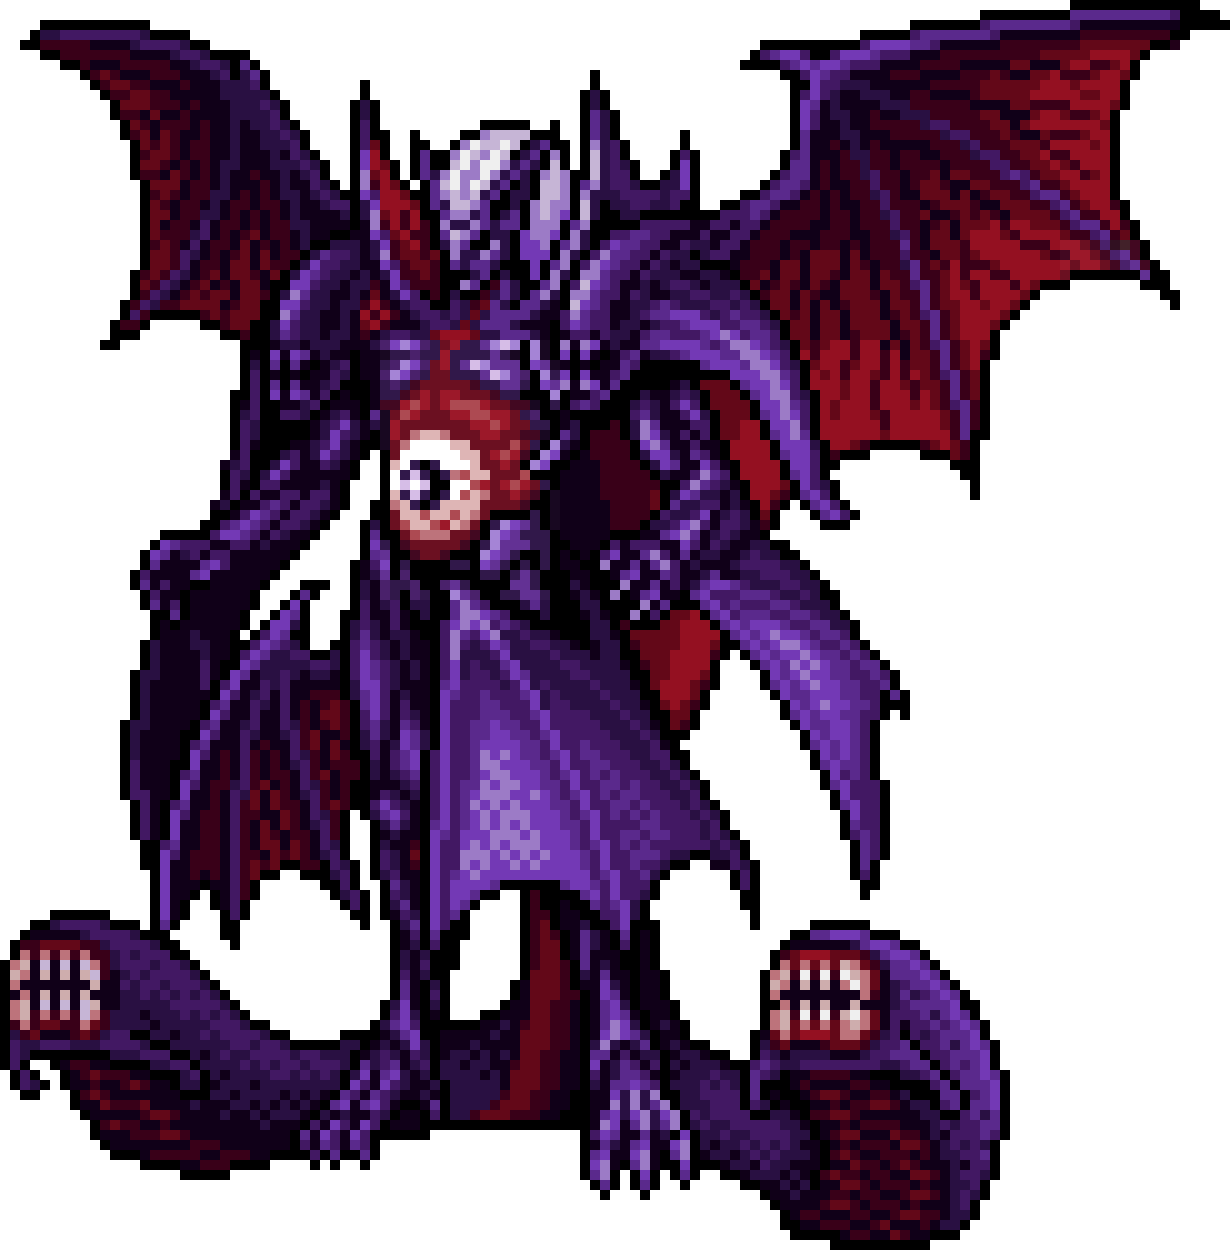
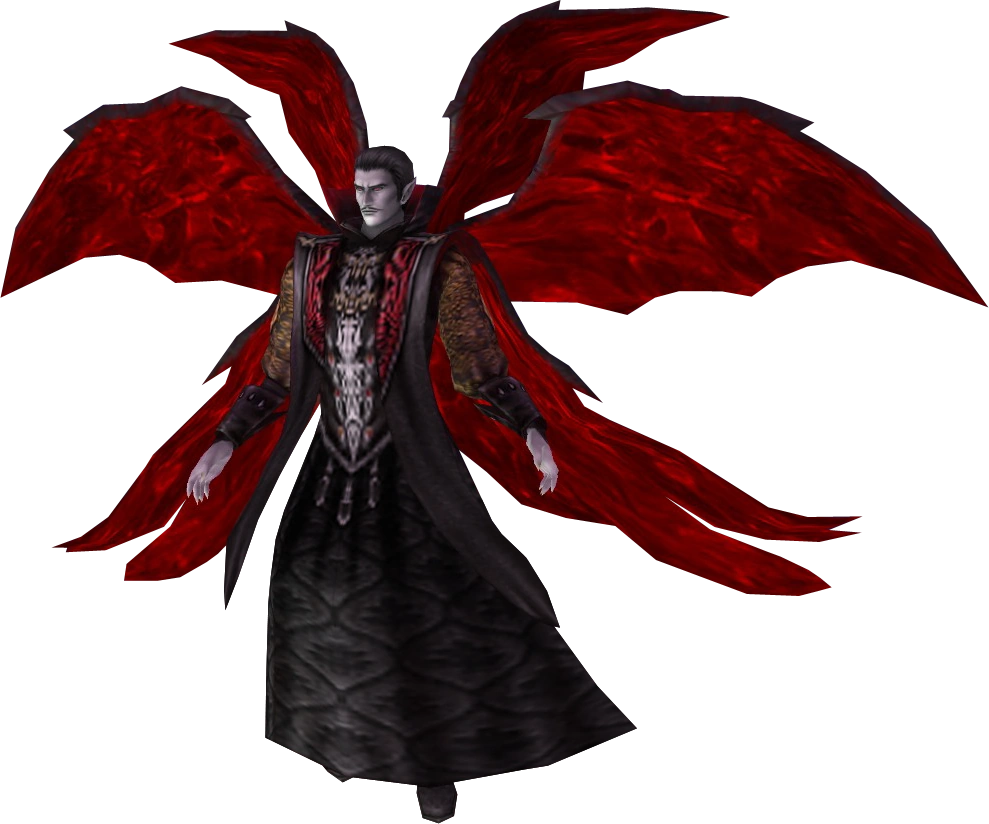
In the final battle, True Dracula turns his cape into a huge monster before fighting. Dracula does not directly attack, instead utilizing his cape. He will strike at Alucard with either claw or the demon heads, and also will send a variety of projectile moves at the player. Occasionally, Dracula will summon a previous enemy and then squash it, building his own strength for more attacks. As his sprite is very large, it is best to continually attack while attempting to dodge and healing injuries. In order to damage him, Alucard needs to attack him or his claw shaped cape, though the latter has slightly more defense (20 DEF) than the former (18 DEF).
His attack pattern is as followed:
- He does four claw swipes (70 ATT, Hit).
- He summons a boss and crush them using both of his hand. The boss itself doesn't do any damage.
- He moves to the background and shoots a large energy ball (140 ATT, Hit).
- He comes from the background and each of his demon heads attacks once (85 ATT, Hit).
- The demon heads forms a triangle and shoot 4 prismatic triangles (95 ATT, Hit).
|
|
| No.
|
Name
|
JPN
|
Level
|
HP
|
| 146
|
Dracula
|
ドラキュラ
|
98
|
10,000
|
|
| Description
|
"Lord of Wallachia. Father of Alucard."
|
|
In Castlevania Legends, Dracula will teleport around six platforms in the room, firing groups of five large fireballs at the player.
|
|
| Name
|
JPN
|
HP
|
ATK
|
| Dracula
|
ドラキュラ伯爵 (Count Dracula)
|
11
|
-
|
|
| Description
|
| Master of the evil castle, this legendary Prince of Darkness
undertook a transmigration from his human body and, in doing so,
came into a magic ability beyond imagination.
|
|
Upon changing into a strange bat like form, Dark Lord Dracula’s body will remain in the background as his head teleports to different places around the room, sending fireballs in an eight-direction spread. There are also pitfalls that need to be avoided while fighting him.
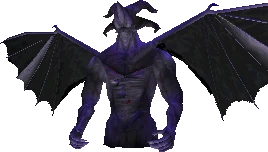
In the good ending version of the final boss, after defeating the Fake Dracula, the hero finds him/herself facing the real one. In his first form, True Dracula will teleport around the four corners and center of the arena, pausing to fire homing bat fireballs, three way blue fireballs, and green shockwaves. He will also create four fake teleports to confuse the player. After receiving some damage, he will limit space in the arena by setting most of the floor on fire.
|
|
| Name
|
JPN
|
HP
|
| Dracula
|
真ドラキュラ (True Dracula)
|
160
|
| Location
|
| Castle Keep (if the game time is less than 16 days)
|
|
|
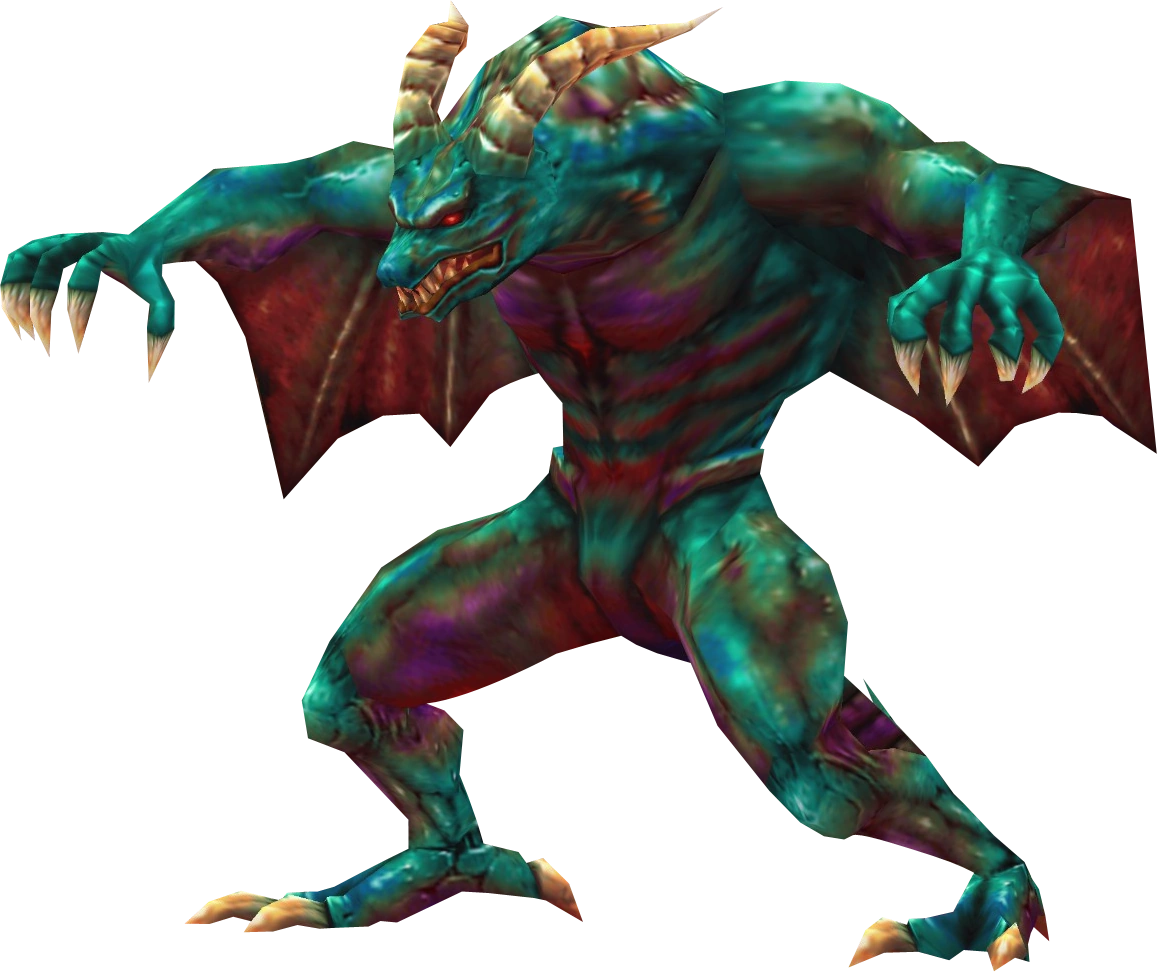
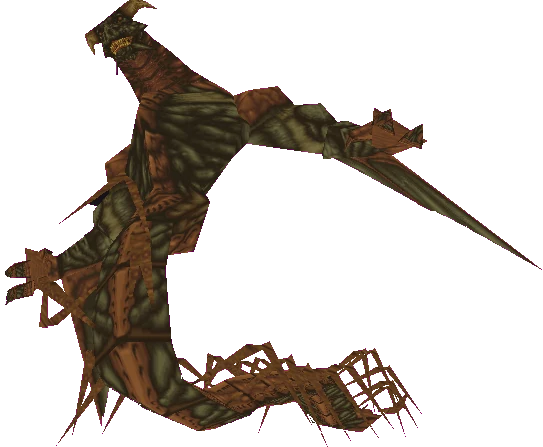
For the second battle, Demon Dracula teleports the hero to a desert and transforms into a gigantic dragon with a centipede-like lower body. He attacks with fireballs, fire steam, tornadoes, homing energy blasts that can cause gigantic explosions (which can hurt him if he's caught in them), can cause a huge shock wave around himself, claws from beneath the sand and summon two huge flaming skeleton dragons, all in an attempt to overwhelm the player. All of his attacks are very strong, he can easily make quick work of the player.
|
|
| Location
|
| Castle Keep (if the game time is less than 16 days)
|
|
|
It's not particularly clear who this boss is actually supposed to be in Castlevania: Legacy of Darkness, but it uses the same model as the first game's Fake Dracula. The first form in Legacy of Darkness utilizes spreads of fireballs and shockwaves at different heights similar to Castlevania (Nintendo 64), still has a bite attack that inflicts Vampire status on Cornell, and retains his old fire blast attack, with a different effect. He also has new attacks involving blasts and spreads of electricity.
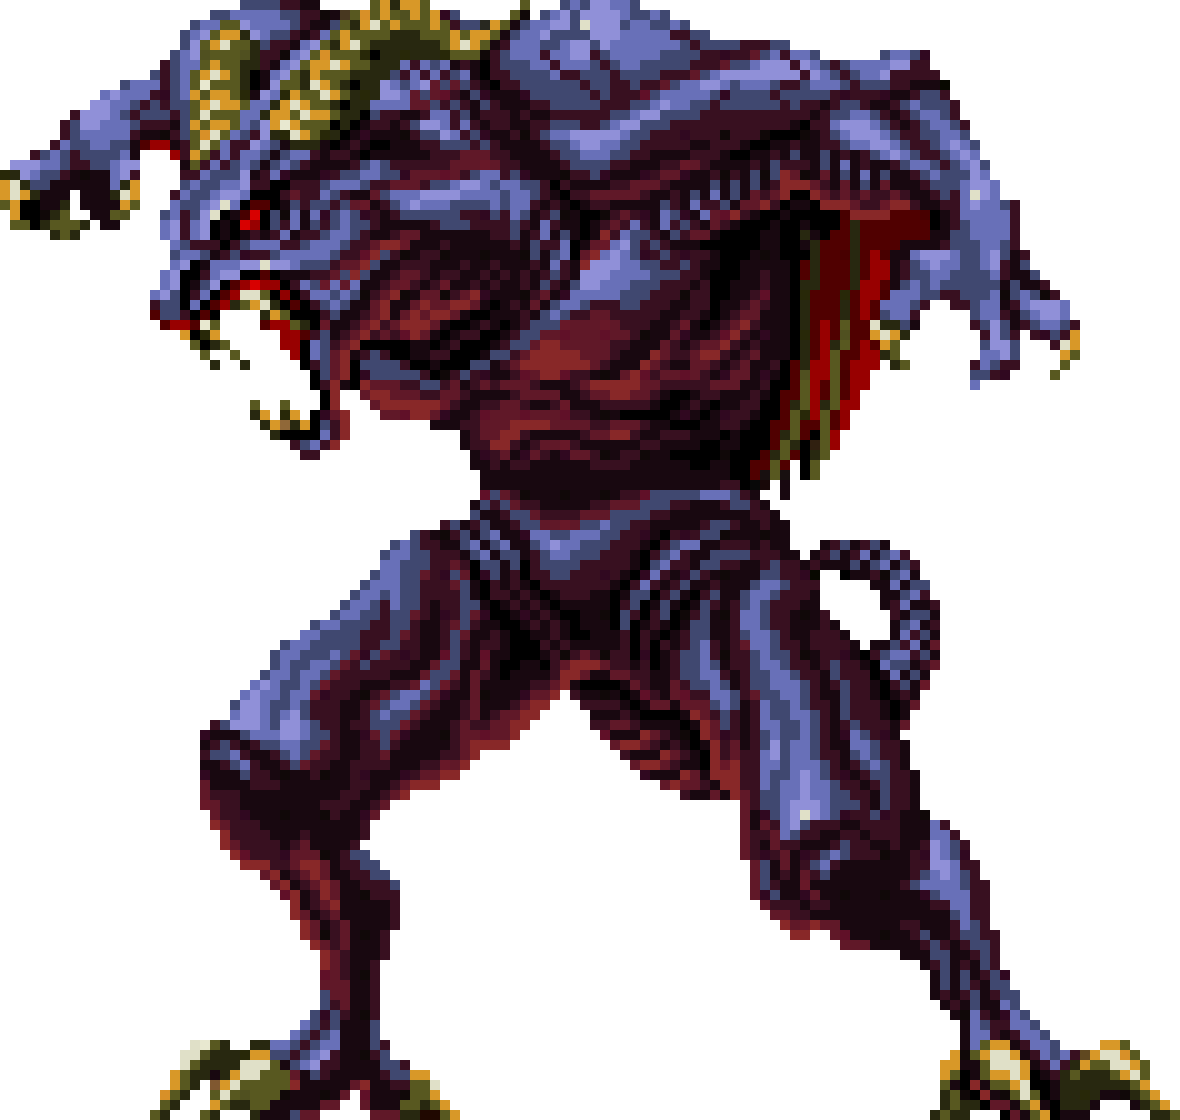
His second form, Dracula Ultimate, is gigantic and will shift between two planes in front of the player. When close, the creature attacks with lightning bolts, claw strikes, and a grab-laser combination. When further away, it will use homing meteors, ice shards fired in patterns, or summon swarms of ghosts. Dracula Ultimate is vulnerable in the face that opens beneath his chest.
In his first form, Dracula will teleport around the room, sending forth groups of differently colored bats instead of his usual fireballs. He fires red bats in groups of three, blue bats in the same pattern as his Dracula X meteors, and yellow bats in a spreading manner around the room. In this phase, unlike in most games, his entire body is vulnerable.
After defeating his first form, the player can exit the room, save, and come back to fight Dracula's second form.
|
|
| Name
|
JPN
|
HP
|
EXP
|
| Dracula
|
ドラキュラ
|
1,100
|
150,000
|
| Common Drop
|
Rare Drop
|
| -
|
-
|
|
|
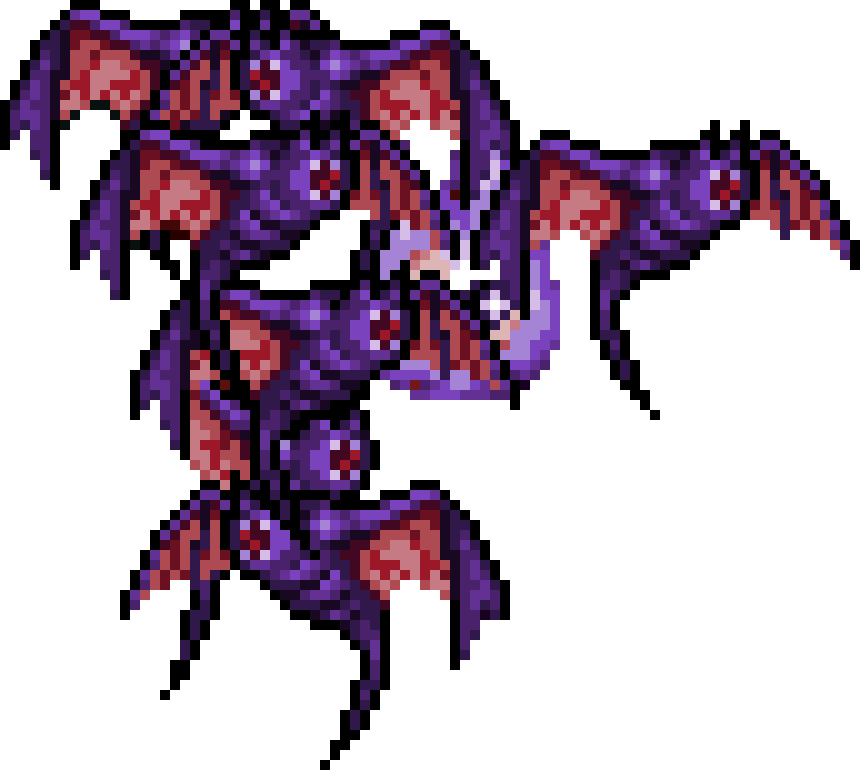
In his second form, Dracula will teleport around the room and fire lasers that produce ground flames, spew acid clouds from the two worm-like tails protruding at his bottom, or summon a powerful meteor shower. During this phase, he is only vulnerable in the eye located in the midsection of his body and only when it's open.
After losing half of his total HP, Dracula will attempt to ram Nathan by charging into him, which deals alarming amounts of damage (even in Fighter mode). Use the Roc Wing with appropriate timing to avoid. After he has performed two to four charging attempts (the number of times he does so is random, but will always be in this range), he will transform into a flying eyeball surrounded by a company of demonic bat-like creatures. The eyeball will lazily home toward Nathan and usually perform one or two swoops. While doing so, a few of the bat demons will fly directly toward Nathan.
In this phase, Dracula can only be damaged by striking directly at the eye, although it will be necessary to attack it constantly in order to remove some of the bat demons shielding it (a monster summon is generally a good option to do both). After a while, Dracula will return to his previous form and start charging again. He cannot be damaged while in this form anymore, though; only as the floating eyeball.
|
|
| Name
|
JPN
|
HP
|
EXP
|
| Dracula (Second Form)
|
ドラキュラ (第二形態)
|
3,000
|
0
|
| Common Drop
|
Rare Drop
|
| -
|
-
|
|
|
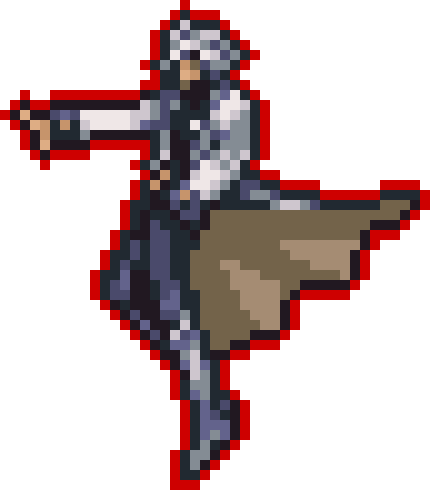
Dracula Wraith will first teleport around the room, either firing his traditional three-fireball cluster, or six slow-moving meteors at two different heights. He is only vulnerable in his head, and the easiest way to fight him is to repeatedly jump kick and bounce off his head as he attacks, as this, apart of dealing considerable damage to him, gives the player a safe spot where they won't be in the range of any of his attacks.
|
|
| No.
|
Name
|
JPN
|
Lv.
|
HP
|
| 99
|
Dracula Wraith
|
ドラキュラファントム (Dracula Phantom)
|
52
|
2,250
|
| Tolerance
|
Weakness
|
Common Drop
|
Rare Drop
|
EXP
|
| -
|
-
|
-
|
-
|
0
|
|
|
Dracula Wraith's second form is a giant amalgamation of his five relics, and attacks by pushing Juste against the back of the room while striking with his claw and firing a devastating laser beam from his eye. He has tendency to use all of his attacks at once, making it harder for the player to avoid getting hit. Dracula Wraith is vulnerable on any part of his body.
It's also possible to slide under Dracula Wraith and get behind him. Because he can't turn around, rendering the player completely safe to all of his attacks.
|
|
| No.
|
Name
|
JPN
|
Lv.
|
HP
|
| 100
|
Dracula Wraith (Second Form)
|
ドラキュラファントム (第二形態)
(Dracula Phantom (Second Form))
|
55
|
6,666
|
| Tolerance
|
Weakness
|
Common Drop
|
Rare Drop
|
EXP
|
| -
|
-
|
-
|
-
|
|
|
|
Soma will appear in Julius Mode (which represents a non-canon story arc, a what-if account of Julius' adventures following Dawn of Sorrow's main tale) as "Dracula", or at least, the very reincarnation of The Dark Lord. After throwing his blood-filled champagne glass to the ground, Soma will summon to his aid (an invincible Gaibon familiar), which will stick close by its master and about every ten seconds attack with a vicious lunge; the heroes can be damaged by Gaibon only during these lunge attacks. Soma, himself, will continue to teleport in and out about the room; after each stop, he'll whip out a gigantic axe, similar to the Great Axe Armor's soul, and rotate it around twice, causing heavy damage for any contact made. While the axe attack is not difficult to avoid or to counter, the Gaibon familiar serves as a real distraction and helps to keep your eyes off the real target. In addition, his overall posture while attacking is similar to that of Graham Jones in that he levitates slightly off the ground while covered in a demonic aura.
|
|
| No.
|
Name
|
JPN
|
HP
|
MP
|
ATK
|
| 117 (after Menace)
|
Soma
|
まおうそうま (Dark Lord Soma)
|
1,100
|
???
|
100
|
| Tolerance
|
Weakness
|
| ???
|
???
|
|
|
When the big tease is over, Soma will delve into Dracula's bag of tricks and morph into a familiar demon form. Though, this time, the ghost demon sports some new offense thanks to its always handy harpy familiar. Its propensity to jump high and far in an attempt to crowd the heroes into one side of the room hasn't changed, but what happens in between is a bigger concern. The most common attack, executed before the demon jumps, is for the harpy to summon a group of larva to erratically fly in, from diagonally above, when thereafter the demon will follow it up by spitting out a flame that treks along the ground in a wave (much like Aguni's soul). Less frequently, Dracula will summon a cloud of annoying locusts to scurry about the immediate area, but no fire-wave will follow. Eventually, the heroes will have to maneuver around the demon either by sliding beneath it or by flying over it in bat form (using Alucard) while keeping in mind its attacks.
|
|
| No.
|
Name
|
JPN
|
HP
|
MP
|
ATK
|
| 118 (after Menace)
|
Dracula
|
ドラキュラ
|
5,000
|
???
|
125
|
| Tolerance
|
Weakness
|
| ???
|
???
|
|
|
Dracula in Curse of Darkness will teleport around the room, and use a variety of attacks. He can bring up a wave of spikes that follows Hector, shoot purple exploding fireballs in groups of either three or five, use a laser to draw an area, in which an explosion occurs within said area, or heal himself by biting Hector. Occasionally, he will fly around the room as a swarm of bats instead of teleporting, and after taking enough damage, gains a new attack where he will grow wings, float upward, and surround himself in a powerful flame pillar. The player can steal the Tomato Juice from Dracula just after escaping his "teleport and grab" attack (jumping is needed to reach the steal target).
|
|
| No.
|
Name
|
JPN
|
HP
|
| 159
|
Dracula
|
ドラキュラ
|
2,920
|
|
| Description
|
"Master of Castlevania, he plunged the world into darkness and reigns at the head of an age of terror."
|
|
In his giant second form, Dracula will shift between two planes as Hector is restricted to a small platform. When up close, Dracula will slash at Hector, leaving behind a horizontal trail poisonous blood-red mist, or slam his claws into the ground to shake the platform, and leave behind two vertical trails of the poisonous mist, or can try to grab and crush him. When at a distance, Dracula will fire homing arrow-like energy lasers, will circle the platform with a large energy beam, fire an area of effect blast, or come close for a massive punch.
|
|
| No.
|
Name
|
JPN
|
HP
|
| 160
|
Dracula
|
真ドラキュラ (True Dracula)
|
7,500
|
|
| Description
|
"Master of Castlevania, he plunged the world into darkness and reigns at the head of an age of terror."
|
|
In his first form, Dracula will teleport around the room, first shooting fireballs in waves of three, five, and three again, and alternating with groups of high and low meteors, or perform a new attack where he turns into a swarm of bats and rushes across the room. He fights alongside Death, who will seek out the player and slash at him, either in a dive attack, or splitting into four clones and then slashing. After several repetitions, Dracula and Death will combine for one of two attacks: He will draw in a cloud of Death's scythes and expel them as meteors (can only be countered if the scythes are destroyed early in the attack), or will erupt in a large area of effect explosion. Dracula is only vulnerable in his head, but it is easier to target Death during the fight.
|
|
| No.
|
Name
|
JPN
|
HP
|
| 154
|
Dracula
|
ドラキュラ
|
6,666
|
|
| Description
|
"The true master of the castle."
|
|
For his second form, True Dracula will attack the player first by punching the floor, also raining down patterns of energy rays and throwing curving scythes at the hero. Finally, he will fly into the background and use his wings in an attempt to crush the player. This move can kill the player in a matter of seconds, especially on Hard Mode. To further complicate matters, the attack ignores the character's Defense stat, dealing full damage regardless of equipment. To counter this, one must attack one side until it jumps back, then switch sides. Repeating this until both wings are retracted will prevent a Game Over. The partner can be summoned to attack too, but it is not necessary if the player is quick enough. Should the attempt to repel the wings fail, a well timed Dual Crush (as long as it is not 1000 Blades) will make the player impervious to most, if not all, of the damage that the attack deals. Healing with items during the attack can also save the player's life.
| Description
|
"The true master of the castle."
|
|
In the cell phone game, Dracula will teleport around the room and fire either alternating meteors or vertical lightning strikes. His entire body is vulnerable.
Dracula, at first, appears to be using the same tricks he did in Rondo of Blood and Dracula X, but once the first two forms have been dealt with, instead of allowing Richter to lay claim to victory, he decides to push it even further and unleash his third form. In addition to Dracula now being able to fly, he also gains a new bag of tricks to use on the hunter, he can cause pillars of fire to erupt where Richter stands. He can also use his wings to try and attack Richter from the ground, easily avoided by moving away from all but the last attack, and then stopping or by launching one of the tips of his wing directly at Richter like a projectile. Dracula can also summon a blood red energy orb that homes in on Richter, but he can repel it with attacks of his own. Another attack is a storm of blood rain that Richter can avoid by standing under Dracula. He can also fly in the air and launch five fireballs at Richter, not to be content with that, Dracula can also try to ram into Richter in wolf form, easily avoided by being away from him and on the ground. Dracula can also launch a swarm of bats at Richter, but they can be damage to also damage Dracula. Players should also be mindful of their placement whenever Dracula turns into bats and flies away; the bats themselves can hurt Richter.
- Note: If the player has not rescued all of the three kidnapped maidens (Tera, Iris and Annette, but not Maria), the battle will be exactly as it is in Rondo of Blood, followed by the bad ending for the game.
Dracula does not change forms in this game, but he does have more than one phase of attack. In the first phase, he will teleport around the room, and open his cape to release a torrent of fireballs. If the hero moves too high in the room (usually done by use of Volaticus), he will unleash a high-reaching series of energy pillars. These pillars are as tall as the room, and usually begin where the hero last was. The pillars are upgraded in Hard mode to reach the whole room, leaving no breathing room once commenced. Also, if the hero were to try double jumping over Dracula, he will attempt to uppercut them, more often than not hitting and knocking them away. Occasionally, Dracula fires his meteors in groups of five, or uses an attack similar to Dominus Hatred. Only his head is vulnerable.
In the second phase, Dracula becomes far more mobile, and will actively chase the hero. He can attack directly with a quick circular kick, or summoning a wave of blue energy bolts aimed at the hero's current location. He can also teleport to prepare one of three attacks. A key warning of which attack he does can be seen through the outline shown when Dracula teleports; if the outline is purple, he will try to grab the hero and leech hit points, regenerating himself in the process. If the outline shown is blue, Dracula will summon a pack of wolves to constantly rush around the room unless killed. If the outline shown is red, Dracula will call a stream of bats in a sine wave. These bats deal fairly high damage per hit and there is a great deal of them. Attempting to take these hits head on will quickly prove extremely hazardous, if not fatal, even to a level 255 Shanoa. The attack can be avoided by finding the right spot to crouch or by using a shield glyph to block them. The second option may be preferable, as Shanoa is allowed a safer way to attack Dracula. His weak spot is his head, once again.
After a brief cutscene, Dracula stops toying with Shanoa, and will begin to cast a spell, Demonic Megiddo. This attack does 9,999 damage per second and cannot be avoided unless the player knows the secret glyph combination to use on him (which is very obvious, the Dominus glyphs). Dracula is defeated if the player casts the Union before the explosion.
|
|
| No.
|
Name
|
JPN
|
HP
|
ATK
|
| 121
|
Dracula
|
ドラキュラ
|
9,999
|
|
|
| Description
|
"The true master of the castle, and the prince of evil."
|
|
|
|
| Description
|
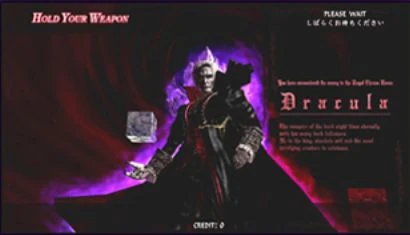
| "The vampire of the dark night lives eternally with his many dark followers. He is the king, absolute evil and the most terrifying creature in existence."
|
|
|
Dracula behaves differently from the original game - teleporting around the room and shooting off fireballs in sets of three, which can be destroyed. The fireball power-up found in the room before will allow Christopher to keep his distance from Dracula for a limited time, but after it runs out, Christopher will be required to stay near him (without use of sub-weapons, at least) in order to deal damage. There are many ways to negate his fireball attack, but one of the most effective (but risky) is the "whip shield" - to crouch, keep Christopher's back to Dracula and swing before the fireballs make contact - the wind-up for the attack should destroy both the middle and lower fireballs behind Christopher and allow Christopher to avoid taking damage, though this requires precise timing. This allows Christopher to stay close to Dracula, and with good timing, he can damage Dracula once before he releases his fireballs and once after, allowing Christopher to hit him twice before he teleports and ending the battle far quicker. Regardless, Dracula's first form is predictable, having only one attack, making this a low-risk battle, though it can tend to be long and tedious.
Dracula’s second form acts different from that of the original Castlevania and Rondo of Blood, though it sports a new appearance. Dracula can still only be damaged when hit in the head. He has a different pattern from Rondo of Blood - jumping whilst releasing energy rays from his wings, and using a fire breath attack after every third jump. During every jump, he will drop down four bolts of energy rays which curve diagonally downward either left or right - whichever direction they curve seems to be random, which can make dodging them slightly unpredictable. He can be hit easily between every jump, and his fire breath attack can be dodged by staying in between Dracula and the fire breath.
Dracula's third form is a massive demon head that constantly casts spells. He begins the battle with his lower jaw fully intact, and, with it being the only part of Dracula that drops low enough that it can be attacked, his jaw will be the main target. His jaw will drop down low enough to be attacked immediately as he initiates his first attack and remain low enough to be damaged for the rest of this part of the battle, allowing Christopher to attack it constantly. During this phase, he only has two attacks, both of which are signaled by the appearance of glyphs - if several glyphs appear near the top of the screen, lightning will drop down from every glyph. If several glyphs appear near the bottom, however, each glyph will burst into flames. Both of these can only be avoided in the same manner - standing beneath or on the spot (depending on the attack) where no glyph is present, thereby dodging any of the lightning or flames. After 7 hits, Dracula's jaw will drop off and the next phase of the battle will initiate.
After Dracula's jaw drops off, his head will lower slightly, revealing the several glyphs at the top of the room. Dracula attacks primarily from these glyphs. The only part of his body that can be damaged in this stage of the battle are his eyes, but they are too high to be damaged through any regular means - the axe is the only sub-weapon that can reach high enough to damage his eyes. Otherwise, players must attack the reachable portion of Dracula's head continuously, until one of the two platforms at the sides of the room raises, allowing Christopher to jump on top of them and properly attack Dracula's eyes. While this is happening, Dracula will constantly attack Christopher through a variety of means - from the top glyphs, he will release several homing bubbles, which can be destroyed in one hit, and alongside them, two homing electricity spheres, which each take two hits to destroy. From the glyphs, he can also spawn Rolling Eyes, and he can drop down fireballs which explode horizontally. He can also summon several glyphs which spread out into a circle near the top of the room - each of these glyphs will release lightning in the direction they are pointing, forcing Christopher to find a safe spot. Finally, as his rarest attack, Dracula can spawn several glyphs which form a "wave" of sorts in the middle of the room - each of these will explode into flames, and yet again, Christopher must stay away from the glyphs to avoid taking damage. During all of this, Dracula will also take less damage as his health lowers, to the point that it will eventually take several hits to reduce a sliver of his health.
- Note: The third form will not be confronted if the player is playing in Easy mode.
| Name
|
Title
|
HP
|
EXP
|
| Dracula
|
|
3,800
|
-
|
|
| List of Spells
|
| Skill
|
Cost
|
Effect
|
| Dark Presence
|
|
For the next 20 seconds, a random block on the player's board is destroyed every 5 seconds. The player takes 50 damage per block destroyed.
|
|
Dracula (Chapter 6)
Dracula's first form is his form from the prologue of Symphony of the Night. He uses his traditional attacks, Hellfire and Dark Inferno, both of which can be absorbed by Charlotte with the Book of Binding. He also possesses a new attack, flame pillars (the same as Dario's flame pillars from Dawn of Sorrow), a possible reference to his main attack in Dracula's Curse.
Dracula's second form is his traditional jumping demon form, from the Symphony of the Night prologue. He retains his two main attacks: his fireballs that, when making contact with the ground, explode into flame waves, and his jump, which he occasionally casts Fatal Ray. He also has two new attacks: Ghost Chaser (can be absorbed by Charlotte), in which he launches red-purple souls that chase the player; and the Gergoth Laser, in which he floats backward and fires a massive beam from his mouth.
In his third form, Dracula will take his final form used in the final battle of Symphony of the Night. He has several attacks to his disposal. When he glows dark blue, he will gain a temporary shield that negates physical attacks during the duration of the shield. When he glows light blue, he negates magical/ability attacks. He can shoot triangular blasts, and shoot a large amount of hearts; if they make contact with Shanoa, Charlotte, Yoko, or Maria, the said player will fall under Dracula's control and attack their teammates - male characters will simply take damage instead. For his other attacks, Dracula will invoke a runic circle. When it glows red, he will activate fire pillars under an ally, crossing through the room when they move. When the circle glows orange, he will shoot a moving flame wave. When it glows blue, several white lines will appear, and in a split second later, lasers will erupt where the lines were. Finally, when Dracula summons a white ringed by red rune circle, he will cast Demonic Megiddo, the most powerful attack in the game, that can only be dodged from the very sides of the room. This is the only time when Dracula can morph into his demon form and cast Demonic Megiddo. On Hard mode, his attacks will not only hit harder, but develop other means of harassment. Demonic Megiddo, for example, will also have three fire columns covering the safe zones before he launches the main attack, leaving only very tight timing to avoid both the columns and the main attack (preferable to take the fire columns over the instantly lethal main attack, though). Dracula's stationary single fire column strike will add an electric shock that horizontally divides the room in two, preventing any jumping.
|
|
| No.
|
Name
|
JPN
|
HP
|
MP
|
| 51
|
Dracula
|
ドラキュラ
|
???
|
???
|
|
| Chapter
|
Drop
|
Bind
|
Soul
|
| Chapter 6 - Come, Sweet Hour of Death
|
Satan's Ring (Normal), Vorpal Blade (Normal - Alucard only), Mercury Boots (Normal), Valmanway (Hard - Alucard and Soma only), Claimh Solais (Hard - Soma only), Winged Boots (Hard), Impervious Mail (Hard), Ancient Armor (Hard), Minerva Mail (Hard - Shanoa only), Dracula's Tunic (Hard - Alucard and Soma only), Simon's Plate (Hard - Jonathan, Julius, Richter and Simon only)
|
Ghost Chaser, Hellfire, Dark Inferno
|
Dark Inferno
(Bullet Soul - 0.30%)
|
| Description
|
"The true master of the castle."
|
|
R. The Count (Chapter 10)
R. The Count (Retro Dracula) is the boss of Chapter 10 of Castlevania: Harmony of Despair, Origins. He is actually Dracula from the first Castlevania. His first form fights similarly to his first form in Castlevania, but instead of the traditional triple fireball, he will fire off 5 fast fireballs that curve upward as they move. He will always teleport in between. If a player tries to get behind Dracula when he appears, he may backdash across the room to inflict collision damage.
In Hard Mode, Dracula is much more difficult. Instead of a single volley of 5 fireballs, he launches 3 volleys of 7 fireballs, one released at Dracula's chest height and curving upward, one released above his head and moving straight, and one released behind him and curving upward.
Wearing Ancient armor is recommended as all of his attacks cause massive damage. Those who cannot avoid damage should stand outside the boss room on the stairs leading to it with potions on standby. If the boss fight has been activated and there are no living characters inside the boss room, Dracula will spawn spirals of star shaped attacks in rapid succession that cannot be avoided/blocked. These are 99% likely to kill anyone skulking on the stairs outside or making potion runs.
If you are able to avoid his attack pattern and damage him until his head "falls off" then he will enter his second form. This is a blue winged demon, Dracula's second form from Castlevania (and one of his most common demon forms). Like in the original Castlevania, Dracula will jump three times, before launching a fireball attack. However, this time around, instead of a single fireball, he launches a stream of spiraling fireballs.
In Hard Mode, he launches the fireballs faster. Occasionally, Dracula will dash toward the player, flapping his wings, don't jump when he does this.
|
|
| No.
|
Name
|
JPN
|
HP
|
MP
|
| 82
|
R. The Count
(Retro Count Dracula)
|
L. ドラキュラ (Legend Dracula)
|
???
|
???
|
|
| Description
|
"The most legendary of all vampires."
|
|
The representation of Soma Cruz, summoned by Hermina, is a boss encountered in the chapter "That Which Writhes: All for One", where he is fought immediately after Legion. His fighting style is largely similar to the first phase of the boss fight against him in Julius Mode in Dawn of Sorrow, although he'll use Hellfire at times as well. The fight ends automatically after a few minutes, with the player not needing to damage him before then. However, after clearing the chapter, he cannot be fought again after Legion.
In the next battle, in the chapter "A Vessel for the Lord", Dark Soma fights similarly to the above, although he now summons a level 61 Gaibon and Harpy, and also incorporates moves from his second phase for Julius Mode (in particular, summoning Larva). Upon being bested in battle, Hermina uses the Aurora ability to lift the Vital Souls, now turned into the Crimson Moon Souls, from his body and he is purified back into Soma Cruz.
In the tenth chapter, Dracula utilizes the same movesets as in prior games, although he also incorporates Demonic Megiddo's shockwave portion previously used by Walter Bernhard, as well as Bat Moon from Portrait of Ruin. After transforming into True Dracula, he hops around and also utilizes spells of various elements (which ones depending on the color utilizes, similar to Castlevania: The Adventure ReBirth). Upon being defeated, Hermina and Lucy use the Aurora spell to disintegrate him and send him back "right where he belongs".

")
")
")
")
")
")
")
.gif "Rob Dracula Only attacks to the head can damage Dracula(2).gif (3.06 MB)")
")